
F 250 2WD Super Duty V8-6.4L DSL Turbo (2009)
Pressure Regulating Solenoid: Service and Repair
TorqShift
Line Pressure Control Solenoid - PC-A
Removal
1. With the vehicle in NEUTRAL, position it on a hoist.
2. Remove the transmission main control valve body. For additional information, refer to Solenoid Body Assembly See: Automatic
Transmission/Transaxle/Valve Body/Service and Repair.
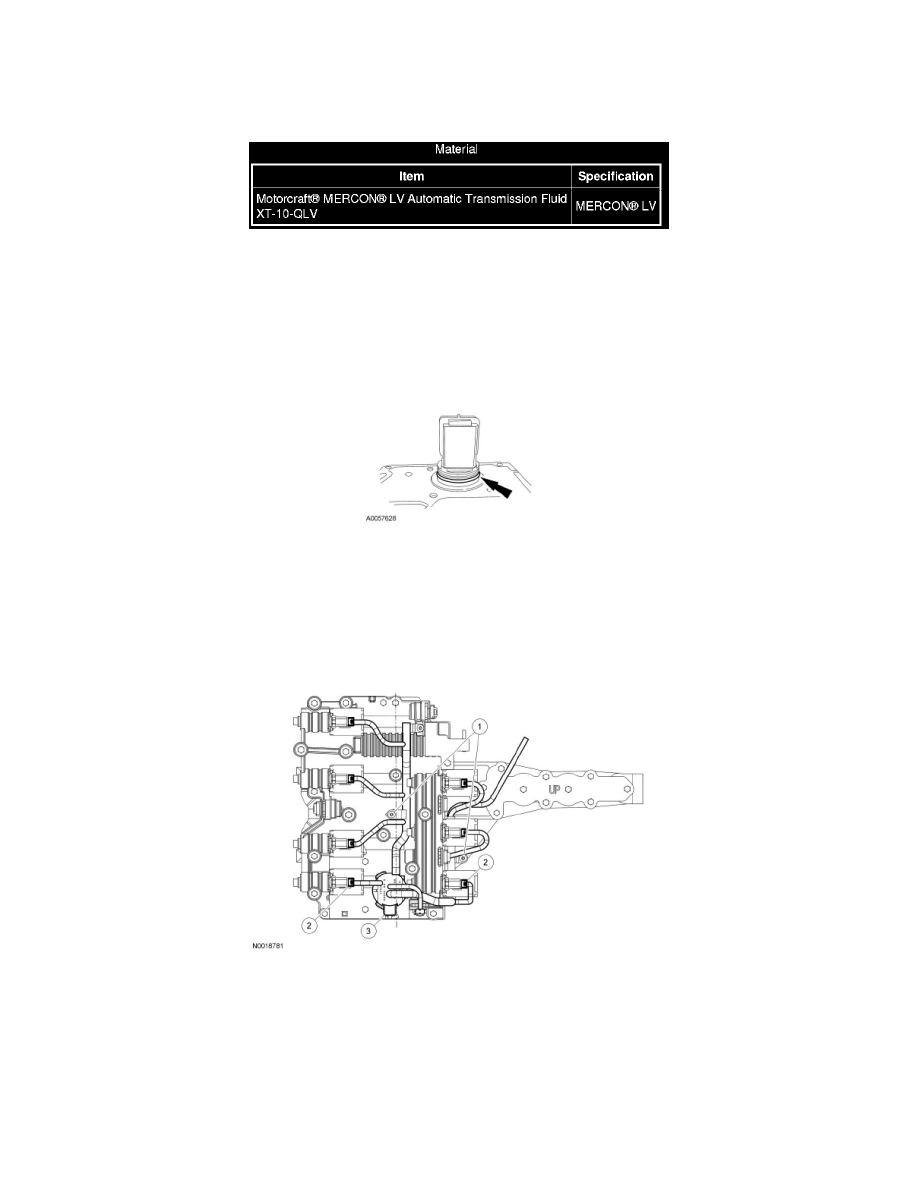
3. Remove the solenoid body electrical connector O-ring seal.
4. Partially remove the solenoid body electrical wire harness.
1. Remove the wire harness to solenoid body bolts.
2. Disconnect the electrical connector from the Pressure Control Solenoid A (PCA) and the Shift Solenoid Pressure Control C (SSPCC).
3. Lift the tab on the transmission internal harness connector, twist and push the connector through the solenoid body.
5. Remove the PCA.
1. Remove the E clips from the PCA and the SSPCC.
2. Partially slide the SSPCC back enough to gain clearance to remove the PCA.
3. Remove the PCA.