
F 250 4WD HD Pickup V8-460 7.5L VIN G EFI (1997)
Rocker Arm Assembly: Service and Repair
REMOVAL
1. Remove the valve cover.
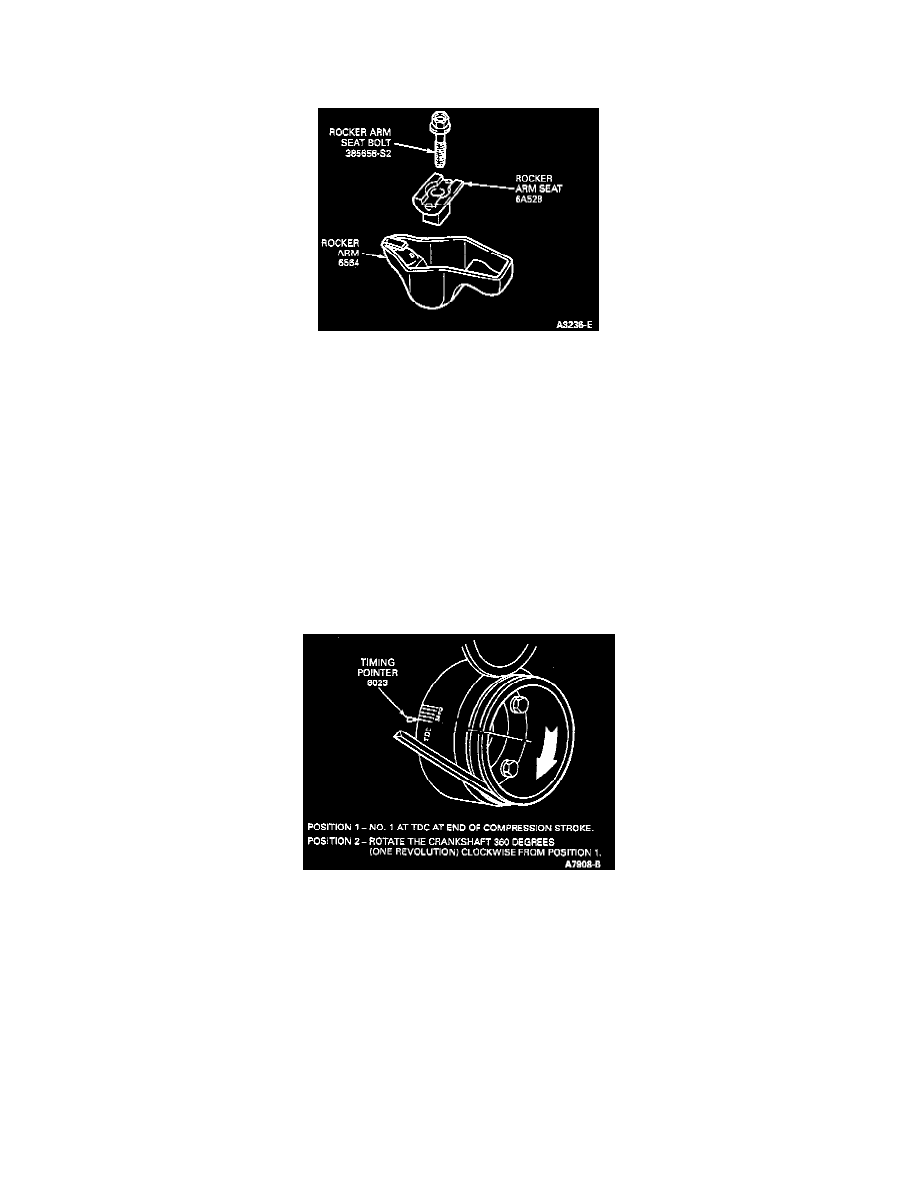
2. Remove the rocker arm seat bolt, rocker arm seat and rocker arm.
INSTALLATION
1. Apply Ford Multi-Purpose Grease DOAZ-19584-AA or equivalent meeting Ford specification ESR-M1C159-A to the top of the intake and
exhaust valve stems, the rocker arms and rocker arm seats.
2. Position the No. 1 piston at TDC at the end of the compression stroke (Position No.1). Install the rocker arm, rocker arm seat, and rocker arm seat
bolt on the following intake valves and exhaust valves:
^
No. 1 intake valve No. 1 exhaust valve
^
No. 3 intake valve No. 8 exhaust valve
^
No. 7 intake valve No. 5 exhaust valve
^
No. 8 intake valve No. 4 exhaust valve
NOTE: Make sure rocker arm seat is oriented in the rocker arm in original position.
3. Make sure the rocker arm seat base is inserted into its slot on the cylinder head before tightening the rocker arm seat bolts. Tighten the rocker arm
seat bolts to 25-34 Nm (18-25 ft. lbs.).
4. Position the crankshaft in Position No. 1 and install the rocker arm, rocker arm seat, and a rocker arm seat bolt on the following intake valves and
exhaust valves:
^
No. 2 intake valve No. 2 exhaust valve
^
No. 4 intake valve No. 3 exhaust valve
^
No. 5 intake valve No. 6 exhaust valve
^
No. 6 intake valve No. 7 exhaust valve
5. Make sure the rocker arm seat base is inserted into its slot on the cylinder head before tightening the rocker arm seat bolts. Tighten the rocker arm
seat bolts to 25-34 Nm (18-25 ft. lbs.). Adjust the valve clearance.
6. Install valve cover and gasket.