F 250 4WD HD Pickup V8-460 7.5L VIN G EFI (1997)

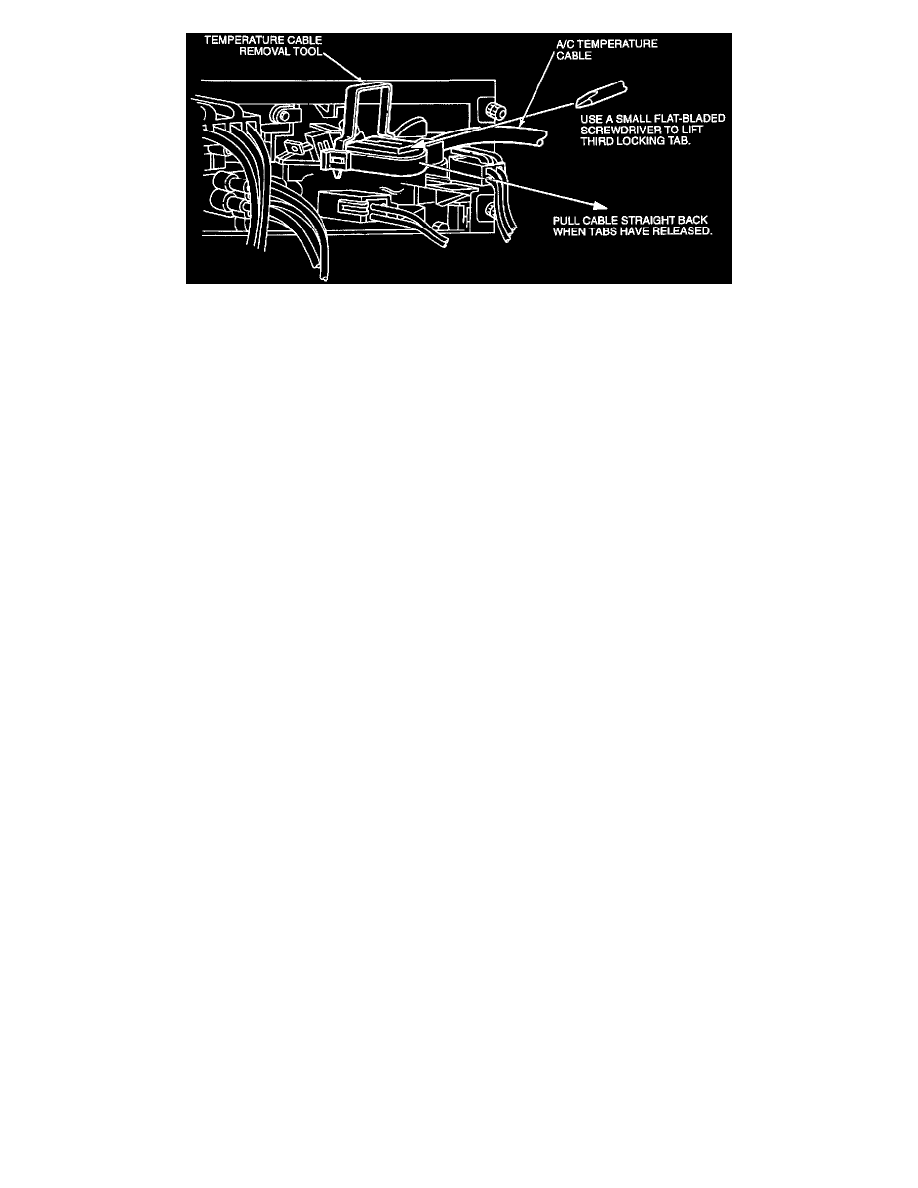
4. Disconnect the A/C temperature cable and vacuum connector at the heater control.
5. Disconnect the source vacuum block that is secured to the right side of the heater core cover.
6. Pull the heater plenum chamber case forward to disengage three studs from the dash panel.
7. Lower the heater air plenum chamber from its location under the instrument panel.
NOTE: Care must be taken to avoid spilling any coolant from the heater core.
INSTALLATION
1. Position the heater air plenum chamber against the dash panel. Install one screw to attach the left end of heater air plenum chamber to dash panel.
2. Position the heater plenum chamber case against the dash panel, making sure that the studs are inserted through holes in the dash panel and flange.
3. Position the instrument panel and tighten its retaining screws.
4. Snap the A/C temperature cable into the cable mounting bracket on the heater air plenum chamber, making sure temperature blend door actuator
post is aligned within the A/C temperature cable head cam.
5. Connect the control vacuum and source vacuum.
6. Position the heater outlet floor duct and install its pushpin.
7. Install the glove compartment.
8. Check the system for proper operation.
NOTE: The damper doors inside the heater air plenum chamber cannot be replaced. As a result, if there is a problem in the MIX or the
PANEL/DEFROST door, the heater air plenum chamber, including these doors, must be replaced. The heater air plenum chamber must also be
replaced if there is damage to the mounting studs that cannot be repaired.
