
F 250 4WD HD Pickup V8-460 7.5L VIN G EFI (1997)
Headlamp Switch: Service and Repair
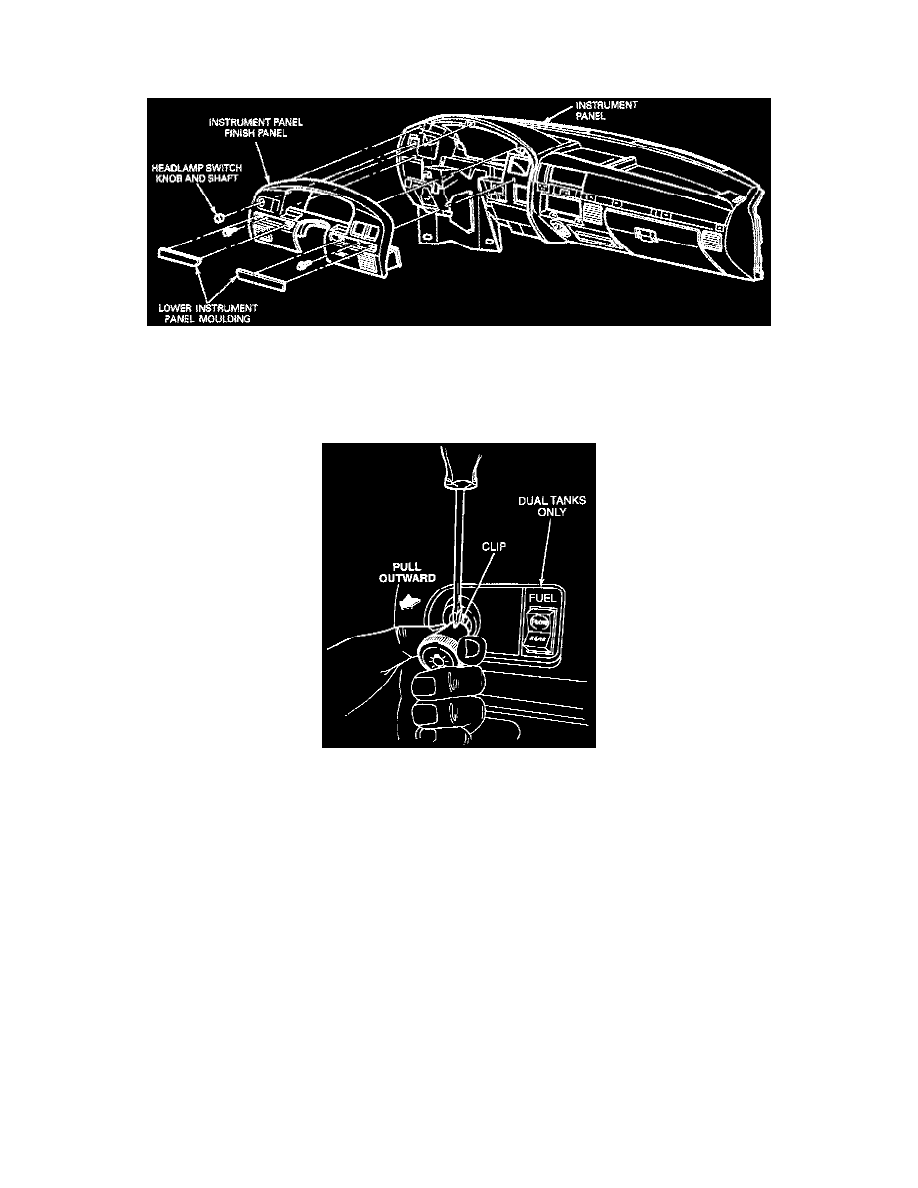
Headlamp Switch
REMOVAL
1. Disconnect battery ground cable.
2. On vehicles with tilt column, position steering wheel in full down position.
3. On vehicles with column shift, set parking brake and position shift lever to the lowest position.
4. Pull headlamp knob to HEAD position.
5. Insert a small screwdriver onto clip and pull clip and knob outward, removing headlamp knob.
6. Unscrew headlamp bezel.
7. Remove two exposed screws from under right and left lower instrument panel mouldings.
NOTE: Wiring is connected to the instrument panel finish panel.
8. Unsnap five retaining clips by pulling the instrument panel finish panel rearward starting with the two at the steering column (one each side) and
then the three at top of instrument panel finish panel.
9. Disconnect the wiring from the instrument panel finish panel.
10. Remove the switch push rod by inserting a punch or similar tool into access hole of headlamp switch while pulling the push rod from headlamp
switch.
11. Unscrew the mounting nut. Remove the headlamp switch from instrument panel, then remove the wiring connector from the headlamp switch.
INSTALLATION
1. Follow removal procedure in reverse order.
NOTE: When the battery has been disconnected and reconnected, some abnormal drive symptoms may occur while the powertrain control
module relearns its adaptive strategy. The vehicle may need to be driven 16 km (10 miles) or more to relearn the strategy.