
F 250 4WD HD Pickup V8-460 7.5L VIN G EFI (1997)
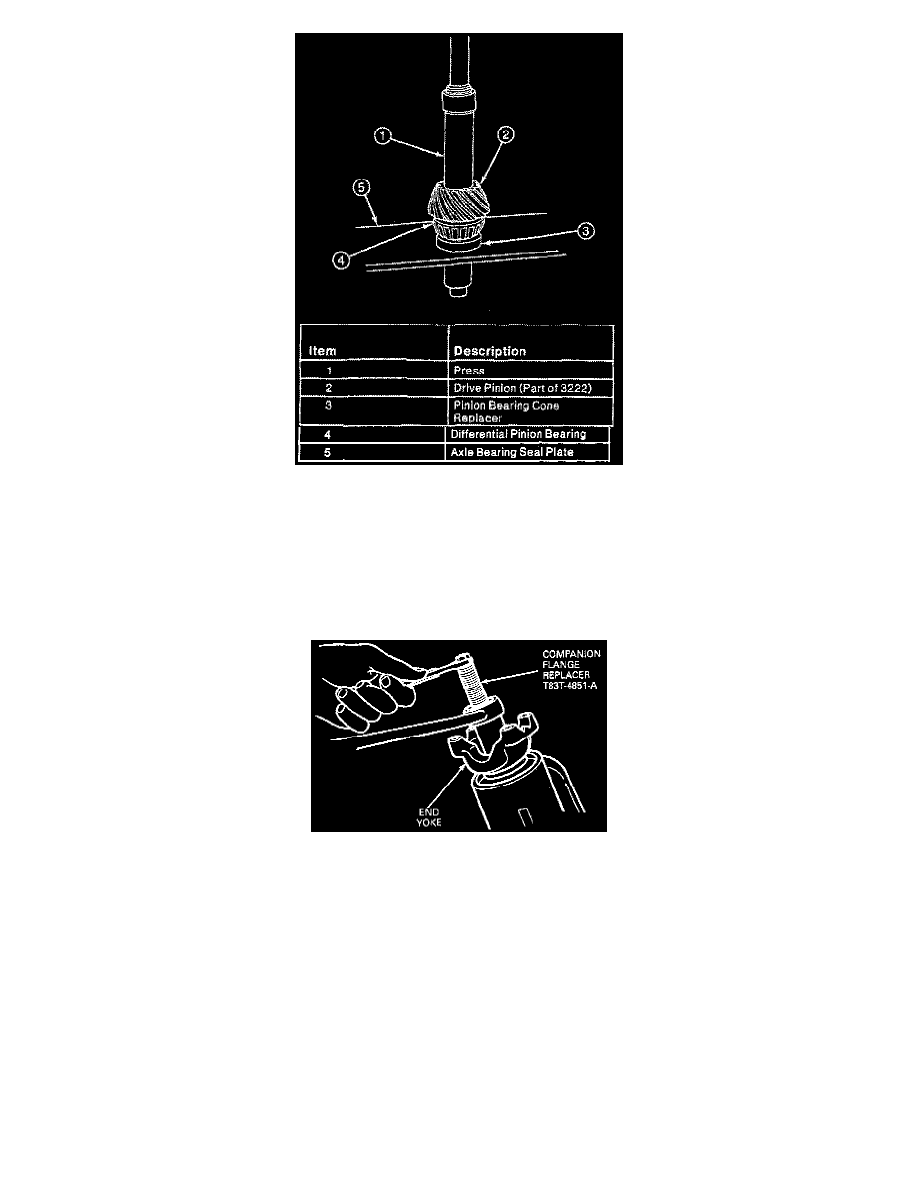
7. Measure shims with a micrometer to verify the shim size. Place the correct size selective shim on the pinion and press on the differential pinion
bearing. Use Pinion Bearing Cone Replacer T53T-4621-B and Axle Bearing/Seal Plate T75L-1165-B as shown.
8. Continue to build the remaining components with proper pinion and differential bearing preload torques and ring gear backlash.
Preload Check
1. Measure original preload shims and replace with new shims of equal size.
2. Install the pinion into the carrier.
3. Install new preload shims over the pinion. Install the outer differential drive pinion bearing cup and oil slinger and seal.
4. Assemble end yoke, washer and deflector on drive pinion shaft, and align with Companion Flange Replacer T83T-4851-A and Companion Flange
Holding Tool T78P-4851-A to seat the yoke. Install an old pinion nut and tighten to 272-298 Nm (200-220 ft. lbs.).
Use the old pinion nut until preload is verified. If rotating torque is within specification, then install the new pinion nut and tighten to specification.
5. Rotate pinion nut with a torque wrench. Rotating torque should be 2.26-3.40 Nm (20-30 inch lbs.). To increase preload, remove shims. To
decrease preload, add shims.
6. Install the yoke with Companion Flange Replacer T83T-4851-A. Install washer and nut, and tighten nut to 244-271 Nm (180-200 ft. lbs.).
Ring and Pinion Gear Backlash
1. Assemble ring gear to case. Use new Grade 9 bolts. Tighten bolts alternately and evenly to 129-142 Nm (95-105 ft. lbs.).
2. Place the case into position in the carrier. Master bearings should still be installed.