
F 250 4WD Pickup V8-7.3L DSL Turbo VIN K (1994)
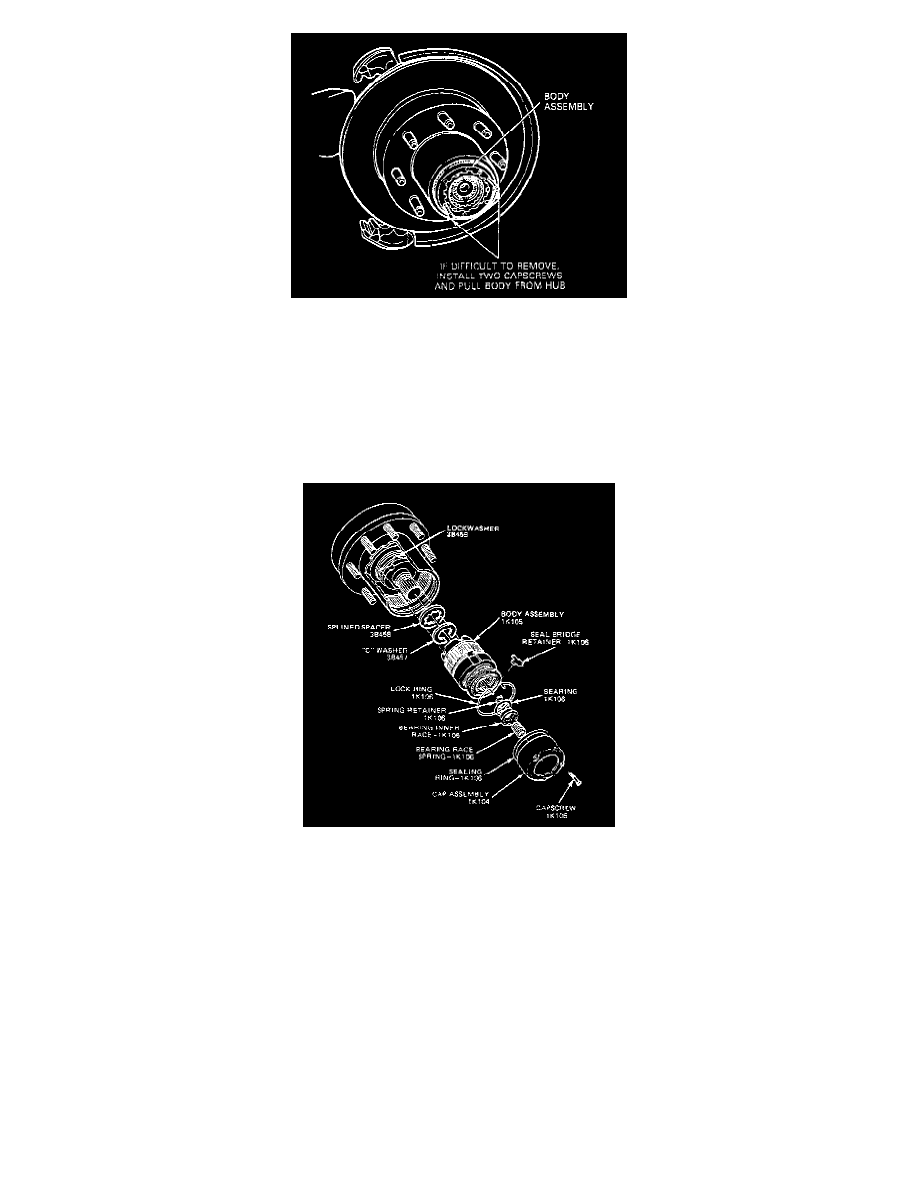
4. Remove the body assembly from the hub. If the body is difficult to remove, install two capscrews and pull the body assembly out of the hub.
For installation, follow removal procedures in reverse order. Tighten six Torx head capscrews to 4-6 N.m (35-50 in.lb).
Note: Do not pack the cap assembly with grease. Excessive grease can cause excessive dialing effort.
Automatic Locking Hubs
Removal
1. Separate cap assembly from body assembly by removing the five capscrews, using Torx bit TX25 or equivalent. from the cap assembly.
2. Remove cover.
Caution: Do not drop spring, ball bearing, bearing race, or retainer.
3. Remove rubber seal.
4. Remove seal bridge retainer (small metal stamping) from retainer ring space.
5. Remove retainer ring by closing the ends with needlenose pliers while pulling hub lock from wheel hub.
If wheel hub and spindle are to be removed:
6. Remove C-washer from stub shaft groove.
7. Remove splined spacer from shaft.