F 250 4WD Super Duty V10-6.8L VIN S (2001)

INSTALLATION
WARNING: TO REDUCE THE RISK OF SERIOUS PERSONAL INJURY, READ AND FOLLOW ALL WARNINGS, CAUTIONS AND
NOTES AT THE BEGINNING OF THE REMOVAL PROCEDURE.
Vehicles receiving a new clockspring
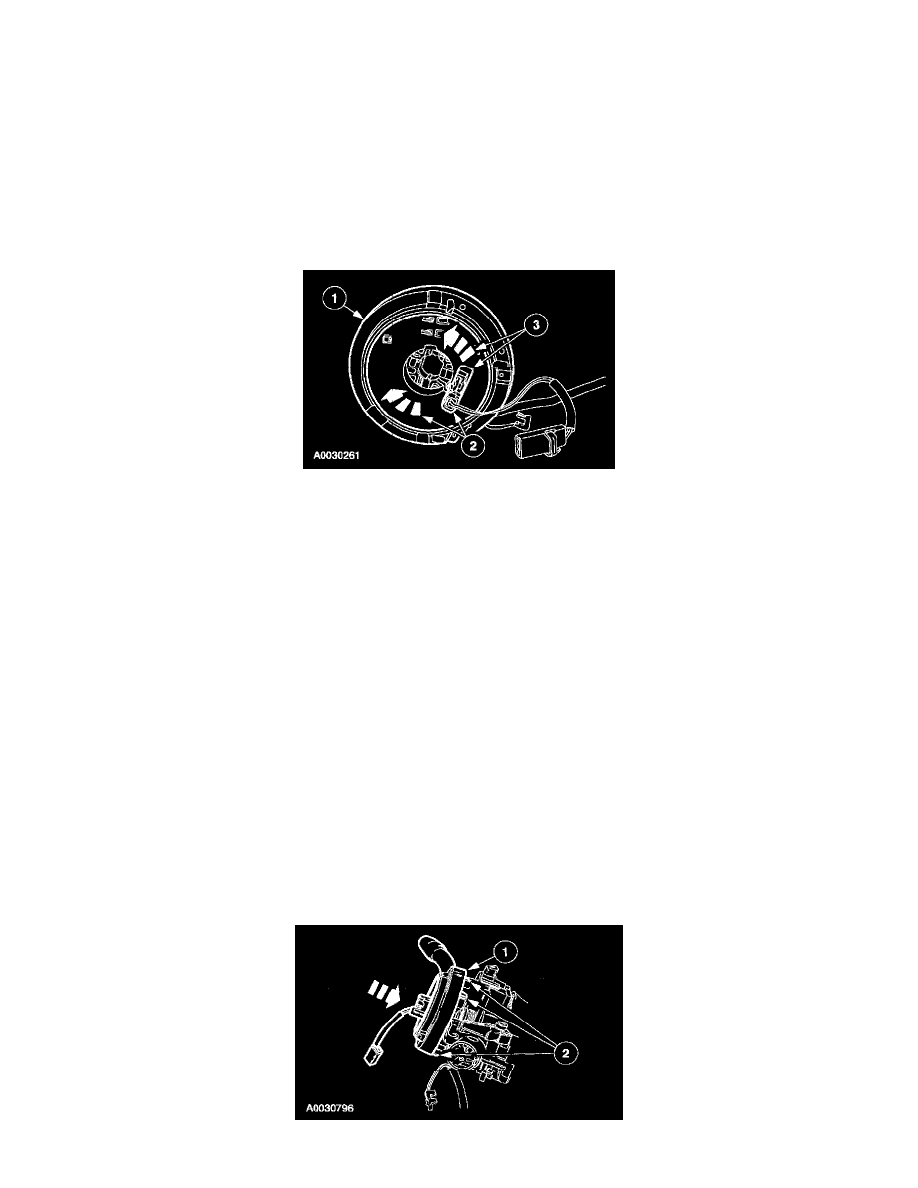
1. Remove the key from the clockspring, holding the rotor in its centralized position.
^
Do not allow the clockspring rotor to turn.
NOTE: A new clockspring is supplied in a centralized position and held there with a key.
Vehicles needing clockspring recentering
2. Centralize the clockspring.
1
Hold the clockspring outer housing stationary.
2
While turning the rotor clockwise, carefully feel for the ribbon wire to run out of length and a slight resistance is felt. Stop turning at this point
CAUTION: Overturning will destroy the clockspring. The internal ribbon wire acts as the stop and can be broken from its internal
connection.
3
Turn the clockspring counterclockwise approximately 2.25 turns. This is the center point of the clockspring.
^
Do not allow the rotor to turn from this position.
WARNING: INCORRECT CENTRALIZATION MAY RESULT IN PREMATURE COMPONENT FAILURE. IF IN DOUBT WHEN
CENTRALIZING THE CLOCKSPRING, REPEAT THE CENTRALIZING PROCEDURE. FAILURE TO FOLLOW THIS
INSTRUCTION MAY RESULT IN PERSONAL INJURY.
CAUTION: Make sure the road wheels are in the straight ahead position.
NOTE: If a clockspring has rotated out of center, follow through with this step.
Vehicle repairs reusing the same clockspring
3. Remove the tape applied during clockspring removal.
NOTE: When the tape is removed, do not allow the clockspring to turn.
All vehicles
