
F 250 4WD Super Duty V10-6.8L VIN Y (2006)
^
Tighten to 60 Nm (44 ft. lbs.).
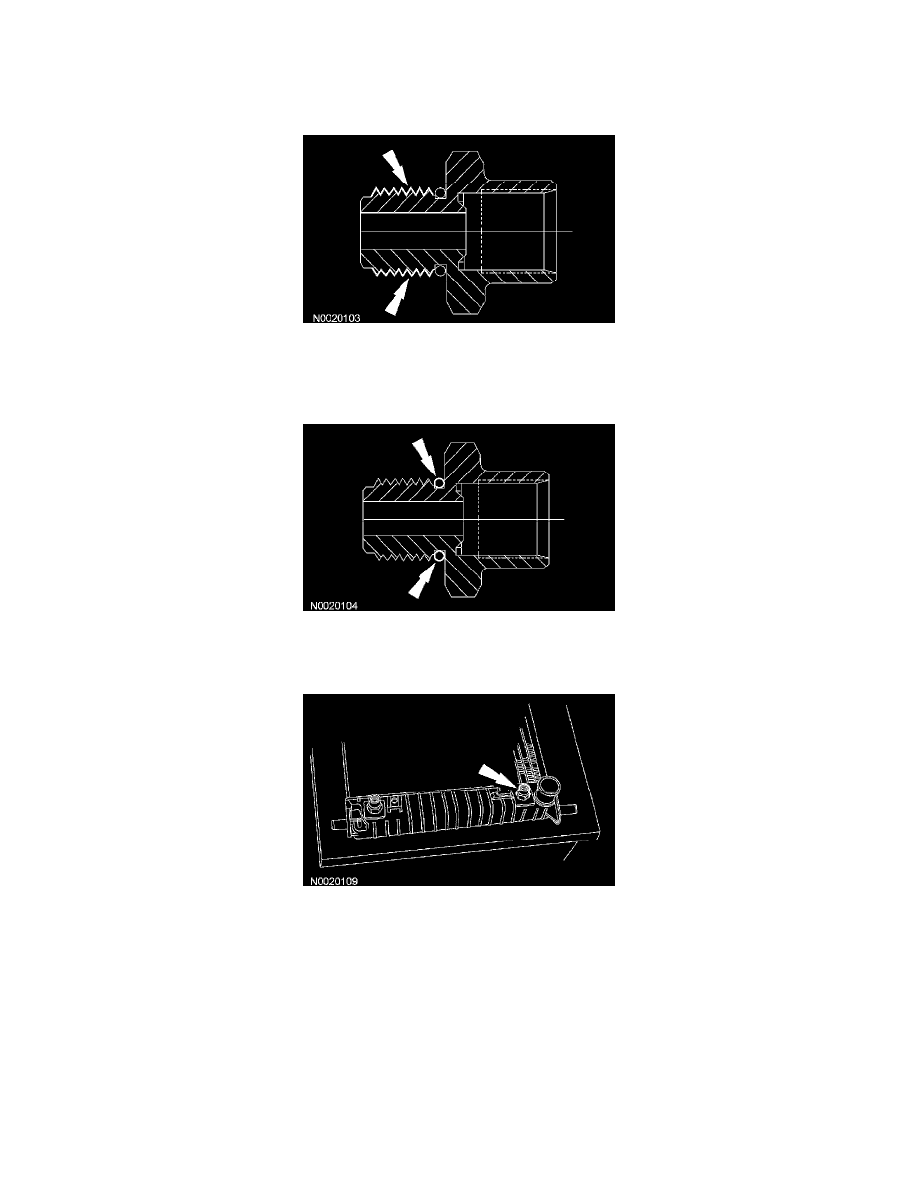
10. NOTE: Remove only one transmission fluid cooler fitting at a time, otherwise the cooler may drop into the radiator.
Remove the lower transmission fluid cooler fitting.
11. Once the fitting is removed from the transmission fluid cooler, verify that there is a gasket between the transmission fluid cooler and the inside of
the radiator tank.
^
If there is no gasket, install a new radiator.
^
If there is a gasket, continue with this procedure.
12. Inspect the transmission fluid cooler fitting threads for damage.
^
If the threads are damaged, install a new radiator.
^
If the threads show no sign of damage, continue with this procedure.
13. CAUTION: Thread sealant or tape should never be used on the threads of the transmission fluid cooler fittings. The use of such materials will
create a leak path.
Install a new O-ring on the transmission fluid cooler fitting.
14. Making sure that the gasket between the transmission fluid cooler and the inside of the radiator tank is still in place, install the lower transmission
fluid cooler fittings.
^
Tighten to 60 Nm (44 ft. lbs.).
15. Make sure that no radiator coolant has entered the transmission fluid cooler. Install the radiator in the vehicle. For additional information, refer to
Cooling System.
16. Verify that both the transmission and the engine cooling system are at the correct fluid levels.