
F 250 4WD Super Duty V10-6.8L VIN Z CNG (2003)
5.
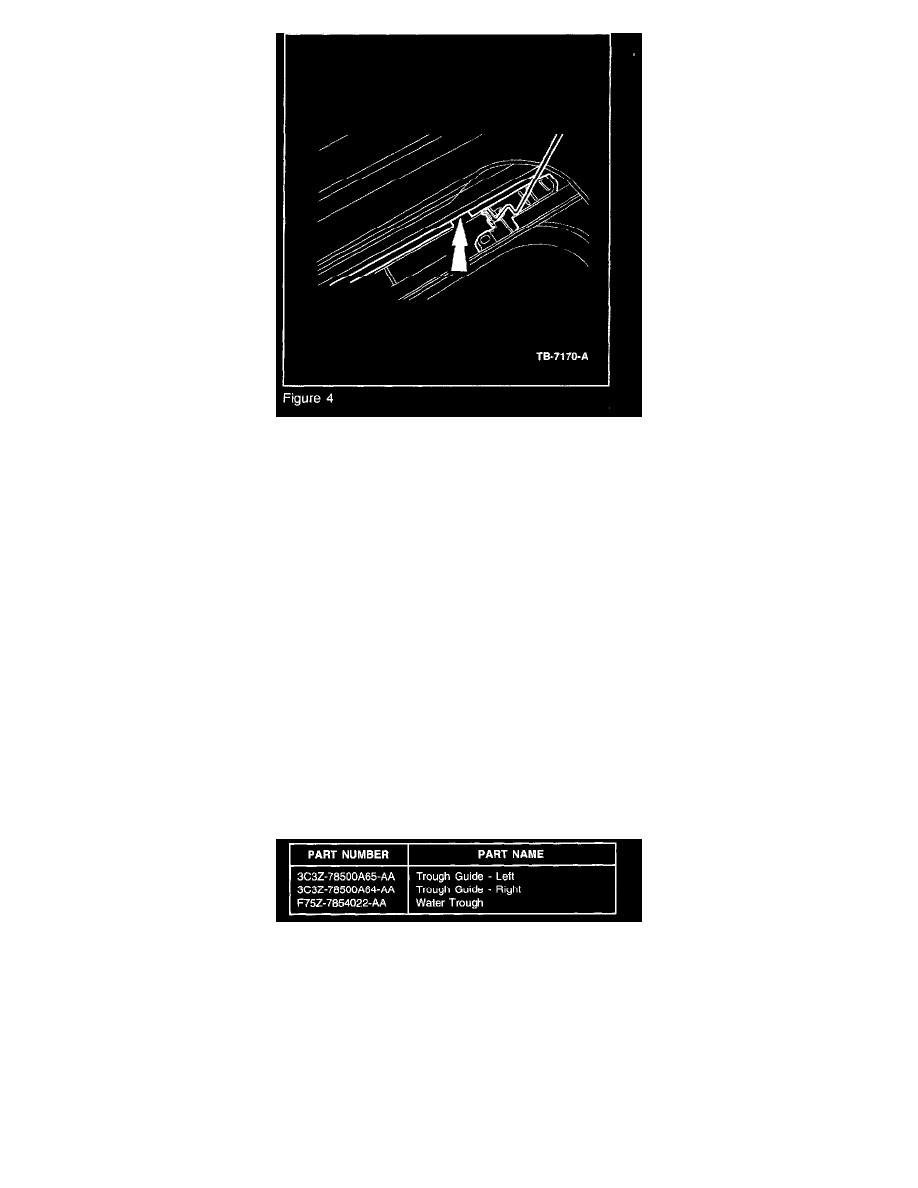
Slide the trough guide assembly through the small slot in the tracks to remove it on each side (Figure 4).
6.
Inspect the trough guide assemblies for damage. If damage is found, inspect the roof opening panel track for the broken pieces and remove any
pieces found.
7.
Carefully twist the new trough guide through the small slot in the tracks to install it.
8.
Connect the trough guide wire to the lifter arm mechanism on either side.
9.
Set the NEW water trough onto the trough guide assemblies.
10.
Tighten the two screws (one on each side) through the holes into the trough guide assembly holes. Torque to 1.0 +/- 0.25 N.m (9 +/- 2 lb-in).
11.
Re-install the roof opening panel according to Workshop Manual section 501-17.
12.
Adjust the glass flushness as specified in Workshop Manual section 501-17.
NOTE
WHEN PROPERLY ADJUSTED, THE TOP OF THE SEAL BULB AT THE FRONT OF THE GLASS PANEL SHOULD BE FLUSH TO 0.060"
(1.5 MM) LOWER THAN THE ROOF SURFACE, AND THE TOP OF THE SEAL BULB AT THE REAR OF THE GLASS PANEL SHOULD
BE FLUSH TO 0.060" (1.5 MM) HIGHER THAN THE ROOF SURFACE.
13.
Cycle test the moonroof through the vent and full open positions to check for proper function.
Parts Block
OTHER APPLICABLE ARTICLES: NONE
WARRANTY STATUS: Eligible Under The Provisions Of Bumper To Bumper Warranty Coverage
DEALER CODING
CONDITION
BASIC PART NO
CODE
78500A64
01
OASIS CODES: 102000, 105000, 108000, 110000, 111000, 702000, 702100, 702300