
F 250 4WD Super Duty V10-6.8L VIN Z CNG (2003)
3. Support the components so that the reservoir is above the master cylinder and the hydraulic tube is below the master cylinder. Place the open end
of the tube in a suitable container.
4. CAUTION: Do not let the reservoir run dry.
Purge the air from the clutch master cylinder assembly and hydraulic tube. Cap the open end of the tube after purging the system of air.
^
Fill the reservoir with brake fluid. Allow the fluid to flow through the master cylinder and run out of the end of the tube in the container. Do
not let the reservoir run dry. Repeat this process, refilling the reservoir 2 to 3 times, to make sure that all air purged from the assembly. Cap the
open end of the tube after purging the system of air.
5. CAUTION: Hold the slave cylinder over a suitable container.
Angle the slave cylinder so that the hydraulic tube connection port is above the push rod. Fill the slave cylinder with brake fluid.
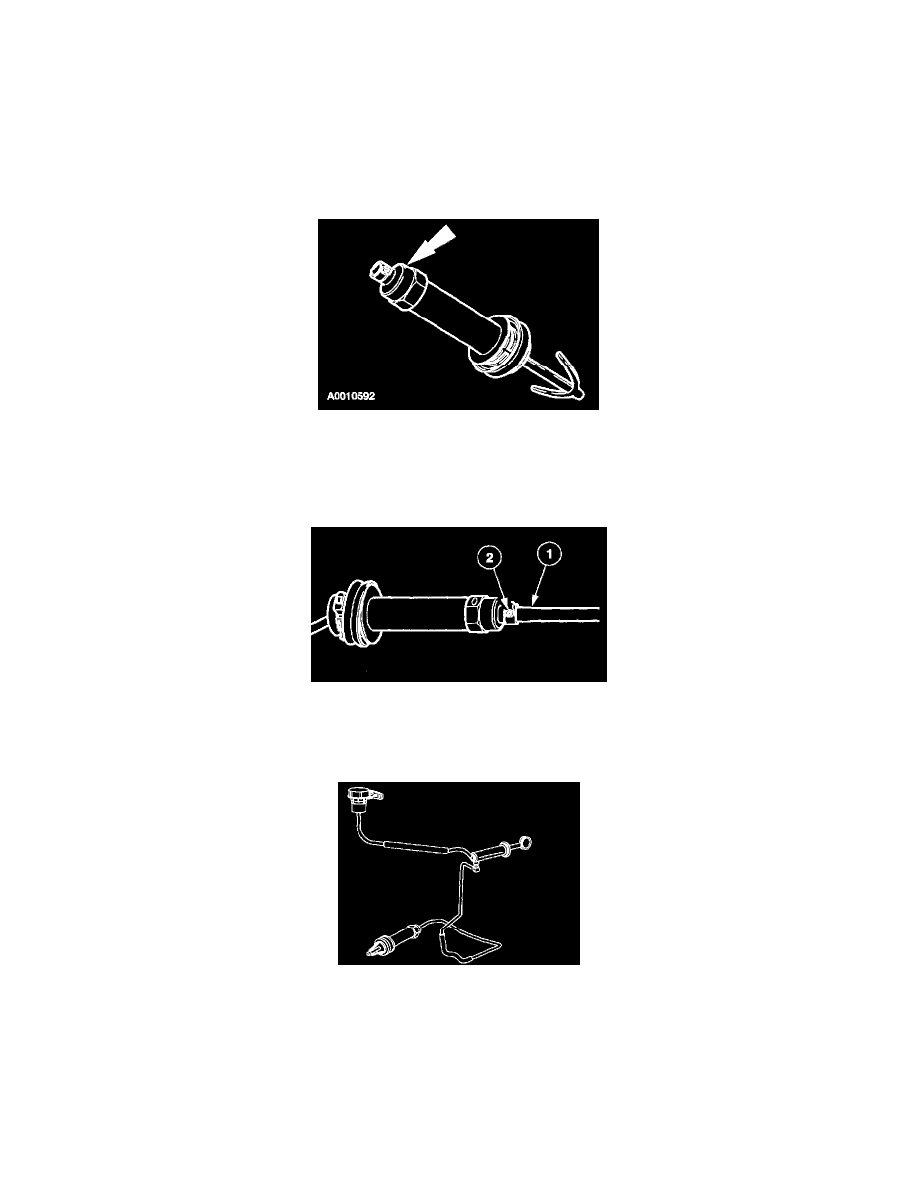
6. Remove the cap from the opening in the hydraulic tube. Position the new O-ring seal on the end of the hydraulic tube. Coat the O-ring seal with
brake fluid.
7. Connect and secure the hydraulic tube to the slave cylinder.
1
Connect the hydraulic tube to the slave cylinder.
2
Install the new roll pin.
8. Bench bleed the clutch hydraulic system.
9. CAUTION: Brake fluid is harmful to painted and plastic surfaces. If brake fluid is spilled onto a painted or plastic surface, wash the surface with
water immediately.
Position the clutch hydraulic system in the vehicle.