
F 250 4WD Super Duty V10-6.8L VIN Z CNG (2003)
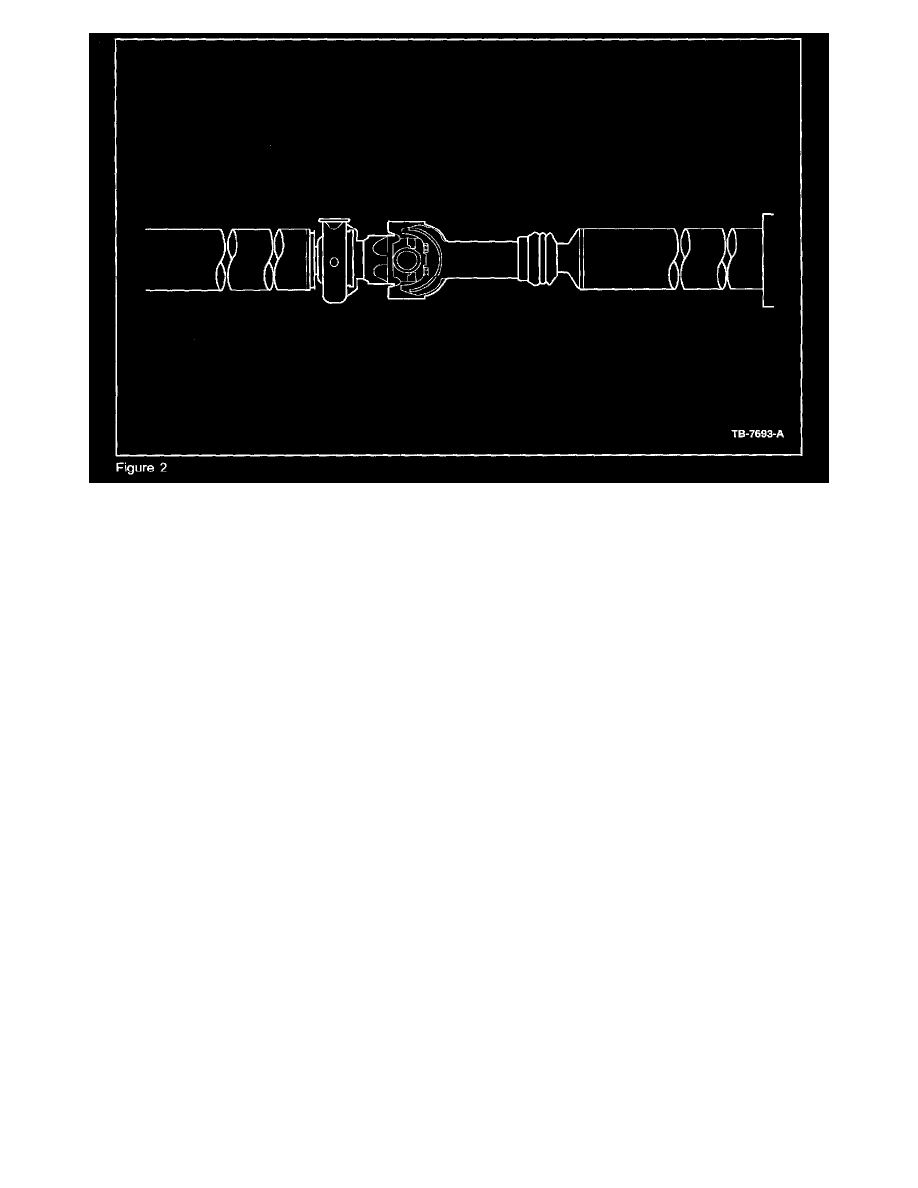
To service, replace the center bearing. Use a center bearing assembly with a white paint dot (built after 6/9/2003). Determine the style of the driveshaft
per (Figure 1) and (Figure 2), then follow the appropriate Service Procedure below.
SERVICE PROCEDURE
NOTE
WHENEVER DRIVESHAFT REMOVAL IS NECESSARY, IT IS IMPORTANT TO PAINT MARK THE DRIVESHAFT TO THE
TRANSMISSION (OR TRANSFER CASE) AND THE REAR AXLE. ADDITIONALLY, MARK A PAINT LINE THE ENTIRE LENGTH OF
THE MULTI-PIECE DRIVESHAFT ASSEMBLY. THIS IS ESSENTIAL TO INSURE THE DRIVESHAFTS ARE REASSEMBLED IN THE
SAME ORIENTATION AS ORIGINAL. FAILURE TO REASSEMBLE THE DRIVESHAFT IN ITS ORIGINAL ORIENTATION MAY
RESULT IN AN UNBALANCED DRIVESHAFT CONDITION.
PROCEDURE FOR DRIVESHAFTS ILLUSTRATED IN FIGURE 1
1.
Remove the boot clamps from the rubber boot and discard.
2.
Disassemble the driveshaft from the coupling shaft.
3.
Remove and discard the retention slinger, center bearing assembly, and dust slinger from coupling shaft.
4.
Install the new dust slinger and center bearing assembly per Ford Workshop Manual.
NOTE
DRIVESHAFTS OF THE TYPE SHOWN IN (FIGURE 1) REQUIRE THE INSTALLATION OF THE RETENTION SLINGER PROVIDED IN
THE SERVICE KIT TO RETAIN THE CENTER BEARING TO THE COUPLING SHAFT.
5.
Reassemble rubber boot and boot clamp to stub shaft and crimp the boot clamp.
6.
Slide the other boot clamp onto the slip yoke of the driveshaft assembly, then assemble the driveshaft to the coupling shaft. BE SURE TO ALIGN
THE PAINT LINE MARKS FOR PROPER ORIENTATION. Align the rubber boot with the slip yoke boot groove. Clamp boot clamp while the
boot is in the relaxed position.
7.
Reinstall the driveshaft assembly to the vehicle per the Ford Workshop Manual.
8.
Drive the vehicle 10 miles at different speeds with the driver's side window down to verify that the noise condition is corrected.
PROCEDURE FOR DRIVESHAFTS ILLUSTRATED IN FIGURE 2