F 250 4WD Super Duty V10-6.8L VIN Z CNG (2003)

11. CAUTION:
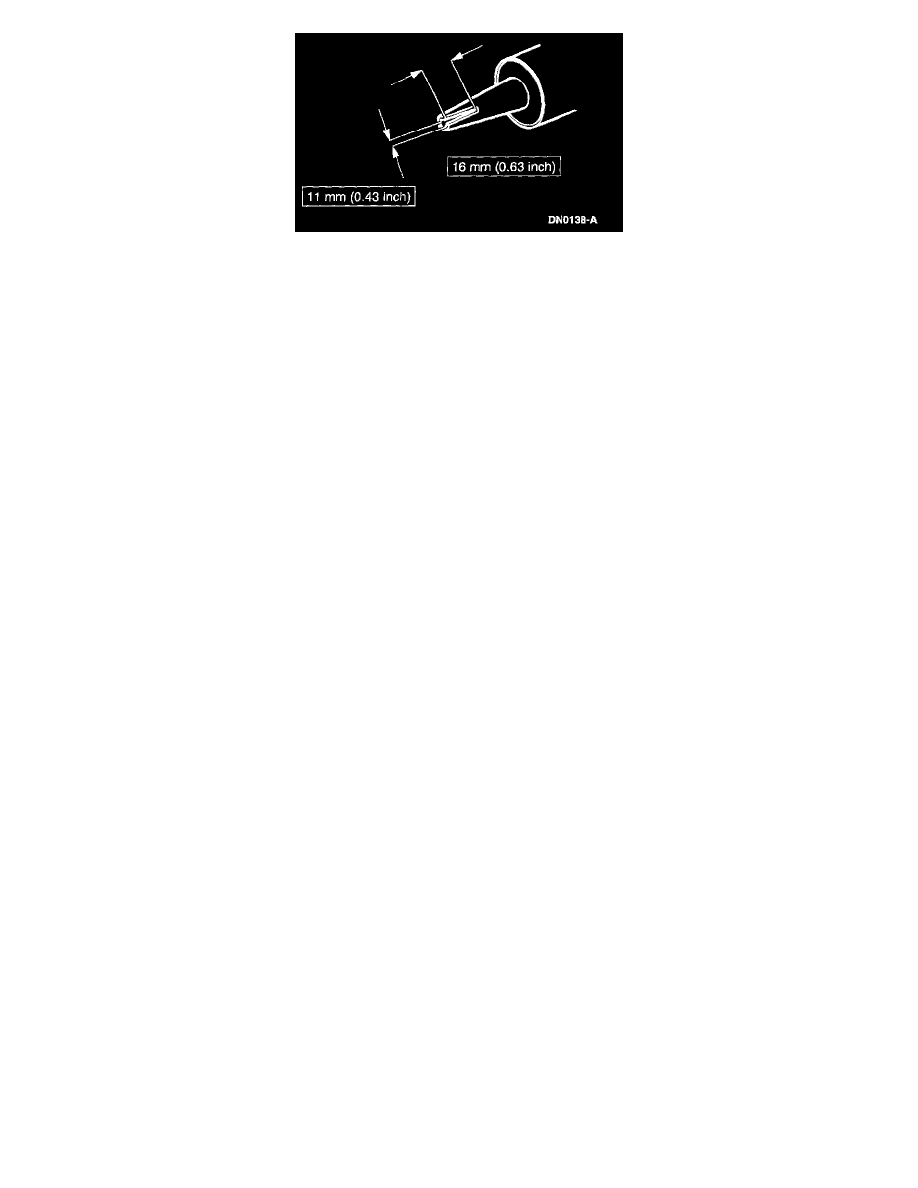
The urethane bead must have a triangular cross section.
NOTE: If Essex U216 is used, the vehicle may be released in one hour.
Cut the applicator tip of Essex 400 HV or Essex U216 Urethane High Viscosity Adhesive, Ford specification WSB-M2G316-B, to specification.
This will produce a triangular bead during application.
12. CAUTION:
The windshield glass must be positioned within 10 minutes of applying the urethane adhesive.
NOTE: If Essex U216 is used, the vehicle may be released in one hour.
Apply a uniform 11-mm (0.43-inch) bead of Essex 400 HV or Essex U216 Urethane High Viscosity Adhesive, Ford specification
WSB-M2G316-B, on top of the existing trimmed urethane bead on the pinchweld.
Make sure that all gaps in the urethane bead are smoothed into one continuous bead.
13. WARNING: Inadequate or incorrect curing of the urethane adhesive will adversely affect windshield glass retention. After installing
urethane bonded glass, the vehicle must not be driven until the urethane has cured. Using Essex 400 HV at 21°C (7°F) and
relative humidity above 50%, adequate cure time is typically 24 hours (less at higher temperatures and higher humidity).
Follow manufacturer's instructions.
CAUTION: Before positioning the windshield glass, open vehicle windows to prevent the air pressure of closing doors from affecting the
adhesive bond.
The windshield glass must be positioned within 10 minutes of applying the urethane adhesive.
NOTE: If Essex U216 is used the vehicle may be released in one hour.
Using the alignment marks made previously, position the windshield glass on the pinchweld.
14. Check the glass installation for air or water leaks.
15. Install the roof trim panel.
16. Install the inside visor.
17. Install the overhead console.
18. Install the windshield side garnish mouldings.
19. Install the interior rear view mirror.
20. Install the cowl vent grille.
