
F 250 4WD Super Duty V8-6.4L DSL Turbo (2008)
Bench Seat Cushion (Part 2)
Disassembly and Assembly
1. Remove the front seat.
2. Remove the seat backrest.
3. Remove the seat track.
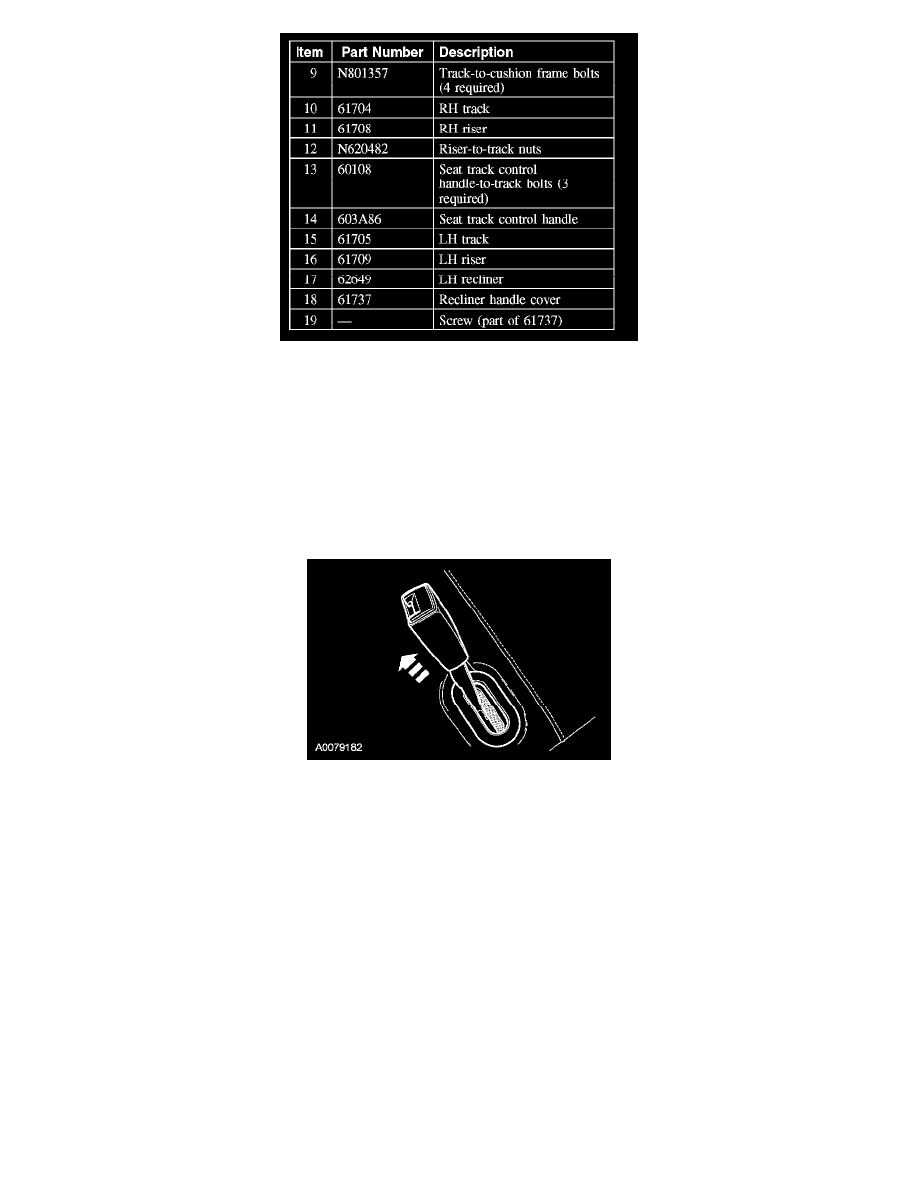
4. NOTE: One buckle shown, others similar.
Pull the safety belt (if equipped) and safety belt buckles through the cushion trim.
-
For driver safety belt buckle, separate the buckle switch electrical connector from the cushion frame.
5. Release all cushion trim cover J-clips attached to the cushion frame.
6. NOTE: Note the position of the latch cable for installation.
Release the latch cable retainers from the cushion frame and remove the latch cable.
7. Remove the cushion frame from the cushion foam pad.
8. CAUTION: Use care when separating the seat cushion trim cover from the hook-and-loop strip, or the hook-and-loop strip can be torn
from the seat cushion foam.
Remove the cushion trim cover from the cushion foam pad.
-
Invert the cushion trim cover and release the hook-and-loop strips.
9. To assemble, reverse the disassembly procedure.
10. Install the seat track.
11. Install the front bench seat backrest.
12. Install the front seat.
13. Prove out the SRS as follows:
Turn the ignition switch ON. Visually monitor the air bag warning indicator. The air bag warning indicator will light continuously for
approximately 6 seconds and then turn OFF. If an air bag SRS fault is present, the air bag warning indicator will: