
F 250 4WD Super Duty V8-6.4L DSL Turbo (2008)
Water In Fuel Sensor: Removal and Replacement
WATER-IN-FUEL SENSOR
Removal
All vehicles
1. Remove the fuel conditioning module.
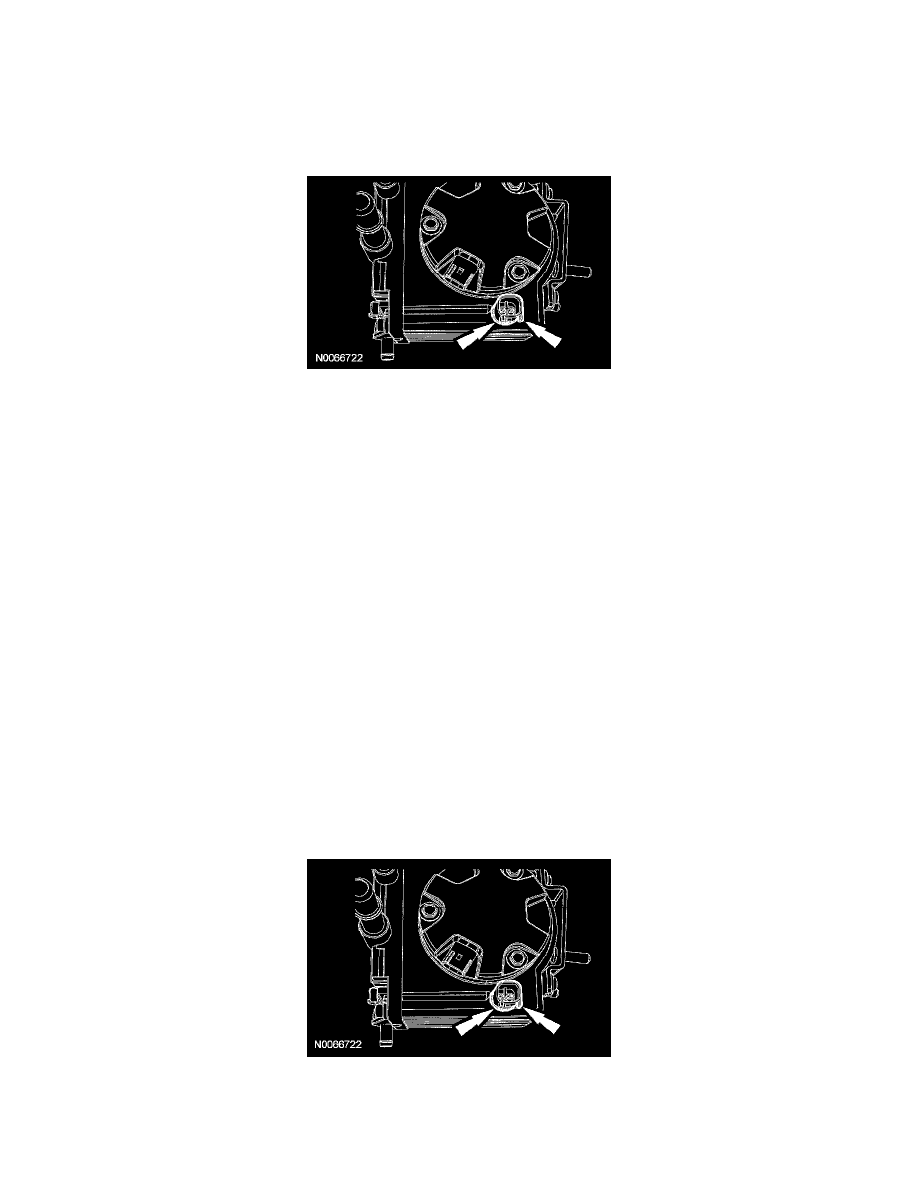
2. Note the orientation of the water-in-fuel sensor locating guides.
3. NOTE: Use care when removing the water-in-fuel sensor. If the sensor is damaged during removal, the fuel conditioning module cover must be
removed and the module cleaned to remove any pieces of the damaged sensor.
Using an appropriate tool, turn the water-in-fuel sensor at least 45 degrees counterclockwise.
4. Pull the water-in-fuel sensor straight out of the fuel conditioning module.
5. Inspect the water-in-fuel sensor for damage. Make sure that there are no pieces broken off of the sensor.
Vehicles with a damaged sensor
6. Remove the screws and manifold cover.
7. Clean the inside of the fuel conditioning module, making sure that any loose pieces of the water-in-fuel sensor are removed.
Installation
Vehicles with a damaged sensor
1. Install a new manifold cover seal and clean the seal mating surface.
2. Install the manifold cover and screws.
-
Lubricate the manifold cover seal with clean motor oil just before installing the cover.
-
Tighten to 5 Nm (44 lb-in).
All vehicles
3. NOTE: Make sure the water-in-fuel sensor hole is clean.
Lubricate the water-in-fuel sensor hole and water-in-fuel sensor seal with clean motor oil.
4. NOTE: The guides on the water-in-fuel sensor should be pointing downward.
Align the water-in-fuel sensor to the water-in-fuel sensor hole and insert the sensor until a click is heard or felt.