
F 250 4WD Super Duty V8-7.3L DSL Turbo VIN F (2001)
and the washer from the lower end of the housing.
6. Install the adjusting screw and the sealing nut assembly (without moving the nut on the screw) into the housing until the nut is firmly against the
housing. Tighten the sealing nut against the housing.
7. CAUTION: Do not mix fluid types. Mixing transmission fluid, motor Oil, or other hydraulic fluids will cause seals to deteriorate faster.
Fill the power steering reservoir with the specified fluid, Motorcraft MERCON ATFXT-2-QDX or MERCON equivalent.
8. Place a jack under the center of the front axle and jack up the front end of the vehicle so the steering axle tires are off the ground.
9. Start the engine and let it run at idle speed.
10. Note which output shaft timing mark is nearest the housing piston bore.
11. Turn the steering wheel to make right-hand turn (which makes the pitman arm turn in a counterclockwise direction toward the poppet adjusting
screw). Turn in this direction until axle stop contact is made.
12. Pull hard on the steering wheel (put 30 pounds of rim pull on a 20-inch diameter steering wheel) after the axle stop is contacted.
13. Turn the steering wheel in the opposite direction (end of timing mark away from the adjusting screw) until the other axle stop is contacted.
14. Pull hard on the steering wheel (put 44 pounds of rim pull on an 18-inch diameter steering wheel).
15. Release the steering wheel and shut off the engine. Do not steer again until Step 18 is completed.
16. Loosen the sealing nut and back out the adjusting screw until it is past the nut. Tighten the sealing nut against the housing.
17. Start the engine and let it idle.
18. CAUTION: Do not hold the steering wheel in this position for more than 10 seconds at a time. Excessive heat buildup can damage components.
Turn the steering wheel in the original direction (end of timing mark toward adjusting screw), until axle stop contact is made.
19. Hold the steering wheel in this position (with 30 pounds rim pull) for 10 seconds, then release. Repeat this hold and release process as many times
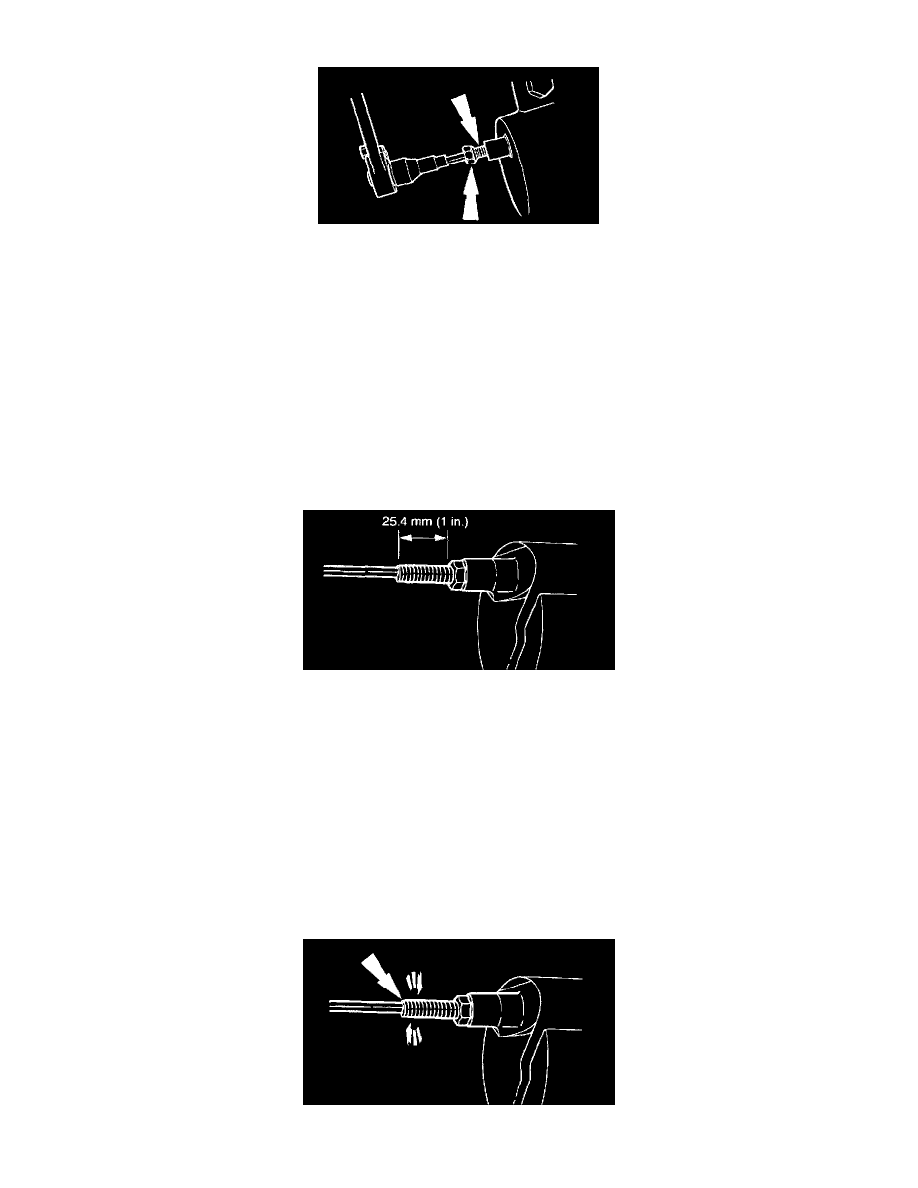
as necessary while completing Step 21.
20. With the steering wheel held at full lock position, loosen the jam nut and hold it in place with a wrench.
21. NOTE:
-
Do not attempt to turn further.
-
Pause the turning of the adjusting screw each time the driver releases the steering wheel. Continue turning only while the wheel is held at full
turn.
Turn the adjusting screw in (clockwise) using finger pressure only (do not use a ratchet) until the Allen wrench comes to a stop.