
F 350 2WD Super Duty V10-6.8L (2009)
4. Remove the RH and LH A-pillar trim panels. For additional information, refer to A-Pillar Trim Panel See: Trim Panel/Service and
Repair/A-Pillar Trim Panel.
5. Remove the RH and LH B-pillar trim panels. For additional information, refer to B-Pillar Trim Panel - SuperCab See: Trim Panel/Service and
Repair/B-Pillar Trim Panel - SuperCab.
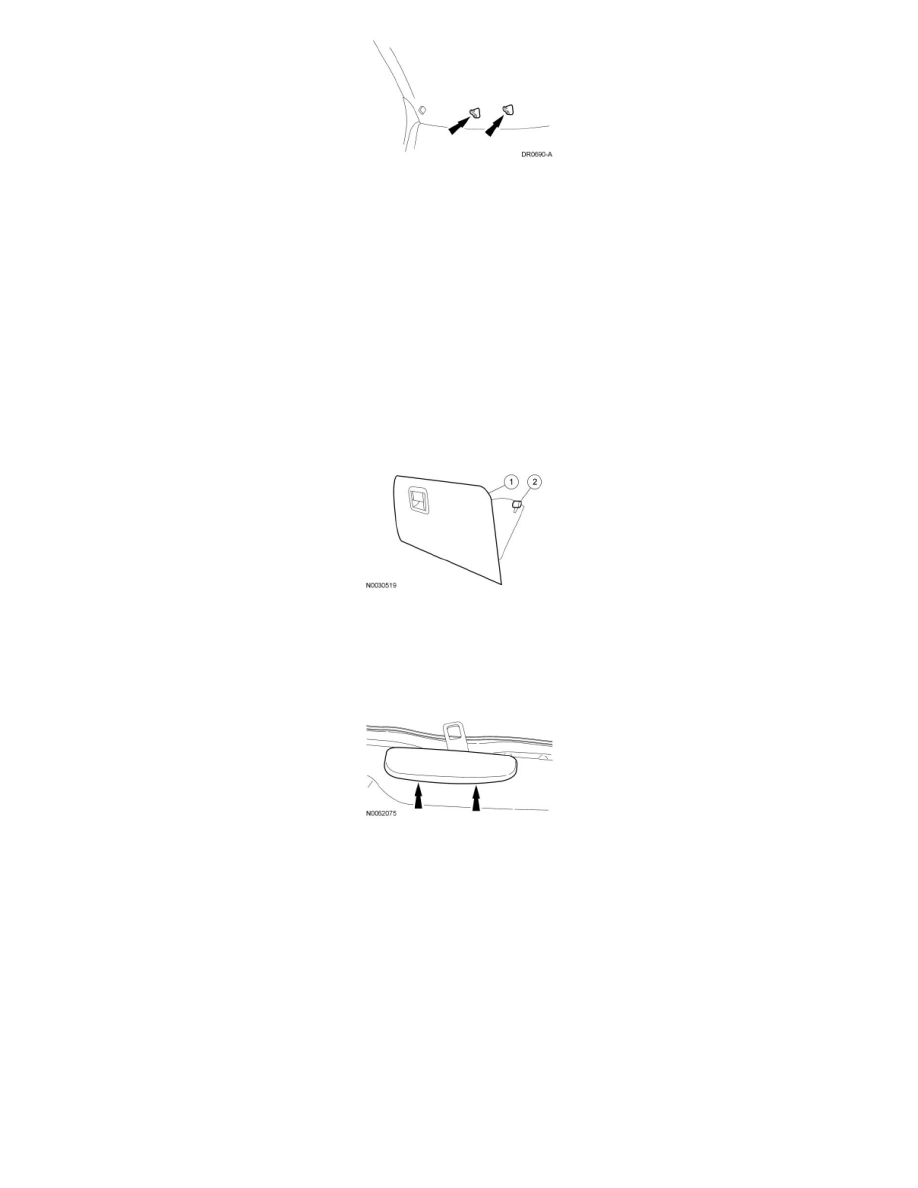
6. Remove the RH and LH rear garment hooks.
-
Open the rear garment hook screw access covers.
-
Remove the 2 rear garment hook screws.
7. Lower the glove compartment.
1. Open the glove compartment.
2. Depress the glove compartment stop and lower the glove compartment.
8. Through the glove compartment opening, disconnect the headliner electrical connector that is located at the RH instrument panel, toward the front
of the vehicle.
9. Remove the RH and LH rear door latch covers.
10. Remove the 3 headliner pushpin retainers.
11. NOTICE: Make sure not to crease the headliner when removing it from the vehicle.
With the help of an assistant, remove the headliner.
12. To install, reverse the removal procedure.