F 350 2WD Super Duty V10-6.8L (2009)

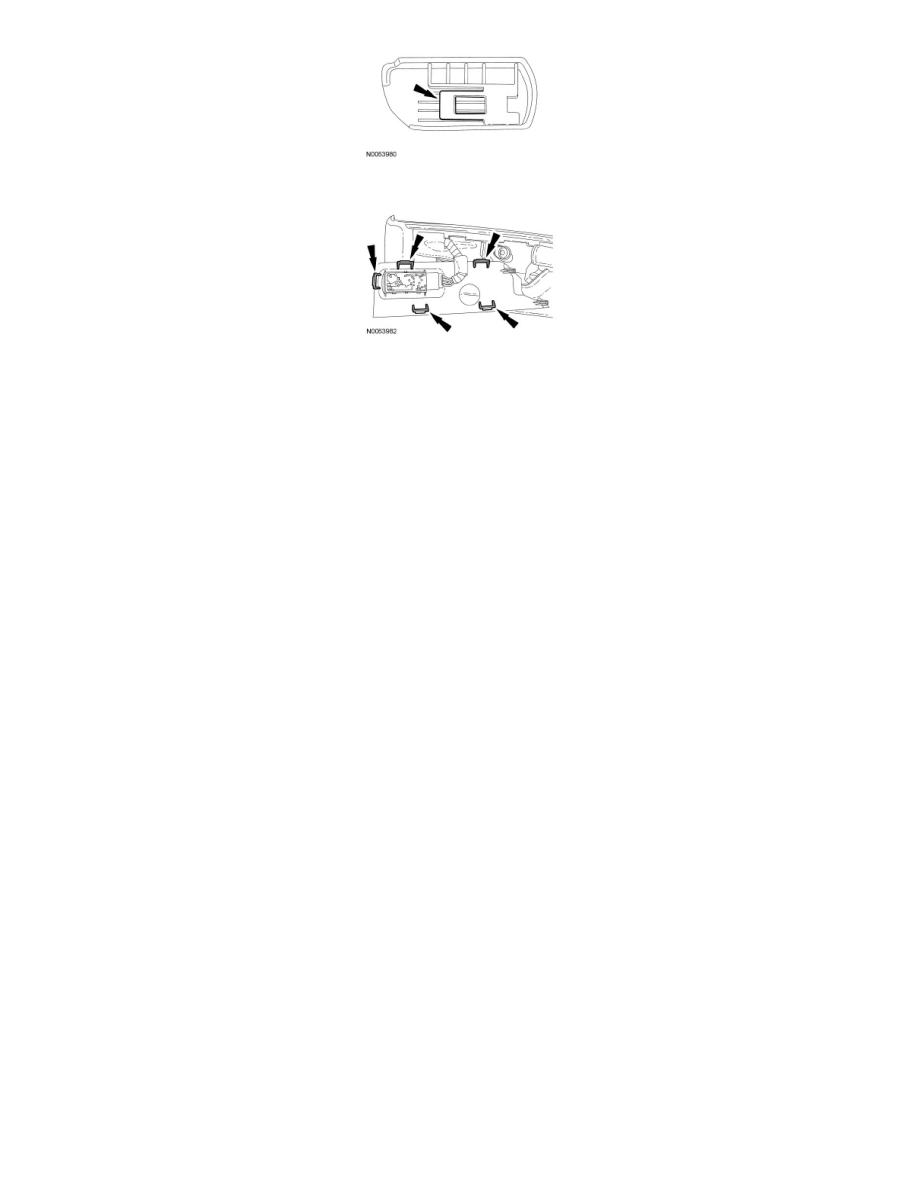
4. Release the clips, slide forward and separate the cushion side shield insert.
5. Disconnect the seat control switch (if equipped) and remove the cushion side shield insert.
6. Remove the pin-type retainers at the front and back of the cushion side shield.
7. Remove the 2 screws and cushion side shield.
8. Release the backrest trim cover lower J-clip.
9. Roll the backrest trim cover up enough to expose the recliner-to-backrest frame bolts.
10. Remove the 2 recliner-to-backrest frame bolts.
-
To install, tighten to 50 Nm (37 lb-ft).
11. Remove the 2 recliner-to-cushion frame bolts and recliner.
-
To install, tighten to 50 Nm (37 lb-ft).
12. To install, reverse the removal procedure.
Seat Backrest - Rear, Crew Cab, 60/40 Seat
Seat Backrest - Rear, Crew Cab, 60/40 Seat
Removal and Installation
1. Remove the 60/40 percent rear seat. For additional information, refer to Seat - Rear, Crew Cab, 60/40 Seat See: Service and Repair/Rear
Seats/Seat - Rear, Crew Cab, 60/40 Seat.
2. If equipped, remove 4 storage compartment strap screws.
-
To install, tighten to 25 Nm (18 lb-ft).
3. Remove the 2 bolts from the back side of the center support.
-
To install, tighten to 50 Nm (37 lb-ft).
4. Separate the 40 percent seat and the 60 percent seat from the center support.
5. Remove the screw and side latch shield.
6. Remove the screw and cushion release handle.
7. Pry the side shield to release the 3 clips and remove the side shield.
8. Remove the 2 bolts and backrest assembly.
-
To install, tighten to 50 Nm (37 lb-ft).
9. To install, reverse the removal procedure.
