
F 350 2WD Super Duty V10-6.8L (2009)
Muffler: Service and Repair
Muffler and Tailpipe
Muffler and Tailpipe - Gasoline Engines
Removal
NOTE: Exhaust fasteners are of a torque prevailing design. Use only new fasteners with the same part number as the original. Torque values must be
used as specified during reassembly to make sure of correct retention of exhaust components.
1. With the vehicle in NEUTRAL, position it on a hoist.
2. Loosen the catalytic converter-to-muffler coupling or, if equipped, the exhaust intermediate pipe-to-muffler coupling.
3. Support the muffler and tail pipe assembly.
4. Disconnect the muffler isolators.
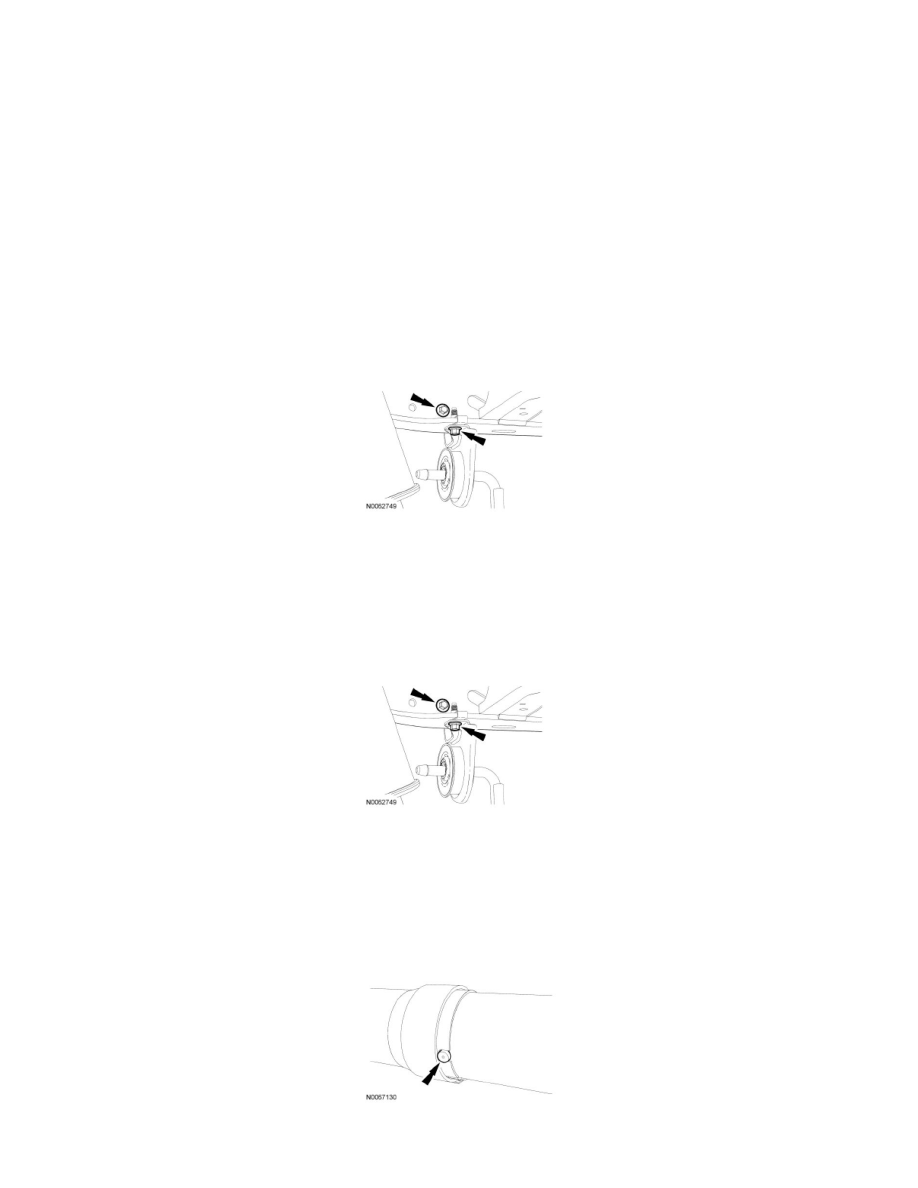
5. Remove the 2 tailpipe isolator and bracket bolts from the frame and remove from the tail pipe.
6. Remove the muffler and tail pipe from the vehicle.
Installation
1. Position the muffler and tail pipe into the vehicle and support.
2. Install the tailpipe isolator and bracket onto the tail pipe and install the 2 tail pipe isolator and bracket bolts to the frame.
-
Tighten to 20 Nm (177 lb-in).
3. Connect the muffler isolators.
4. Install the catalytic converter or catalytic converter delete pipe or, if equipped, the intermediate pipe into the muffler and tail pipe.
5. Make sure the button on the catalytic converter or catalytic converter delete pipe or, if equipped, the exhaust intermediate pipe is fully inserted into
the button slot on the muffler and tail pipe. Tighten the muffler and tail pipe-to-catalytic converter or catalytic converter delete pipe or, if
equipped, the exhaust intermediate pipe Torca(R) clamp.
-
Tighten to 55 Nm (41 lb-ft).
6. NOTE: The exhaust system alignment procedure only needs to be carried out if the exhaust system isolators are not at zero load.