
F 350 2WD Super Duty V10-6.8L VIN S (1999)
9. Insert the Pumper in the top center of the windshield and inflate.
10. Insert the Interior Glass Cut-Out Knife into the bottom of the urethane sealant and work from corner to corner.
11. Carefully remove the windshield glass from the vehicle.
WARNING: Removing the glass requires more than one technician.
NOTE: If resealing the windshield, tape the windshield at the windshield stops for aid when installing the windshield.
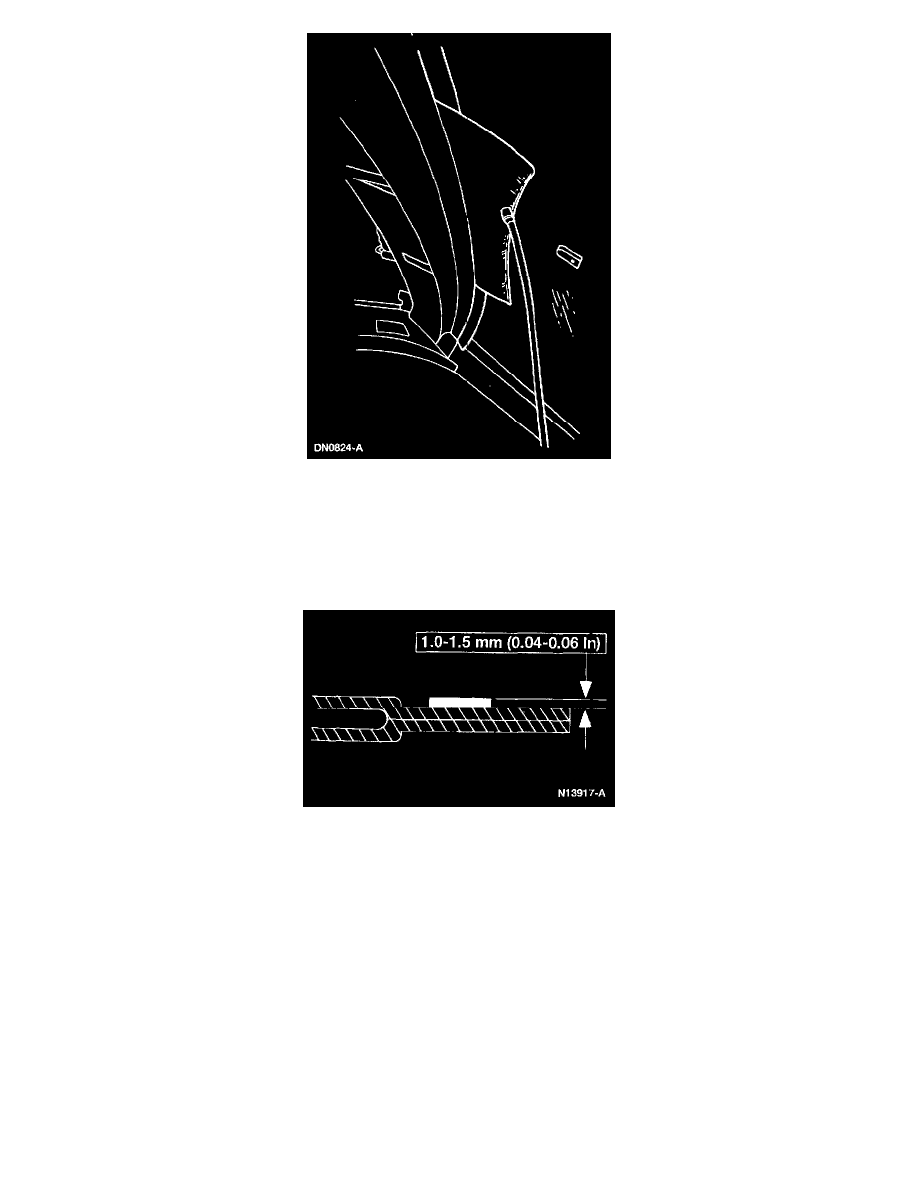
12. Trim the remaining urethane on the pinch weld to within the specification.
-
The old urethane must be smooth and free of cuts and contamination.
13. Using a clean rag, wipe the pinch weld of any foreign material or water that may have entered the pinch weld during removal of the windshield.
INSTALLATION
1. Check the pinch weld for damaged sheet metal, raised sheet metal at the spot welds, rust or foreign material that could cause glass damage.
2. Apply Urethane Body Primer WSB-M2G234-C (black) to any exposed metal on the pinch weld.
-
DO not apply the primer to the existing urethane bead.
-
Let the primer dry for a minimum of 6-10 minutes before proceeding.
3. If reinstalling the same windshield glass, remove all remaining traces of urethane sealant from the glass.
4. Clean the inside of the windshield glass with an alcohol-free cleaner.
5. If installing a new windshield, apply Urethane Glass Primer Wipe WSB-M5B280-C2 (red) to the entire inside perimeter of the windshield glass.
Wipe off immediately after each application.
NOTE: Apply with deliberate strokes, making sure not to overlap the applied area.
6. If installing the same windshield, apply Urethane Glass Primer WSB-M2G314-B (black) to the entire inside perimeter of the windshield glass.
Allow a minimum of 5 minutes drying time.