
F 350 2WD Super Duty V8-6.4L DSL Turbo (2009)
2. NOTICE: To avoid damage to the front console front panel, remove any retaining clips from the console and attach them to the front
panel before installing.
Remove the 2 front console front panel screws and remove the front panel.
3. NOTICE: To avoid damage to the front console rear panel, remove any retaining clips from the console and attach them to the rear panel
before installing.
Remove the 2 front console rear panel screws. Remove the rear panel and disconnect the front console rear power point.
4. Remove the 2 (1 each side) front console side panel screws.
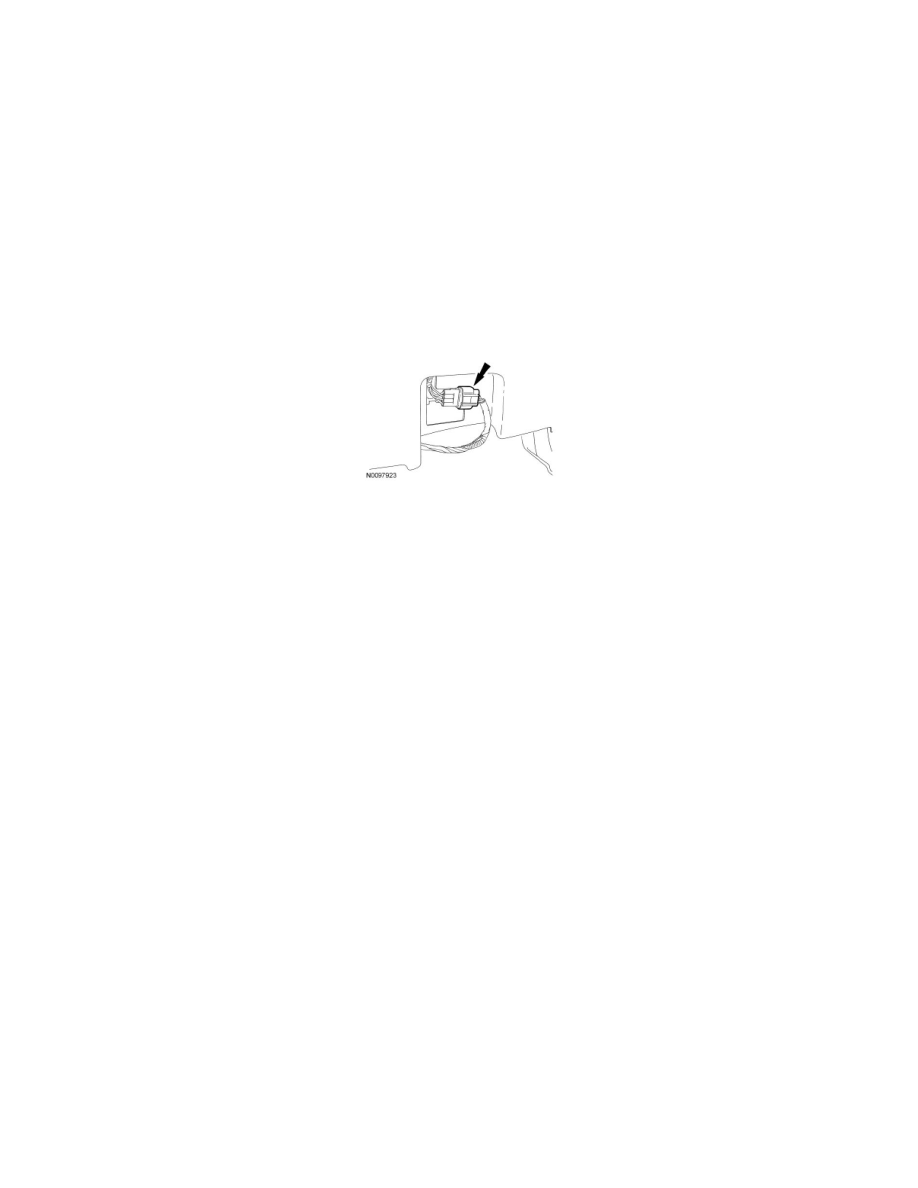
5. NOTE: The front RH seat has been removed for an unobstructed view of the electrical connector.
NOTE: To remove the front console RH side panel, the electrical connector will need to be disconnected.
Disconnect the front console electrical connector located on the RH side panel.
6. Remove the front console side panels by slightly lifting upward and then sliding the panels rearward and out.
7. Remove the 6 (3 each side) front console upper storage compartment screws and remove the upper half of the front console storage compartment.
8. NOTE: The locking insert has 2 sided tape that attaches to the inside of the front console storage compartment.
Remove the locking insert. Clean any remaining tape from the inside of the front console storage compartment.
9. To install, reverse the removal procedure.
-
Make sure that the inside of the front console storage compartment is clean and free from any debris so that the 2 sided tape will adhere to the
storage compartment.