
F 350 2WD Super Duty V8-6.4L DSL Turbo (2009)
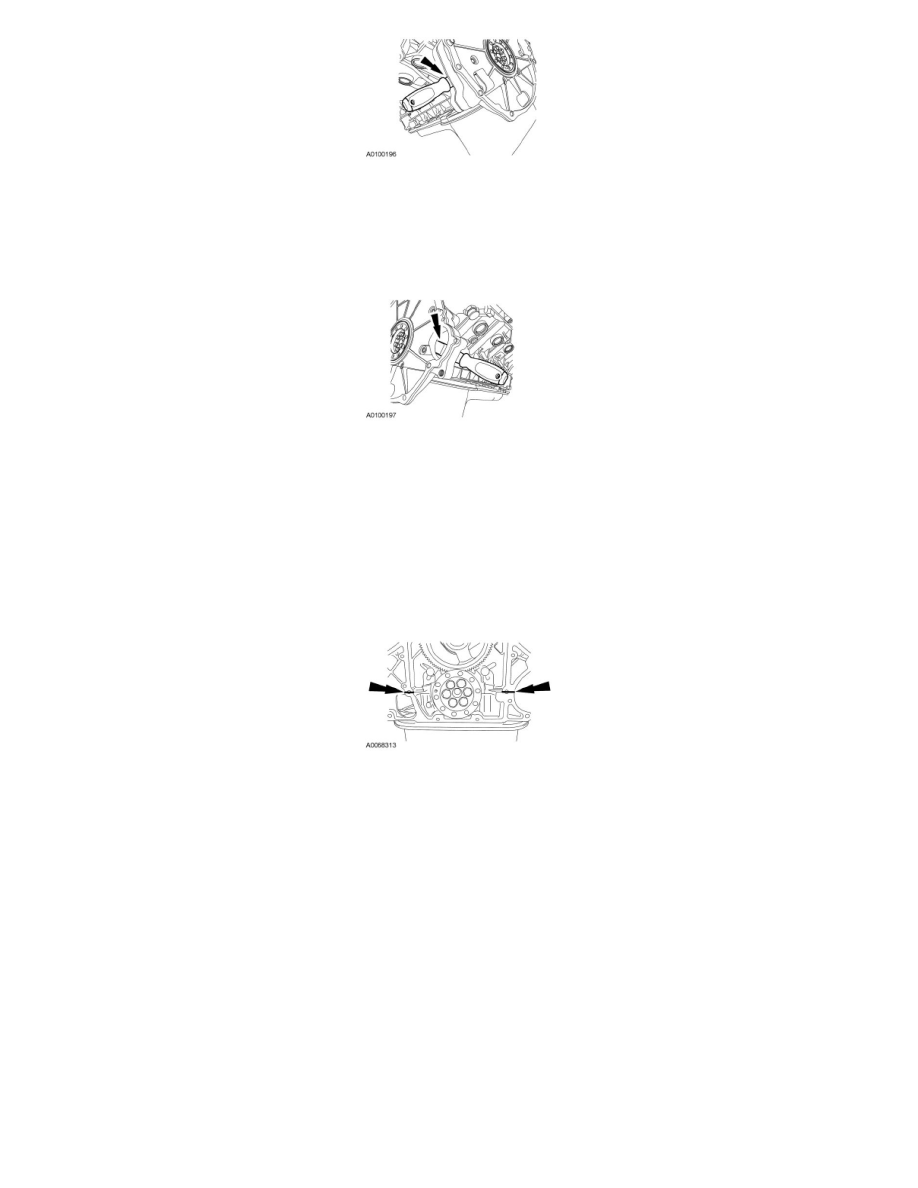
22. NOTICE: Sealant is used where the crankcase and the lower crankcase meet. Failure to cut the sealant could result in pulling the lower
crankcase seal out while removing the rear cover.
NOTE: A 139.7 mm (5.5 in) long thin-blade scraper will be needed to correctly cut the sealant.
Use a thin-blade scraper to cut the sealant where the crankcase and the lower crankcase meet.
23. Using a thin-blade scraper, remove the rear engine cover off the engine.
-
Remove and discard the press-in-place gasket.
-
Clean and inspect the sealing surfaces.
Installation
All vehicles
1. Apply a dime-sized bead of sealant at the back seam of the crankcase.
2. NOTICE: To prevent engine damage, replace damaged or missing dowel pins before installing the engine rear cover.
NOTE: Prior to installing the engine rear cover, check that the alignment dowels are centered so that 10 mm (0.393 in) of the dowel extends
toward the engine and 10 mm (0.393 in) extends toward the transmission.
Position the new press-in-place gasket, the engine rear cover and install the 8 bolts.
-
Tighten to 31 Nm (23 lb-ft).
Manual transmission vehicles
3. Install the 3 engine rear cover bolts.
-
Tighten to 62 Nm (46 lb-ft).
All vehicles
4. Install the starter.
5. Install the crankshaft rear seal. For additional information, refer to Crankshaft Rear Seal - Early Build See: Seals and Gaskets/Crankshaft Main
Bearing Seal/Service and Repair/Crankshaft Rear Seal - Early Build or Crankshaft Rear Seal - Late Build See: Seals and Gaskets/Crankshaft Main
Bearing Seal/Service and Repair/Crankshaft Rear Seal - Late Build.