
F 350 2WD Super Duty V8-6.4L DSL Turbo (2009)
-
Stage 1: Tighten to 9 Nm (80 lb-in).
-
Stage 2: Loosen the clamps 720 degrees.
-
Stage 3: Tighten to 7 Nm (62 lb-in).
10. Tighten the EGR cooler support bracket lower 2 bolts.
-
Tighten to 31 Nm (23 lb-ft).
11. Tighten the EGR cooler support bracket upper bolt and the lower stud bolt.
-
Tighten to 31 Nm (23 lb-ft).
12. Position back the 2 power steering tube position retainers and install the nut.
-
Tighten to 25 Nm (18 lb-ft).
13. Tighten the EGR cooler upper nut and bolt.
-
Tighten to 31 Nm (23 lb-ft).
14. Tighten the 2 EGR cooler lower nuts.
-
Tighten to 31 Nm (23 lb-ft).
Late build vehicles
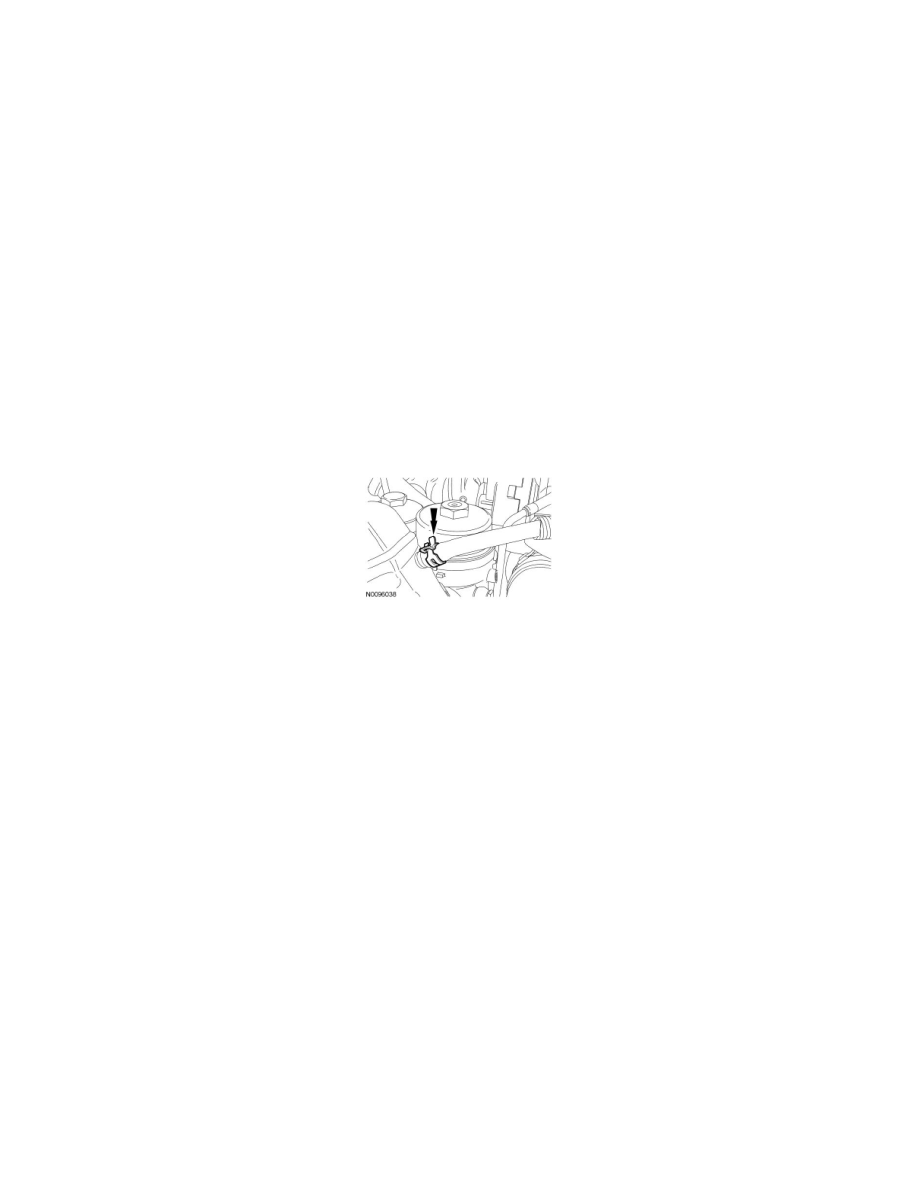
15. Connect the hose to the EGR cooler.
Early build vehicles
16. Install the EGR valve coolant supply hose position retainer and the nut.
-
Tighten to 12 Nm (106 lb-in).
17. Using a new clamp, connect the EGR valve coolant supply hose.
-
Tighten to 4 Nm (35 lb-in).
All vehicles
18. Connect the EGRT sensor electrical connector.
19. Install the cooling fan stator.
20. Position back the CAC tube and tighten the clamp.
-
Tighten to 12 Nm (106 lb-in).
21. Position back the power steering reservoir and install the 2 bolts.
-
Tighten to 8 Nm (71 lb-in).
22. Connect the fuel cooler tube to the retainer on the power steering reservoir.
23. Install the spring clip and connect the upper radiator hose quick connect coupling.
24. Install the degas bottle assembly.
Exhaust Gas Recirculation (EGR) Cooler - Horizontal Cooler
Exhaust Gas Recirculation (EGR) Cooler - 6.4L Diesel, Horizontal Cooler
Removal and Installation