
F 350 2WD Super Duty V8-6.4L DSL Turbo (2009)
Installation
1. NOTICE: Use a back-up wrench to prevent the fittings in the high-pressure fuel injection pump from turning. If the fittings move, the
high-pressure fuel injection pump will be damaged and must be replaced.
NOTE: It will be necessary to use a thin or low profile wrench to hold the fittings on the high-pressure fuel injection pump.
Install the fuel injection pump-to-fuel cooler return tube, new copper sealing washers and nut.
-
Tighten to 38 Nm (28 lb-ft).
2. NOTE: Use a crowfoot wrench to aid in tightening the fitting.
Connect the fuel injector return tube fitting at the check valve.
-
Calculate the correct torque wrench setting for the following torque.
-
Using a torque adapter, tighten to 28 Nm (21 lb-ft).
3. NOTICE: Failure to correctly install the high-pressure fuel injection pump heat shield may result in engine damage.
Install the high-pressure fuel injection pump heat shield in the vehicle and install the 2 center bolts.
-
Tighten to 13 Nm (115 lb-in).
4. Position the fuel tube bracket and ground wire. Install the 5 retaining nuts and bolt for the high-pressure fuel pump shield.
-
Tighten the fuel line bracket nuts to 7 Nm (62 lb-in).
-
Tighten the remaining fasteners to 13 Nm (115 lb-in).
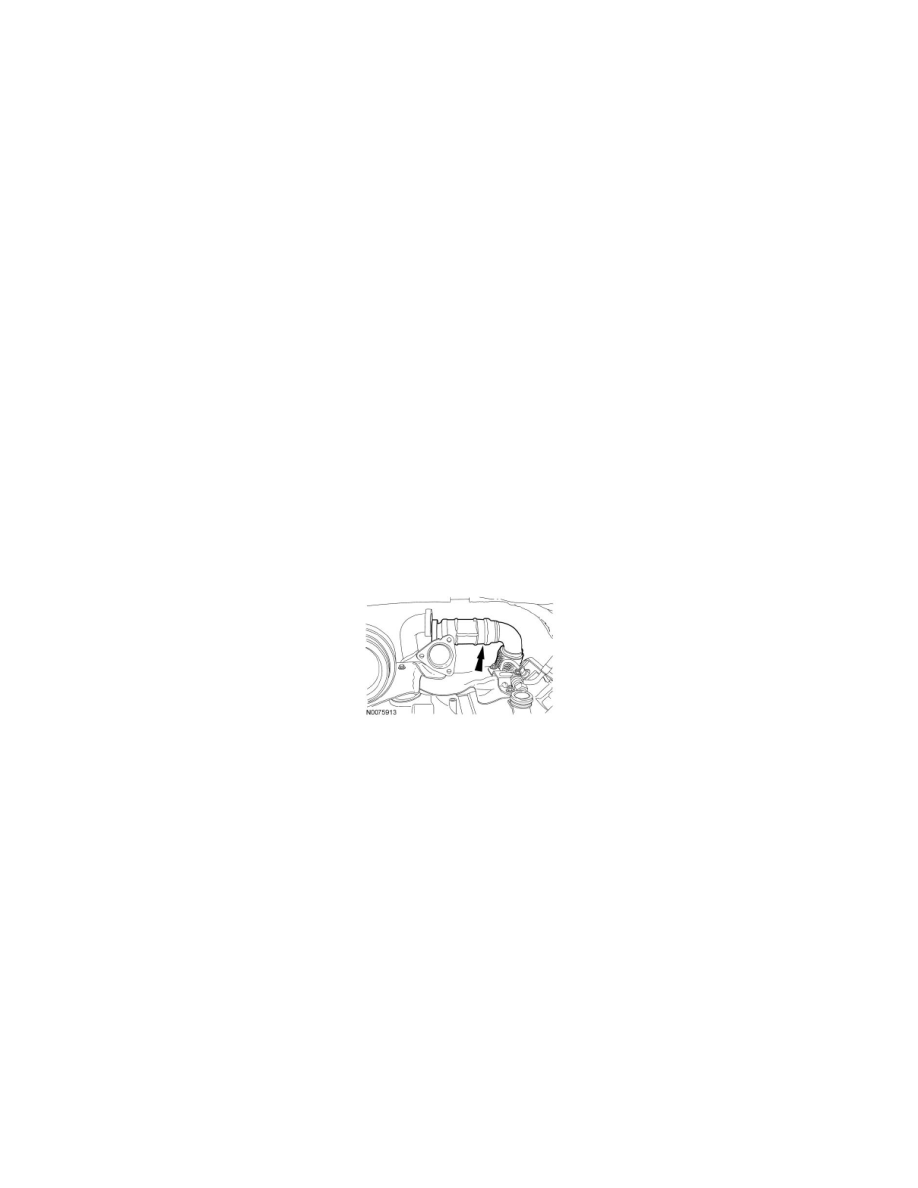
5. Position the EGR-OC pipe in the vehicle.
6. Install the turbocharger. Carry out the Turbocharger - Body On procedure.