
F 350 4WD Pickup V8-351 5.8L VIN H EFI (1997)
Valve Cover: Service and Repair
Right Side
REMOVAL
1. Remove upper intake manifold.
2. Remove positive crankcase ventilation valve (PCV valve) from valve cover.
3. Remove clips securing wiring harness to valve cover and position wiring harness out of way.
4. Disconnect spark plug wires from spark plugs by grasping, twisting and pulling the molded cup using Spark Plug Wire Remover T74P-6666-A.
5. Unclip spark plug wires from valve cover and position wires out of way.
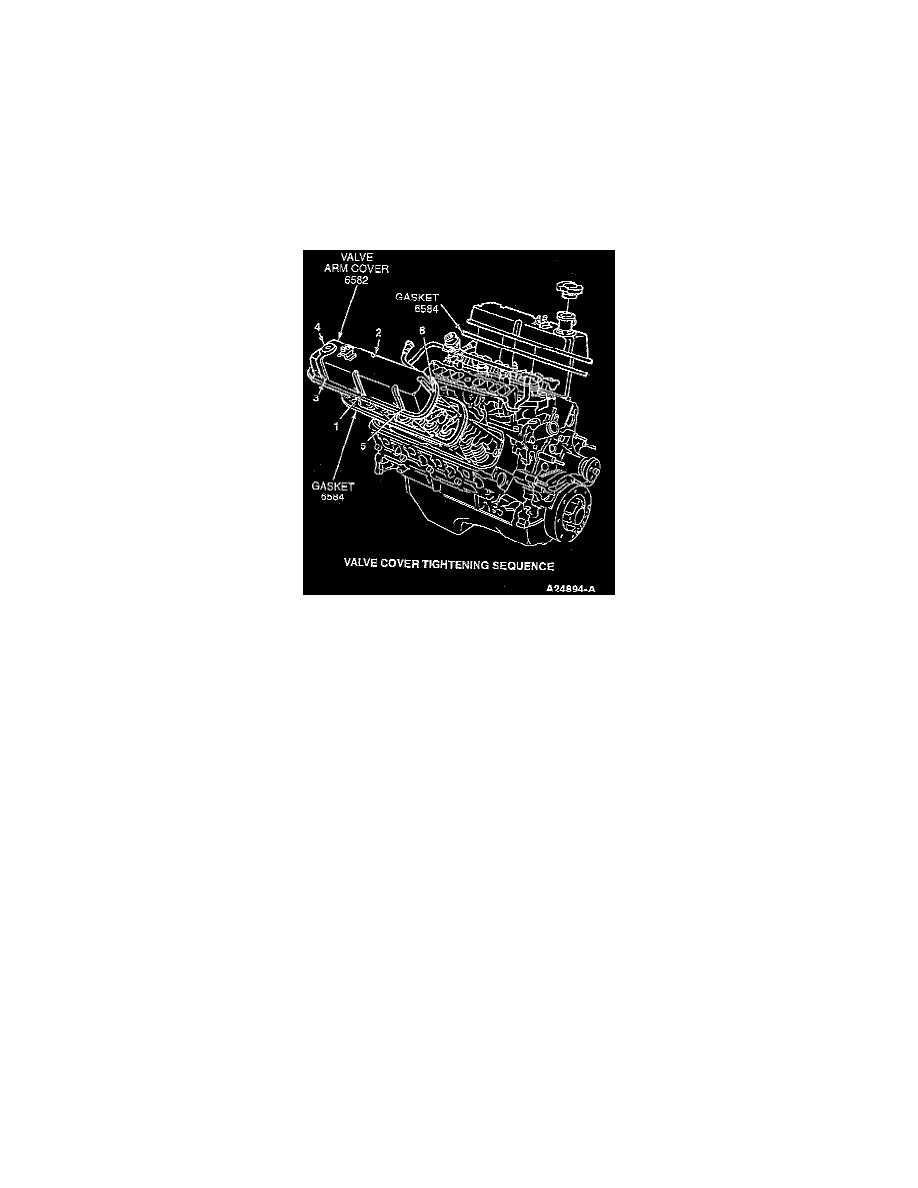
6. Remove valve cover attaching bolts and remove valve cover.
INSTALLATION
1. Clean and inspect gasket surfaces. Inspect the gasket sealing surface for damage and distortion due to overtightening of the bolts. Service and
straighten as required. Place the new valve cover gaskets on the cylinder head sealing surface.
CAUTION: Do not use solutions such as brake cleaner, carburetor cleaner, etc., as these solutions can leave a residue on the machined surfaces.
Use only a cleaner which meets or exceeds Ford specification WSE-M5B392-A, such as Metal Surface Cleaner F4AZ-19A536-RA or equivalent.
NOTE: Be sure to position gasket so that chamfered edges and stamping are facing up.
2. Follow removal procedure in reverse order. Tighten valve cover attaching bolts to 16-20 Nm (12-15 ft. lbs.).