
F 350 4WD Pickup V8-351 5.8L VIN H EFI (1997)
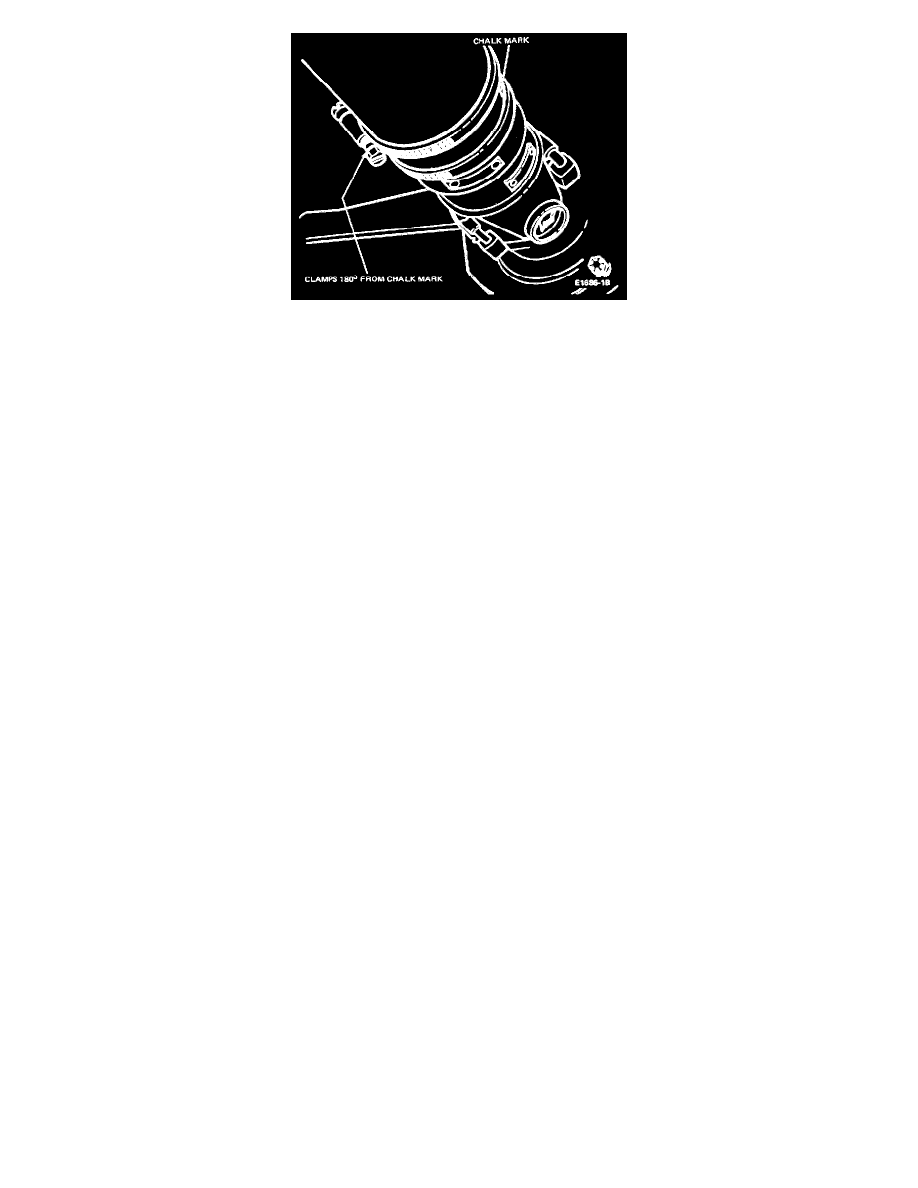
7. Install two (stainless steel) hose clamps on the driveshaft. Position the clamp heads 180 degrees from the chalk line and tighten the clamps.
8. Run the engine and driveline through the speed range. If no vibration is felt, remove the lug nuts, install the wheels and tires and reinstall the lug
nuts in the correct position and proceed to Step 10. If any vibration still exists, the combined weight of the two hose clamp heads may be in excess.
To reduce this excess weight, rotate the clamp heads away from each other approximately 15 degrees (one each way from the original position).
Run the engine and driveline and note if the vibration has been reduced.
CAUTION: Do not run the engine with the transmission engaged on the hoist for extended periods due to the danger of overheating the engine or
transmission.
9. Continue to rotate the clamp heads apart in smaller angular increments until the vehicle feel of balance (vibration) is best. At this point, install the
wheels and tires according to Step 8 and road test the vehicle to determine the actual degree of improvement. If satisfactory improvement has been
obtained, proceed with Step 10. If no improvement has been obtained, the clamps must be removed and diagnosis should be redirected to other
areas, such as wheels, tires, driveline angle and rear axle universal joint flange runout.
10. When the vehicle has been corrected to a satisfactory level, as determined by a road test evaluation, tighten the clamps securely. Clean thoroughly
with lacquer thinner, and spray the clamps with a commercially available black paint for a finished appearance.