
F 350 4WD Pickup V8-7.3L DSL (1988)
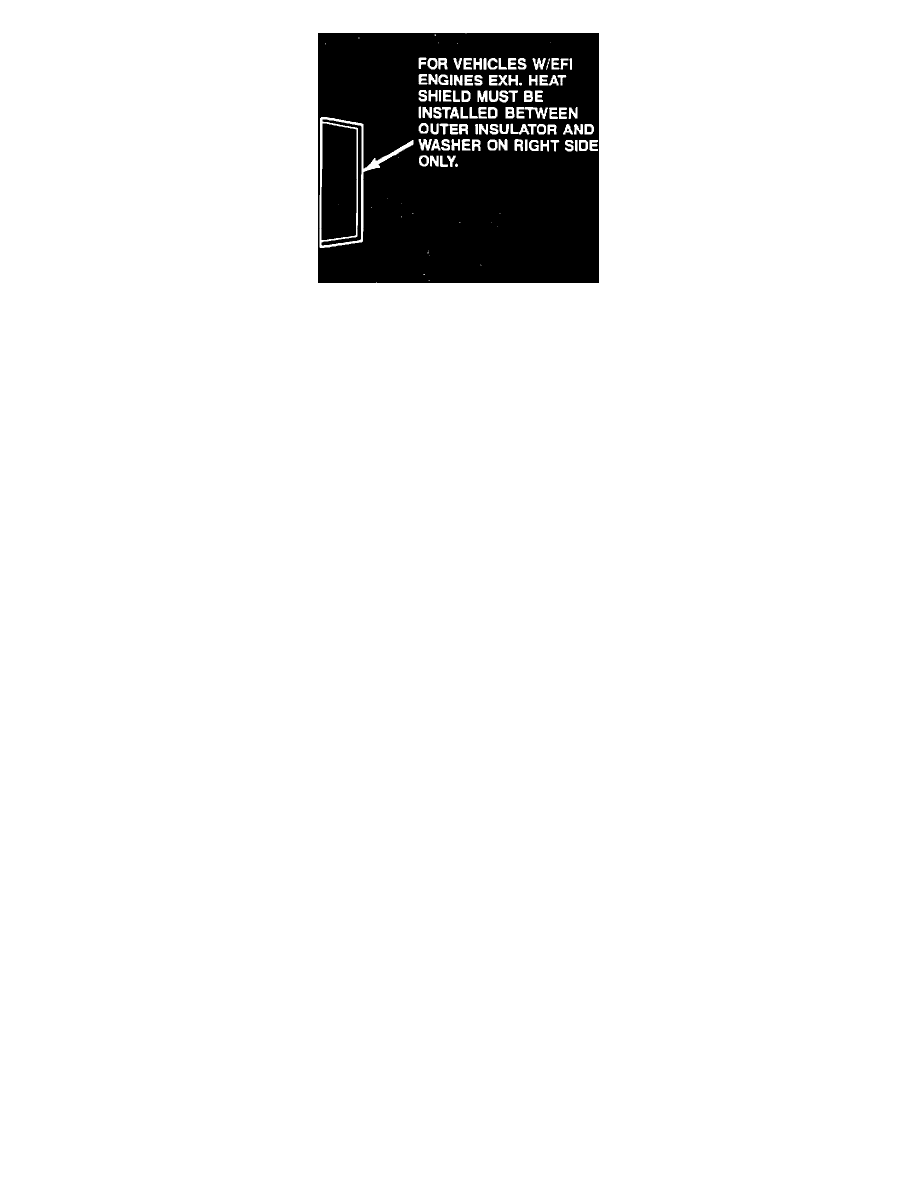
FIGURE 2
6.
Install the retainer, inner insulator on the new radius arm stud and insert the stud through the radius arm rear bracket. DO NOT REINSTALL
WEDDING BAND". DISCARD "WEDDING BAND" SPACER (N804264-S2). Attachment 5, Figure 1.
NOTE:
Vehicles with EFI engines must have a heat shield and washer installed on the right side only (See Attachment 5, Figure 2).
7.
Install the spacer, outer insulator, rear washer and nut on the arm stud at the rear side of the arm rear bracket. Tighten the nut to 109-162 N-m
(80-120 ft.lbs.).
8.
Tighten the nut on the radius arm-to-axle bolt to 364-446 N-m (269-329 ft.lbs.).
9.
Install the spring lower seat and spring insulator on the radius arm so that the hole in the seat goes over the arm-to-axle bolt.
SWAP CAMBER/CASTER ADJUSTERS FROM SIDE TO SIDE (Ref. 1988 Truck Shop Manual, Vol. A, Pg. 14-2 -9).
Removal
1.
Remove the cotter pin and loosen the nut on the lower ball joint on left side. Loosen the nut to the end of the stud only.
2.
Remove the upper ball joint camber adjuster clamp bolt nut and remove the clamp bolt from the axle.
3.
Remove the camber adjuster from the axle using Tool D81T-3010-B to wedge the adjuster out of the axle.
Installation
4.
Install the RH side camber adjuster into the LH axle aligning the slot in the adjuster correctly.
5.
Install the adjuster on the upper ball joint stud and tap the adjuster into the axle.
6.
Install the clamp bolt and nut in the axle. Tighten the nut to 65-88 N-m (48-65 ft.lbs.).
7.
Tighten the left lower ball joint stud nut to 149-190 N-m (110-140 ft.lbs.).
8.
Repeat steps 4 and 5 on RH axle to install the LH side camber adjuster into the RH axle aligning the slot in the adjuster correctly.
INSTALL NEW FRONT SPRING (Ref: 1988 Truck Shop Manual, Vol. A, Pg. 14-21-3):
1.
Determine original spring part number installed on vehicles and refer to chart to determine new spring to install:
Recall 88S39, Supplement I Spring Cange
Original
Service No.
Front Spring
Spring
New Spring
New Compliance
Code
-5310-
-5310-
Label Code
D
E0TA-DC
E0TZ-F
F
E
-EC
-G
G
F
-FC
E3TZ-S
H
G
-GC
-T
J