
F 350 4WD Pickup V8-7.3L DSL Turbo VIN F (1994)
d.
Next, swing the tensioner to the INSTALL position again, and slip the belt over the tensioner pulley from the rear of the tensioner forward
onto the pulley.
e.
Verify proper belt seating before proceeding.
10.
Install fan and shroud assembly. Only hand-tighten fan at this time.
11.
Install shroud retaining screws. Tighten screws to 6.5 +/- 1.5 N-m (58 +/- 13 in-lb).
12.
Tighten the fan clutch to 133 +/- 20 N-m (98 +/- 15 ft-lb), using the Fan Clutch Holder T83T-6312-A and the Fan Clutch Nut Wrench
T38T-6312-B.
13.
Connect and secure upper radiator hose to radiator.
14.
Install air cleaner assembly (E-Series) or air intake tube assembly (F-Series).
15.
Connect both battery negative cables. Remove Memory Saver.
16.
Fill radiator with removed coolant and install radiator cap.
17.
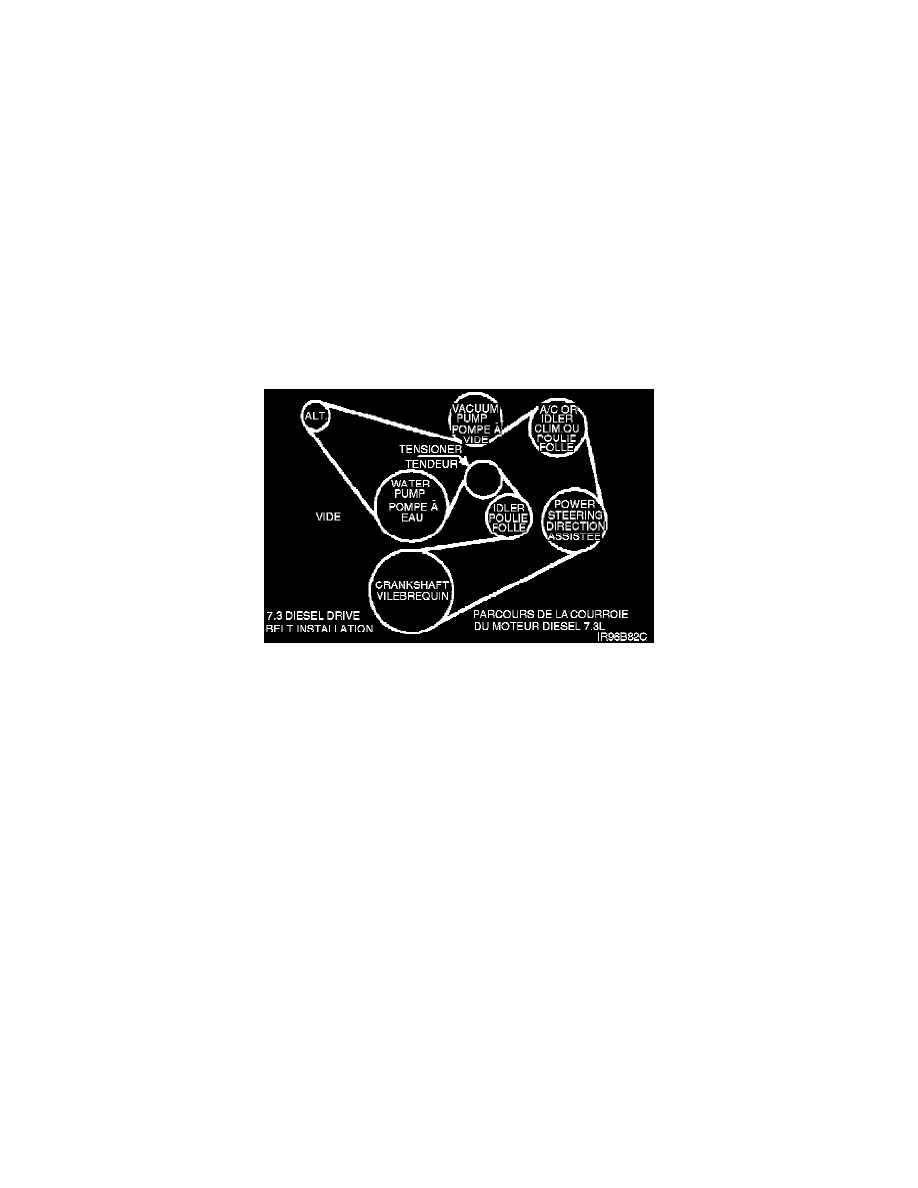
Locate the exiting belt routing decal on the radiator support. Clean the decal then install new decal (8B656) over it. See Figure 7.