
F 350 4WD Pickup V8-7.3L DSL Turbo VIN F (1994)
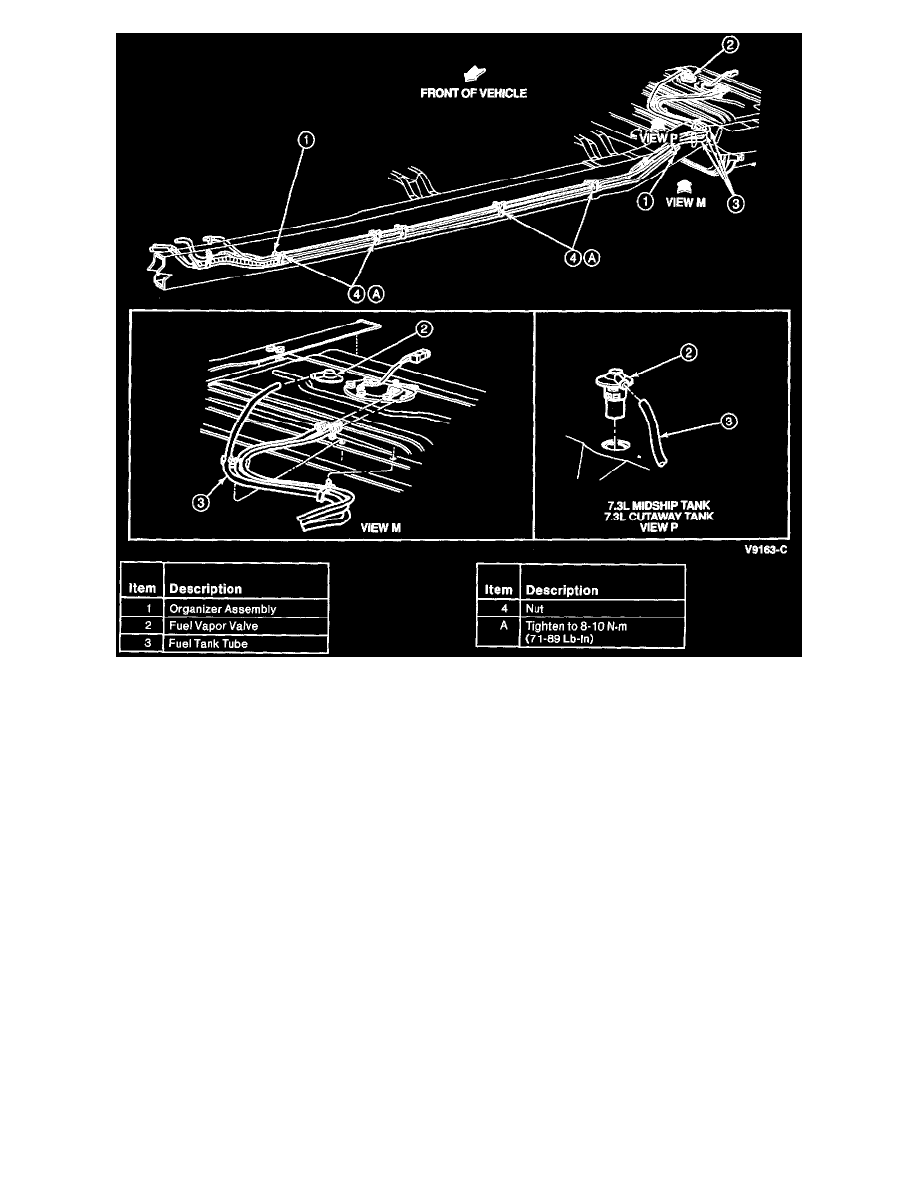
Rear Fuel Tube Installation, Aft-of-Axle Fuel Tanks, E-350 Cutaway, E-Super Duty, E-250 and E-350 Commercial Chassis
The fuel lines are a combination of flexible and steel tubing fuel supply and return tubes. The fuel tube assemblies are secured to the body rails with
clips.
Fuel supply tubes and the various fuel tubes need not be serviced as assemblies. They may be cut, squared and formed out of rolls of fuel system service
tubing and hose material available at dealerships, or a service part may be purchased.
A damaged section of tubing longer than 305 mm (12 inches) can be cut out of the existing tube and replaced by a comparable service tubing section,
spliced into the tube by means of connecting hoses and retaining clamps. A damaged section of tubing shorter than 305 mm (12 inches) can be cut out of
the tube and replaced by a length of service hose and two retaining clamps.
All replacement hoses must be cut to a length and inside diameter that will ensure proper clamp retention.
REMOVAL
1. Disconnect the damaged tube at both ends.
2. Remove the tube from the holding clips along the frame.
3. Remove all damaged hose and tube sections.
INSTALLATION
1. Cut a new section of steel tubing to approximately the same length and inside diameter as the section to be replaced. Allow extra length for flaring
the ends of the tubing where required. Square the ends of the cut tubing with a file.
2. Ream the inside edges of the cut tubing with the reamer blade on the tube cutter. Be sure metal chips are removed from inside the tube(s). Double
flare the ends of the cut tubing, as required.
3. Bend the tube section to conform to the contour of the original tube. Cut an ample length of hose to form a coupling between the ends of the fuel
tubes. Connect the hose couplings to the tubing and install the retaining clamps.
4. Position the tubes in the clips. Connect the tubes and check for leaks.