
F 350 4WD Pickup V8-7.3L DSL Turbo VIN F (1994)
Clutch Slave Cylinder: All Technical Service Bulletins
M/T - Clutch Does Not Disengage
Article No.
95-4-9
02/27/95
CLUTCH - CLUTCH DOES NOT DISENGAGE - LEAKING CLUTCH SLAVE CYLINDER - ALL DIESEL ENGINE VEHICLES
LIGHT TRUCK:
1993-95 F SUPER DUTY, F-25O, F-35O
ISSUE:
The clutch pedal may be pushed to the floor without disengaging the clutch on some vehicles. This may be caused by a leaking clutch hydraulic system,
resulting in a loss of hydraulic pressure to the clutch assembly.
ACTION:
Install a new, more robust, clutch slave cylinder and related parts. Refer to the following procedure for service details.
SERVICE PROCEDURE
1.
Inspect the clutch release hydraulic system to determine if the clutch slave cylinder is leaking. If the slave cylinder is leaking, continue to Step 2. If
the slave cylinder is not leaking, refer to the appropriate Service Manual for diagnosis procedures.
2.
Ensure there is no play or excess wear of the clutch pedal bushings. Replace the clutch pedal bushings if there is any excessive wear.
3.
Install a new Clutch Slave Cylinder (E3TZ-7A564-A). Refer to the 1994 F-250/350/Super Duty Powertrain/Drivetrain Service Manual, Section
08-02, for removal and installation details.
4.
Install a new Clutch Master Cylinder (F2TZ-7A543-D) and Tube Kit (F5TZ-7A512-A).
NOTE:
ENSURE THERE IS NO EXCESS COWL SEAM SEALER UNDER THE MOUNTING SURFACE OF THE MASTER CYLINDER. EXCESS
SEALER WILL CAUSE THE MASTER CYLINDER TO BE SLIGHTLY MISPOSITIONED.
5.
Install a new Pedal Pivot Shaft Lever (E7TZ-7A554-A) as follows:
a.
Snap the new pedal pivot shaft lever (pin) on the new clutch master cylinder push rod bushing.
b.
Install the new pedal pivot shaft lever on the clutch pedal shaft shown on Page 08-02-7 of the 1994 Service Manual.
c.
Install the attaching nut finger tight.
d.
Inspect the pedal position to ensure it is against the "up" stop.
e.
Tighten the attaching nut. This will permit the knurled teeth on the shaft to cut matching teeth in the lever, which then results in correct
positioning of the two (2) parts.
6.
After the new parts have been installed, follow the system bleeding procedures in the appropriate Service Manual to obtain proper clutch function.
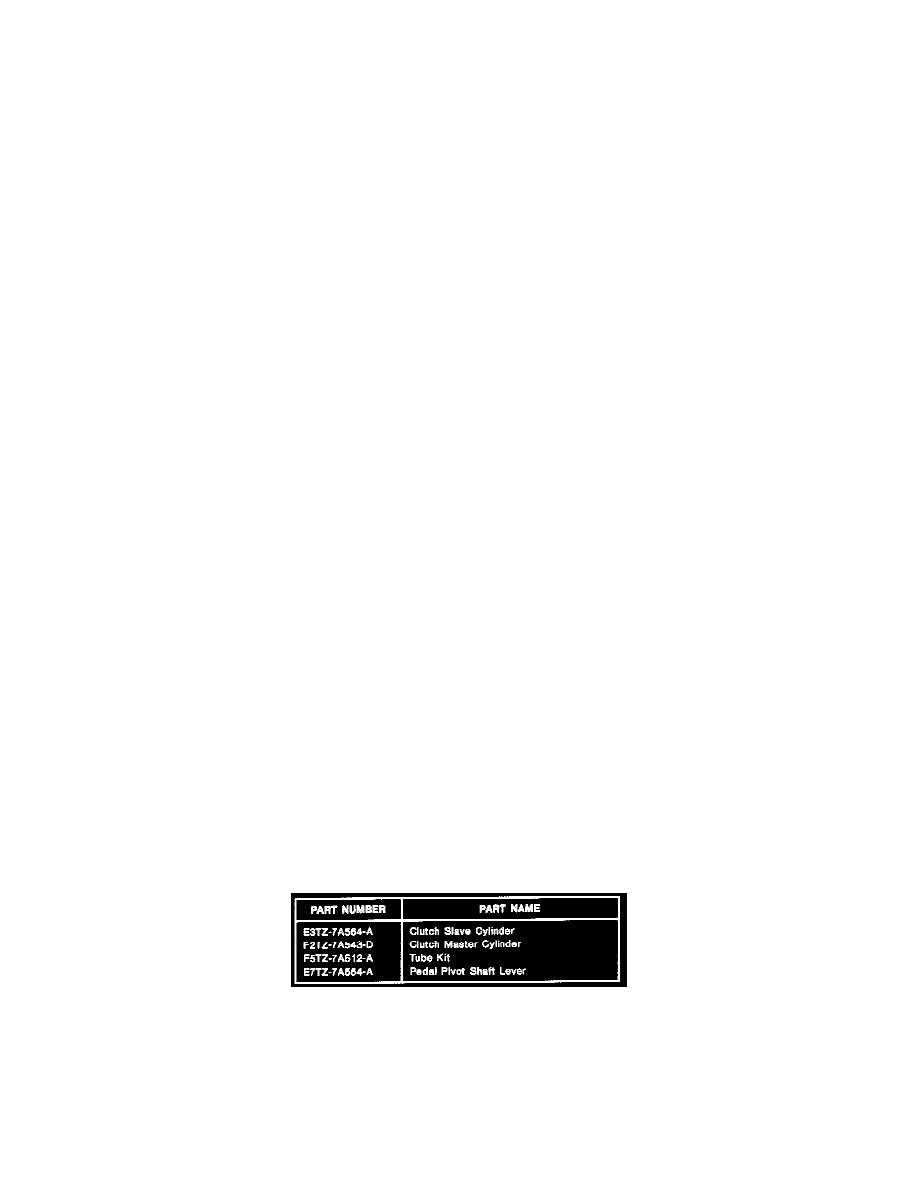
Parts Block
OTHER APPLICABLE ARTICLES: NONE
WARRANTY STATUS: Eligible Under The Provisions Of Bumper To Bumper Warranty Coverage
OPERATION DESCRIPTION
TIME
950409A
Install Clutch Slave Cylinder
0.9 Hr.