
F 350 4WD Pickup V8-7.3L DSL Turbo VIN F (1994)
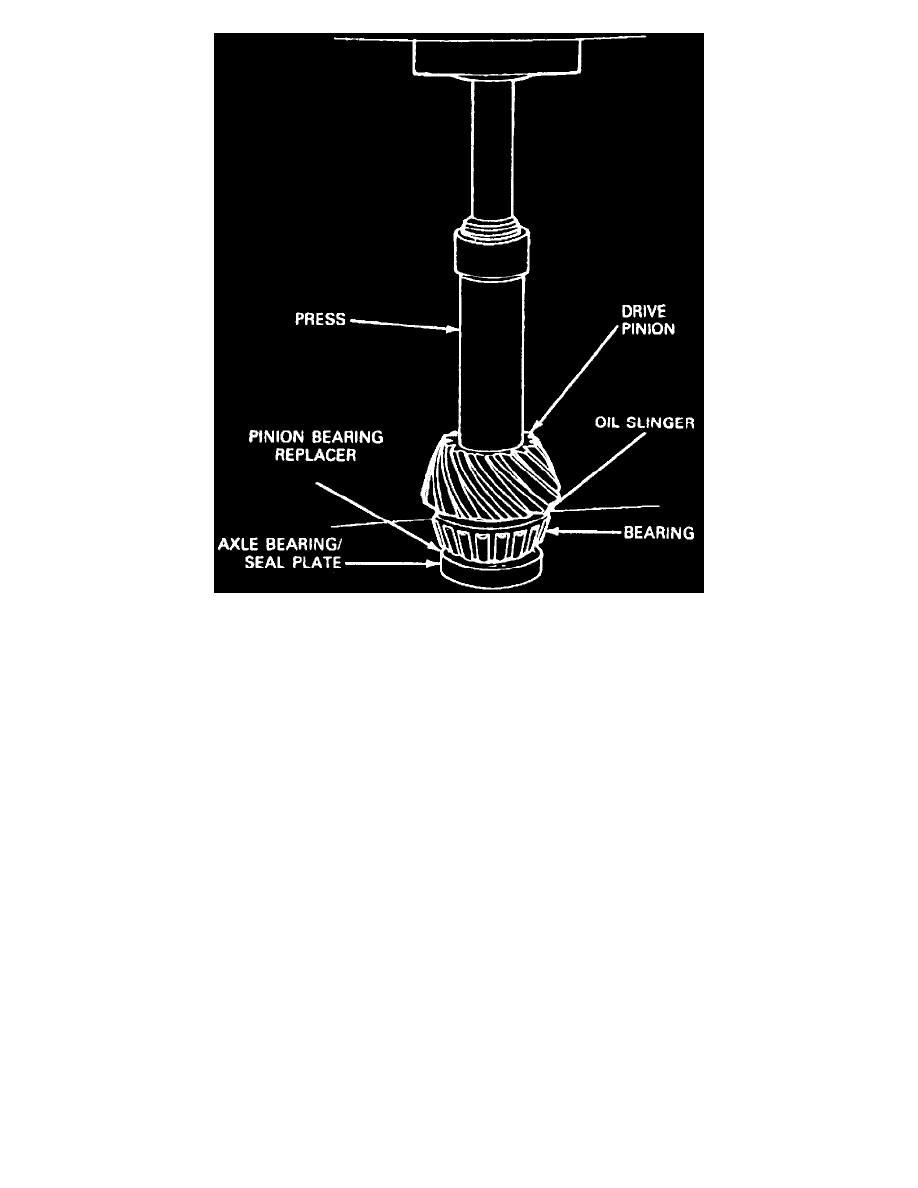
Fig. 14 Bearing Installation On Drive Pinion
8. Measure shims with a micrometer to verify size, then place oil slinger, if required, onto pinion and press on bearing. If a baffle and/or slinger is
used, replace with a new one upon assembly and measure as part of the shim stack.
9. Lubricate ends of outer pinion bearing rollers with a suitable high-temperature lubricant.
BEARING CUP INSTALLATION
1. Clean bore and, if installed, remove cup. Place oil baffle first and required amount of shims in inner pinion bearing bore and drive inner pinion
bearing cup in place using suitable pinion bearing cup replacer and forcing screw. Use care not to cock cup.
2. Place outer pinion cup into carrier and drive in place. Draw cups into bore.
3. Lubricate ends of outer pinion bearings rollers. Install outer bearing cone into place in outer bearing cup.
4. Install inner bearing cone and slinger onto pinion. Drive bearing on pinion shaft until fully seated using suitable pinion bearing replacer.
DRIVE PINION PRELOAD INSPECTION
1. Install pinion into carrier, then install new preload shims over pinion.
2. Install outer pinion bearing and oil slinger.
3. Coat drive pinion oil seal with suitable hypoid gear lubricant or equivalent, then install drive pinion oil seal using suitable oil seal replacer. After
installation, ensure garter spring did not pop out. If garter spring pops out, remove and replace seal.
4. Install yoke using tool No. D81T-4858-A, or equivalent, then the washer and nut and torque to 240-300 ft lb.
5. Place an inch-pound torque wrench on pinion nut and check pinion rotational tightening. Rotational torque should be 20-40 inch lb.
6. To increase preload, remove shims. To decrease preload, add shims.
PINION & RING GEAR BACKLASH INSPECTION
1. Attach ring gear to differential case using new bolts, then tighten bolts alternately and evenly to specifications.
2. Place differential case into position in carrier (differential case bearings should still be installed).