
F 350 4WD Pickup V8-7.3L DSL Turbo VIN F (1994)
Power Window Motor: Service and Repair
Removal
1. Disconnect the battery ground cable.
NOTE: On vehicles equipped with EEC, when the battery has been disconnected and reconnected, some abnormal drive symptoms may occur while the
EEC processor relearns its adaptive strategy. The vehicle may need to be driven 10 miles to relearn the strategy.
2. Remove the door trim panel and watershield. See: Body and Frame/Doors, Hood and Trunk/Doors
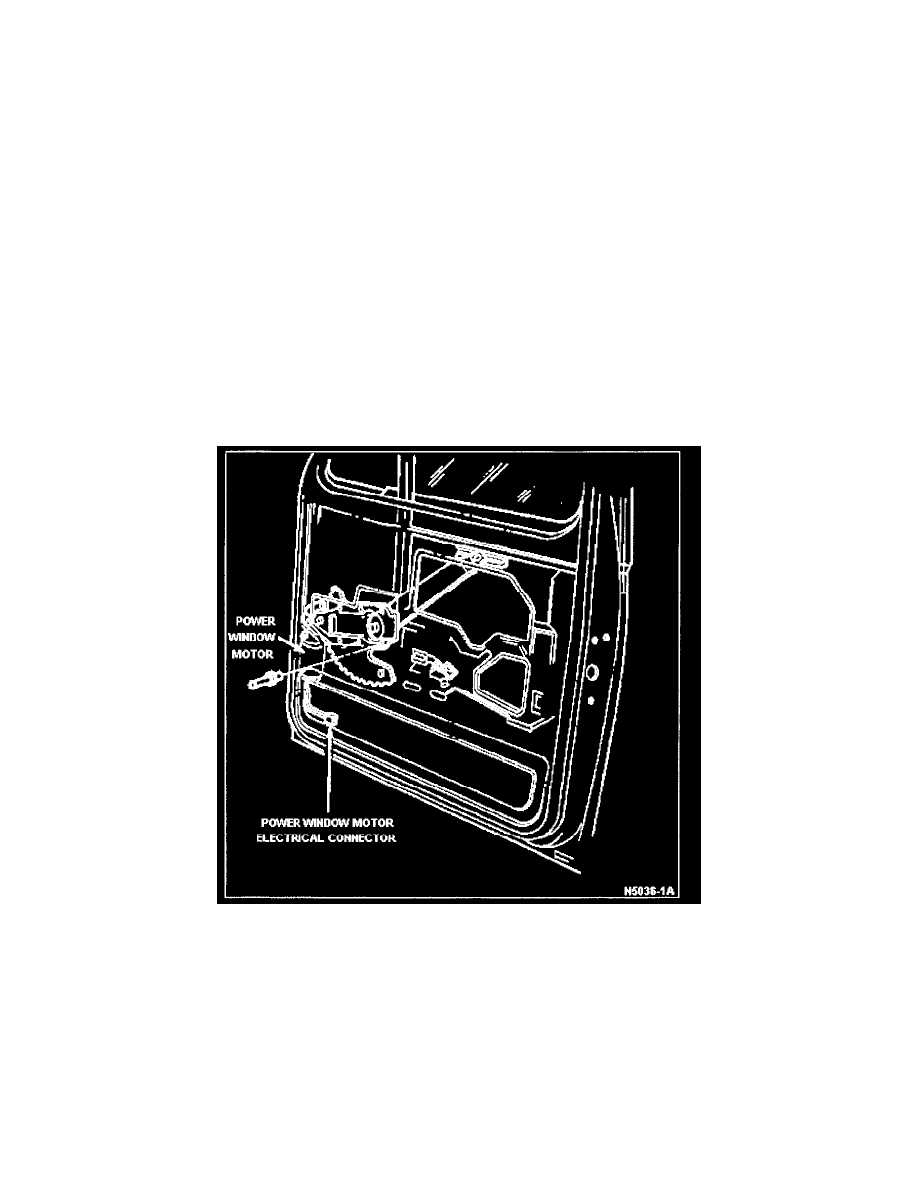
3. Disconnect power window motor wire from wire harness connector.
4. Check inside the door to make sure electrical wires are not in line with holes to be drilled in the door inner panel. Using a 12.7mm (1/2-inch)
diameter drill bit, drill two holes in the door inner panel at the drill dimples located opposite the two unexposed motor drive retainer screws.
5. Remove the three motor mount retainer screws using two drilled holes and existing larger hole access to screw heads.
6. Push the motor toward the outside sheet metal to disengage the motor and drive from the regulator gear. After the motor and drive are disengaged,
prop the window in full UP position.
7. Remove the motor and drive from inside the door.
Installation
1. Install a new motor and drive assembly and engage the motor to the regulator. Tighten motor retaining screws to 5.6-9.6 N-m (50-85 in-lb).
2. Install two pieces of Pressure-Sensitive Waterproof Tape D6AZ-19627-A or equivalent body tape (25.4mm [1 inch] square) over drilled holes.
3. Connect power window motor wiring. Connect battery ground cable.
4. Remove glass prop and check window operation.
5. Make sure door drain holes are open.