
F 350 4WD Super Duty V10-6.8L VIN V (2005)
NOTE: It may be necessary to tap the driveshaft yoke with a plastic or rubber soft-faced hammer if a pry area is not present on the driveshaft
yoke.
Using a suitable tool, disconnect the driveshaft flange and remove the driveshaft from the vehicle.
Installation
All vehicles
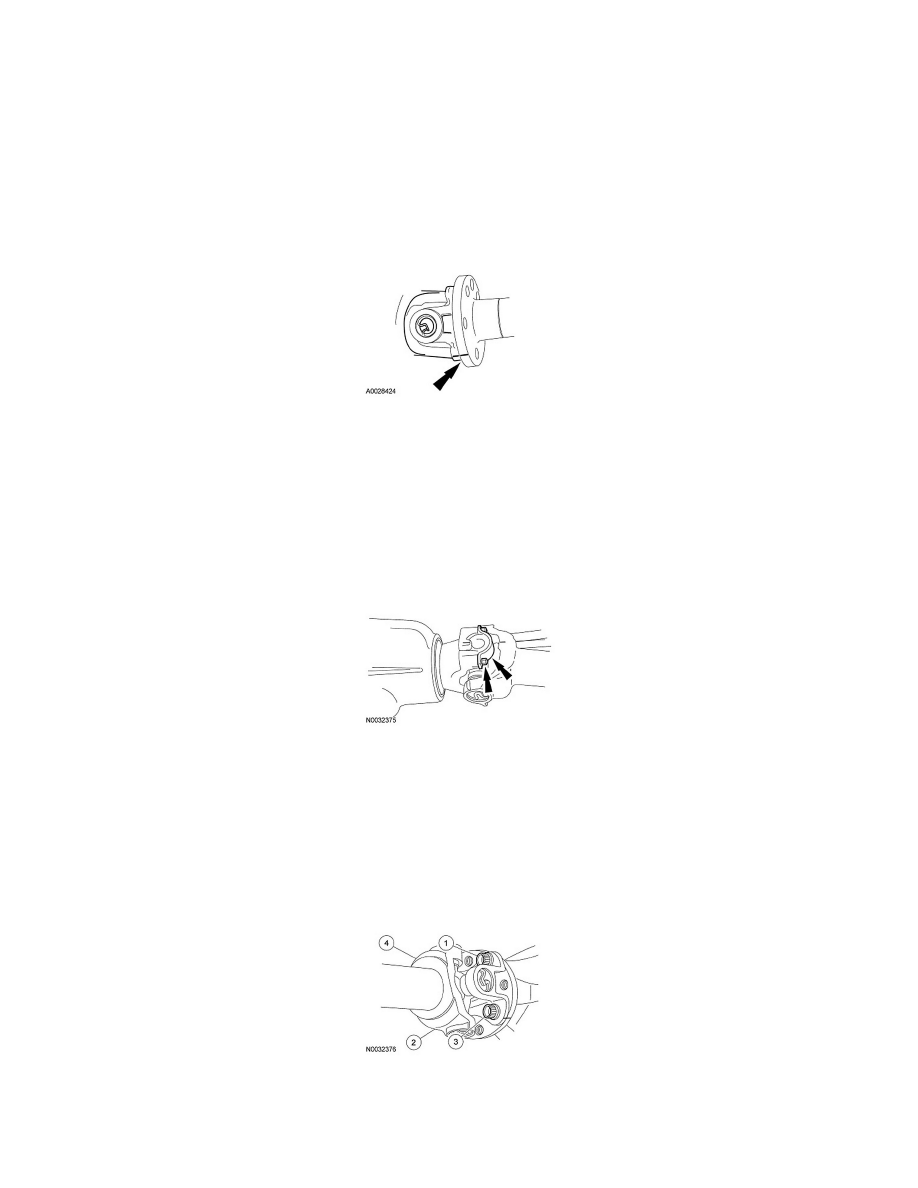
1. CAUTION: Align the index marks.
Position the driveshaft yoke on the transfer case flange and loosely install the 4 new bolts.
Vehicles with split pin yoke
2. NOTE: Align the index marks.
Position the bearing cups in the rear axle pinion flange.
3. NOTICE: Install new bolts and new retainers.
Install the 2 new retainers and 4 new rear driveshaft-to-axle bolts.
-
Tighten to 35 Nm (26 lb-ft).
Vehicles with circular flange
4. NOTE: The driveshaft yoke fits tightly on the rear axle pinion pilot. To make sure that the yoke seats squarely on the flange, tighten the bolts
evenly in a cross pattern as shown.
NOTE: Bolt direction is vehicle application dependent.
Install the 4 new driveshaft-to-transfer case bolts.
-
For automatic transmission, tighten to 103 Nm (76 lb-ft).
-
For manual transmission or rear axle, tighten to 111 Nm (82 lb-ft).
Driveshaft - Rear, Two-Piece
Driveshaft - Rear, Two-Piece