
F 350 4WD Super Duty V8-5.4L (2009)
Using the C-Frame and Screw Installer/Remover and the Ball Joint Remover/Installer, remove the lower ball joint.
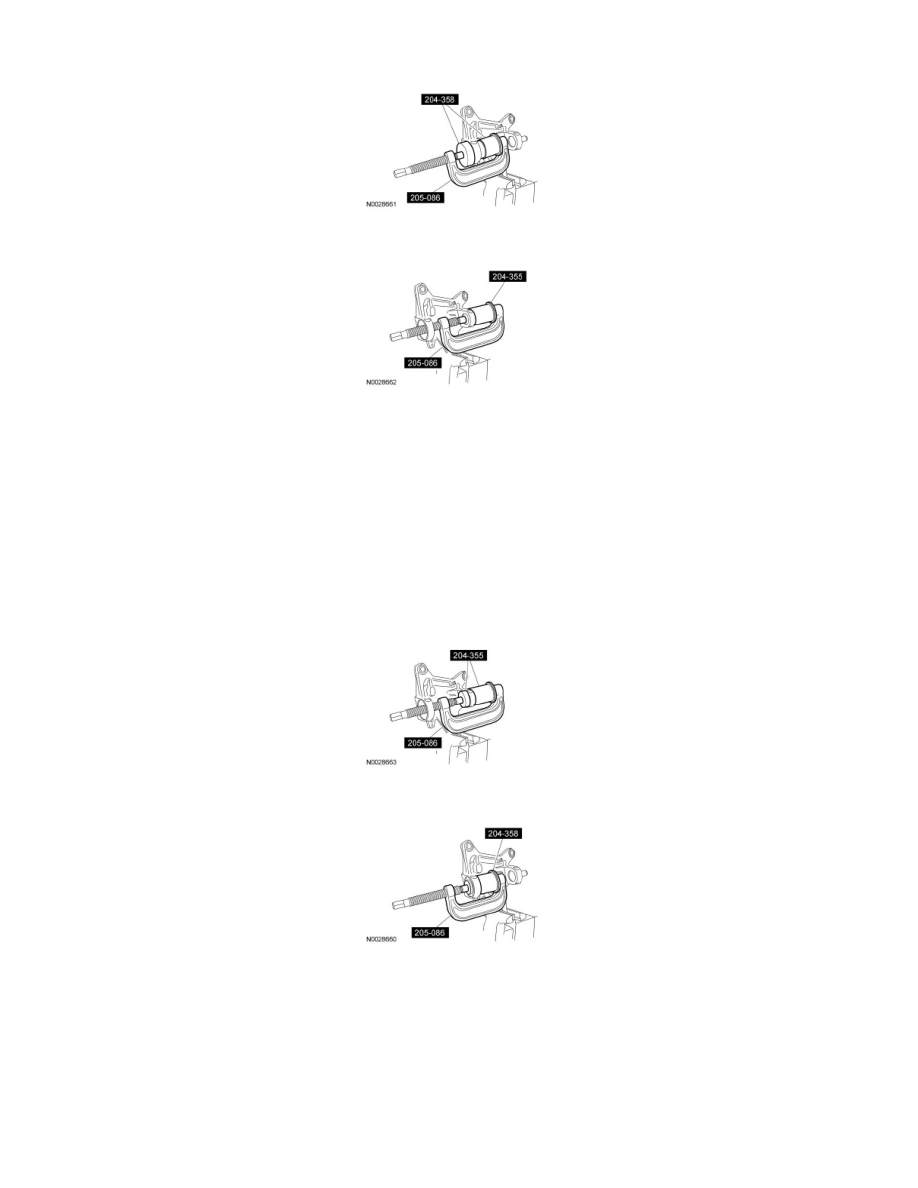
5. Using the C-Frame and Screw Installer/Remover and the Ball Joint Remover/Installer, remove the upper ball joint.
Installation
1. NOTICE: The grease fitting must be removed from the ball joint prior to installation or damage to the grease fitting can occur.
NOTICE: To avoid damage to components, do not use heat to aid installation.
NOTE: Clean the wheel knuckle ball joint bore.
Position the ball joint into the wheel knuckle.
2. NOTE: The upper ball joint must be installed first.
Using the C-Frame and Screw Installer/Remover and the Ball Joint Remover/Installer, install the upper ball joint.
3. Using the C-Frame and Screw Installer/Remover and the Ball Joint Remover/Installer, install the lower ball joint.
4. Install the snap ring in the groove at the bottom of the lower ball joint.
5. NOTICE: Do not overtighten the ball joint grease fitting or damage to the ball joint may occur.
If removed, install the ball joint grease fitting.
6. Install the wheel knuckle. For additional information, refer to Wheel Knuckle See: Front Steering Knuckle/Service and Repair.