
F 350 4WD Super Duty V8-6.4L DSL Turbo (2008)
3. CAUTION: The engine mount bracket bolts must be discarded and new bolts installed, or damage to the vehicle may occur. They are a
torque-to-yield design and cannot be reused.
Position the RH engine mount to the front of the vehicle and install the new rear bolts for the RH engine mount bracket.
4. CAUTION: The engine mount bracket bolts must not be tightened more than 90 degrees after initial torque or damage to the bolts may
occur.
NOTE: Place a visible mark on the engine mount bracket and bracket bolts. Turning the bolt 1 flat of the bolt head is equal to 60 degrees.
Tighten the bolts for the RH engine mount bracket in 2 stages.
^
Stage 1: Tighten to 30 Nm (22 lb-ft).
^
Stage 2: Tighten a minimum of an additional 60 degrees.
5. Position the RH engine mount in the frame.
6. NOTE: It may be necessary to adjust the RH engine mount during the lowering of the engine for correct alignment.
Lower the engine and the body until the center bolt for the RH engine mount can be installed.
7. Install the new studs for the RH engine mount.
^
Tighten to 80 Nm (59 lb-ft).
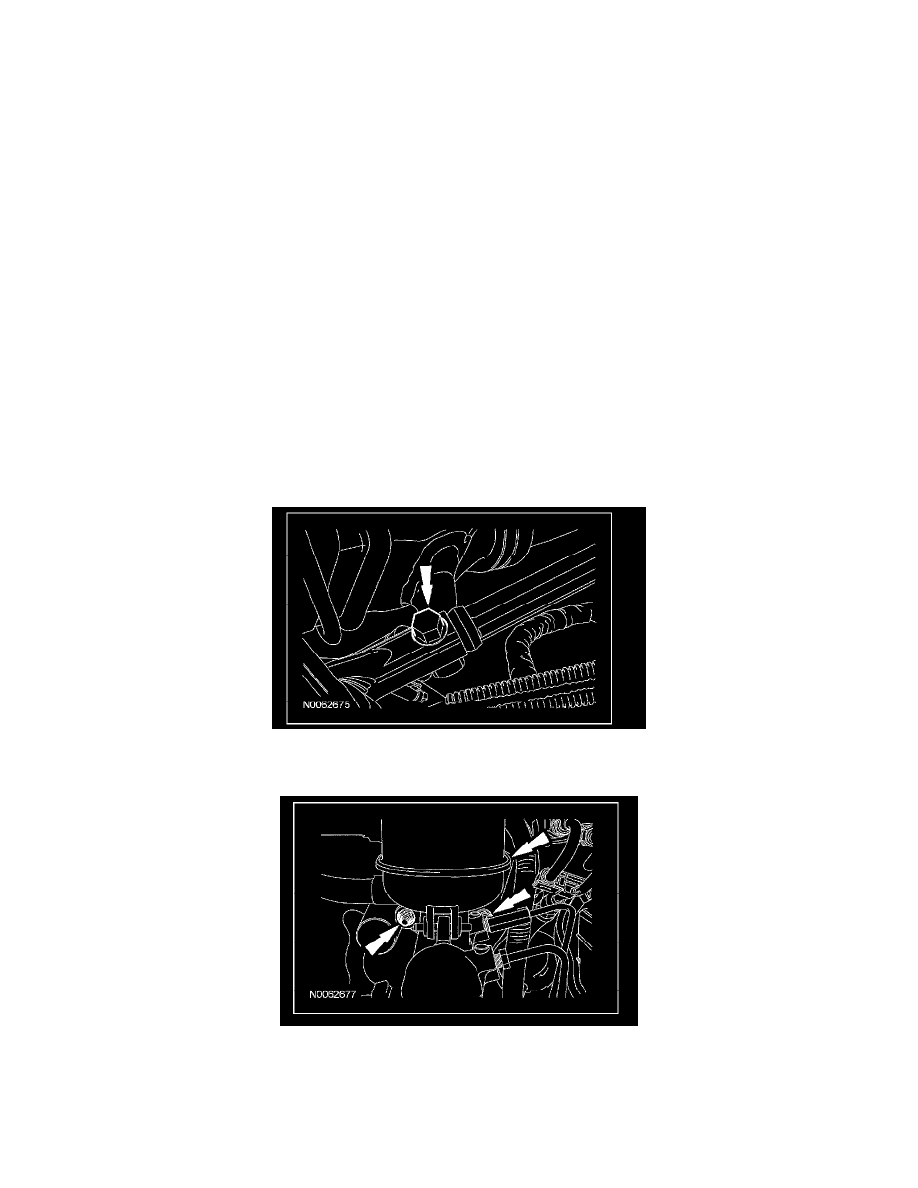
8. Tighten the center bolt for the RH engine mount.
^
Tighten to 350 Nm (258 lb-ft).
9. With the help of an assistant, lower the engine and the body at the same time.
10. Remove the straps and reposition the hoist to the frame of the vehicle.
11. Position the steering shaft into the housing. Install the new steering shaft bolt.
^
Tighten to 48 Nm (35 lb-ft).
12. Position back the master cylinder and bracket. Install the retaining nuts.
^
Tighten to 30 Nm (22 lb-ft).
13. Connect the brake tubes into the retaining clip.