F 350 4WD Super Duty V8-6.4L DSL Turbo (2008)

Removal
NOTE: It is recommended that this component be serviced with the vehicle body removed. If the body cannot be removed, refer to the "Body On"
version of the procedure.
1. Remove the intake manifold.
2. Remove the turbocharger pedestal. For additional information, refer to Fuel Delivery and Air Induction.
3. Remove the oil filter cap and element.
^
Discard the oil filter element and O-ring seal.
4. Remove the 4 Torx(R) bolts and the oil filter housing.
^
Remove and discard the oil filter housing O-ring seal.
5. Remove the screw and the oil filter return tube assembly.
^
Remove and discard the gasket.
6. NOTE: Do not discard the oil cooler cover screws. They are self-tapping screws and will be needed to cut the threads in the new oil cooler cover
or engine damage may occur.
Remove the 10 screws and the oil filter base.
^
Remove and discard the press-in-place gaskets.
^
Clean and inspect the sealing surfaces.
7. CAUTION: In the event of a catastrophic engine failure, always install a new oil cooler cover assembly (with oil cooler). Foreign material
cannot be removed from the oil cooler and engine damage may occur.
NOTE: The oil cooler is replaced as an assembly.
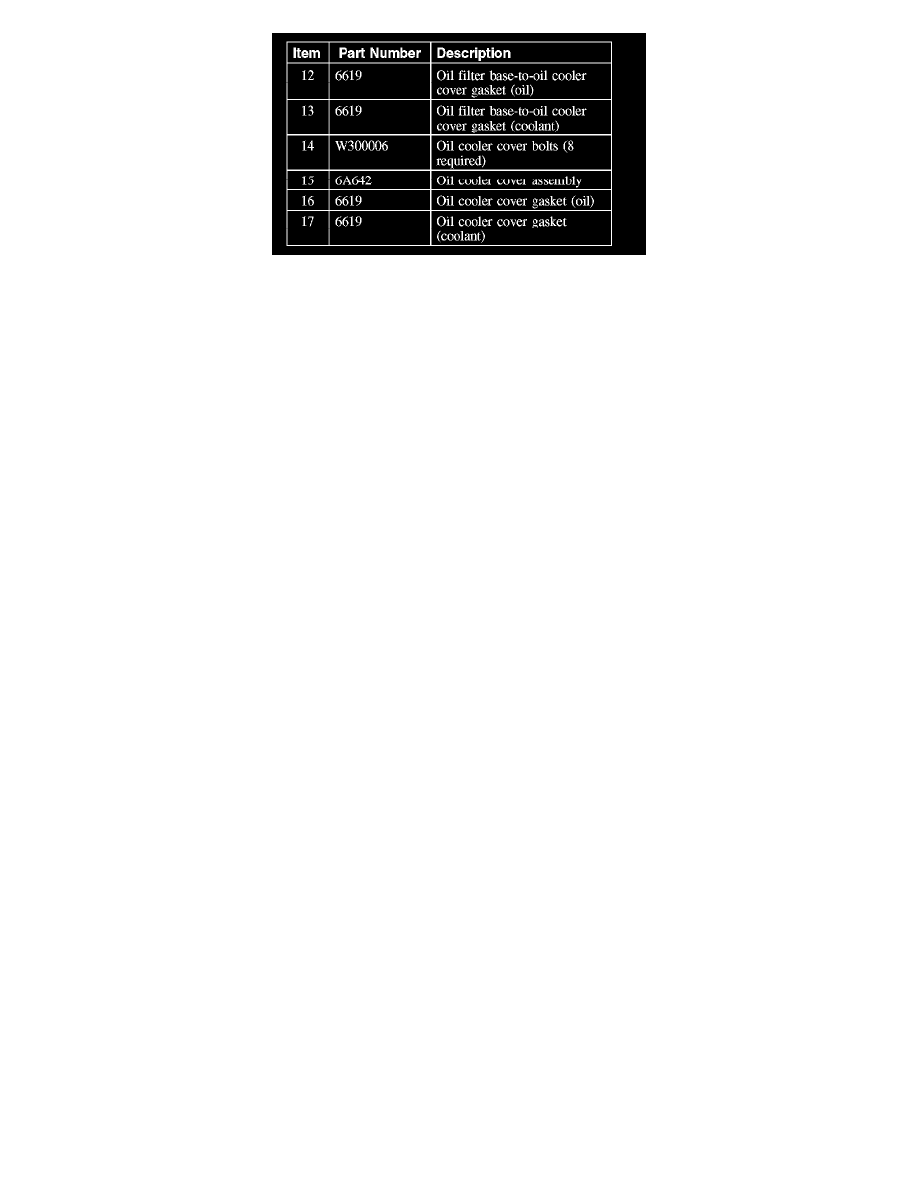
Remove the 8 bolts and the oil cooler assembly.
^
Remove and discard the press-in-place gaskets.
^
Clean and inspect the sealing surfaces.
Installation
1. CAUTION: In the event of a catastrophic engine failure, always install a new oil cooler cover assembly (with oil cooler). Foreign material
cannot be removed from the oil cooler and engine damage may occur.
Using new press-in-place gaskets, install the oil cooler cover assembly and 8 bolts.
^
Tighten to 31 Nm (23 lb-ft).
2. NOTE: The old oil cooler cover screws or new self-tapping screws must be used to cut the threads in the new oil cooler cover.
Install the press-in-place gaskets, the oil filter base and the 10 screws.
^
On new oil cooler cover, tighten to 10 Nm (89 lb-inch).
^
On used oil cooler cover, tighten to 7 Nm (62 lb-inch).
3. Install a new gasket, the oil filter return tube assembly and the screw.
^
Apply clean engine oil to the O-ring seal.
^
On new oil return tubes, tighten to 7 Nm (62 lb-inch).
^
On used oil return tubes, tighten to 5 Nm (44 lb-inch).
4. Install a new O-ring seal, the oil filter housing and the 4 Torx(R) bolts.
^
Apply clean engine oil to the O-ring seal.
^
Tighten to 22 Nm (16 lb-ft).
5. NOTE: Install a new O-ring seal on the oil filter cap and apply clean engine oil.
