F 350 4WD Super Duty V8-6.4L DSL Turbo (2008)

All vehicles
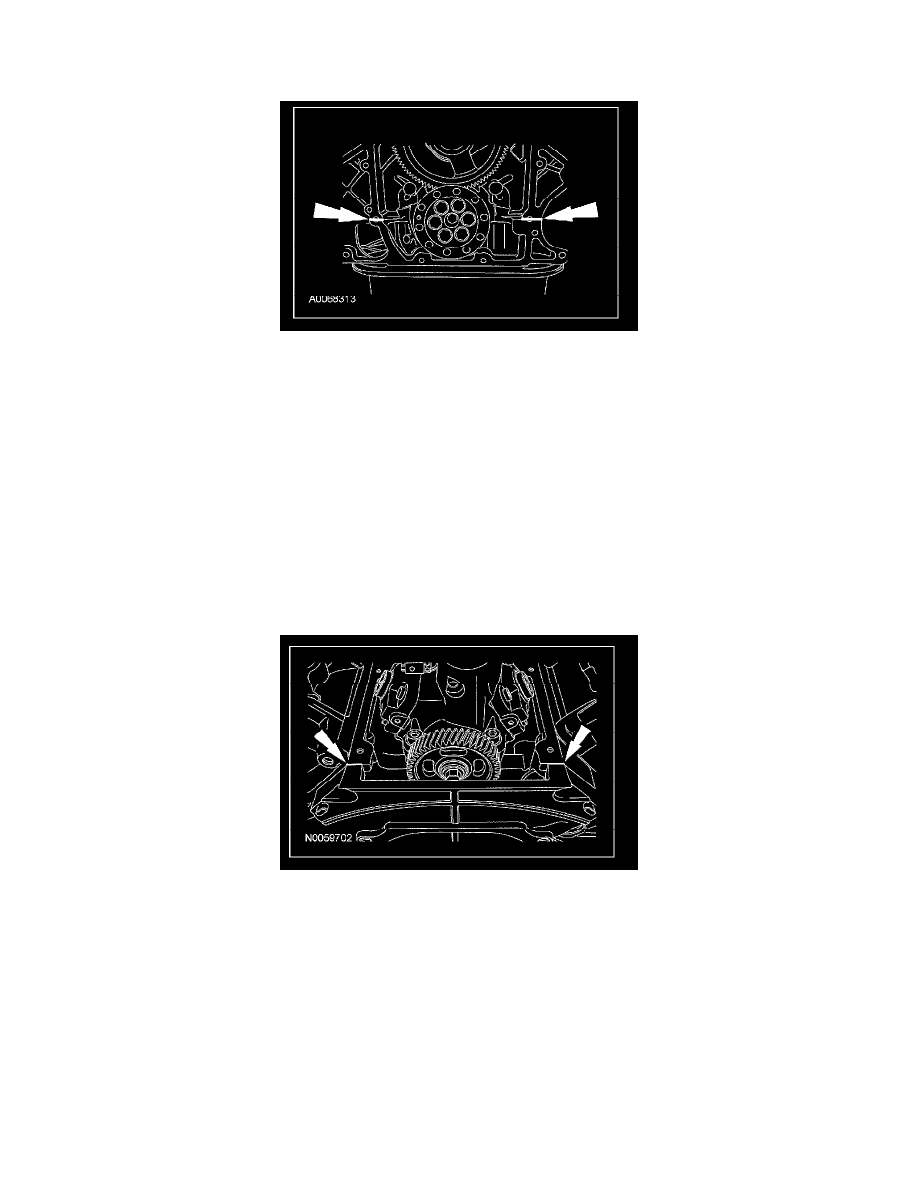
1. Apply a dime-sized bead of sealant at the back seam of the crankcase.
2. CAUTION: To prevent engine damage, replace damaged or missing dowel pins before installing the engine rear cover.
NOTE: Prior to installing the engine rear cover, check that the alignment dowels are centered so that 10 mm (0.393 inch) of the dowel extends
toward the engine and 10 mm (0.393 inch) extends toward the transmission.
Position the press-in-place gasket, the engine rear cover and install the 8 bolts.
^
Tighten to 31 Nm (23 lb-ft).
Manual transmission vehicles
3. Install the 3 engine rear cover bolts.
^
Tighten to 62 Nm (46 lb-ft).
All vehicles
4. Install the starter.
5. Install the crankshaft rear seal.
6. Clean the cover mounting surface and apply a dime-sized bead of sealant at the seams.
7. CAUTION: Inspect the volume control valve and the pressure control valve electrical connectors for damage or obstructions at the
connector and mating high-pressure fuel injection pump connector. Verify that the connectors are completely latched to the valve
housings or engine damage may occur.
Install a new high-pressure fuel injection pump cover gasket. Connect the pressure control valve and volume control valve electrical connectors.
8. Install a new press-in-place gasket in the high-pressure fuel injection pump cover.
9. NOTE: Do not remove the Fuel System Caps from the high-pressure fuel injection pump until the fuel tubes are being installed.
Install the high-pressure fuel injection pump cover and bolts.
^
Tighten to 13 Nm (115 lb-inch).
10. Connect the high-pressure fuel injection pump electrical connector.
11. NOTE: Use a back-up wrench on the high-pressure fuel injection pump fittings.
