
F 350 4WD Super Duty V8-6.4L DSL Turbo (2008)
portion, a new safety belt assembly must be installed. If any safety belt assembly attaching areas are damaged or distorted, the sheet metal must be
restored to its original structural integrity and new safety belt assembly and attaching hardware must be installed. Failure to install new safety belt
assemblies and attaching hardware may increase the risk of serious personal injury or death in a crash.
After any crash that results in deployment of the driver and/or front outboard passenger safety belt pretensioners, new driver and/or front outboard
passenger safety belt systems (including retractors, buckles and height adjusters) must be installed. Failure to install new safety belt systems
increases the risk of serious personal injury or death in a crash.
-
Never probe the electrical connectors on safety belt buckle/retractor pretensioners or adaptive load limiting retractors. Failure to follow this
instruction may result in the accidental deployment of the safety belt pretensioners or adaptive load limiting retractors, which increases the risk of
serious personal injury or death.
NOTE:
-
The air bag warning indicator illuminates when the restraint control module (RCM) fuse is removed and the ignition switch is ON. This is normal
operation and does not indicate a supplemental restraint system (SRS) fault.
-
The SRS must be fully operational and free of faults before releasing the vehicle to the customer.
1. Depower the SRS.
2. Remove the 2 rear door window latch screws and position aside the rear door window latch.
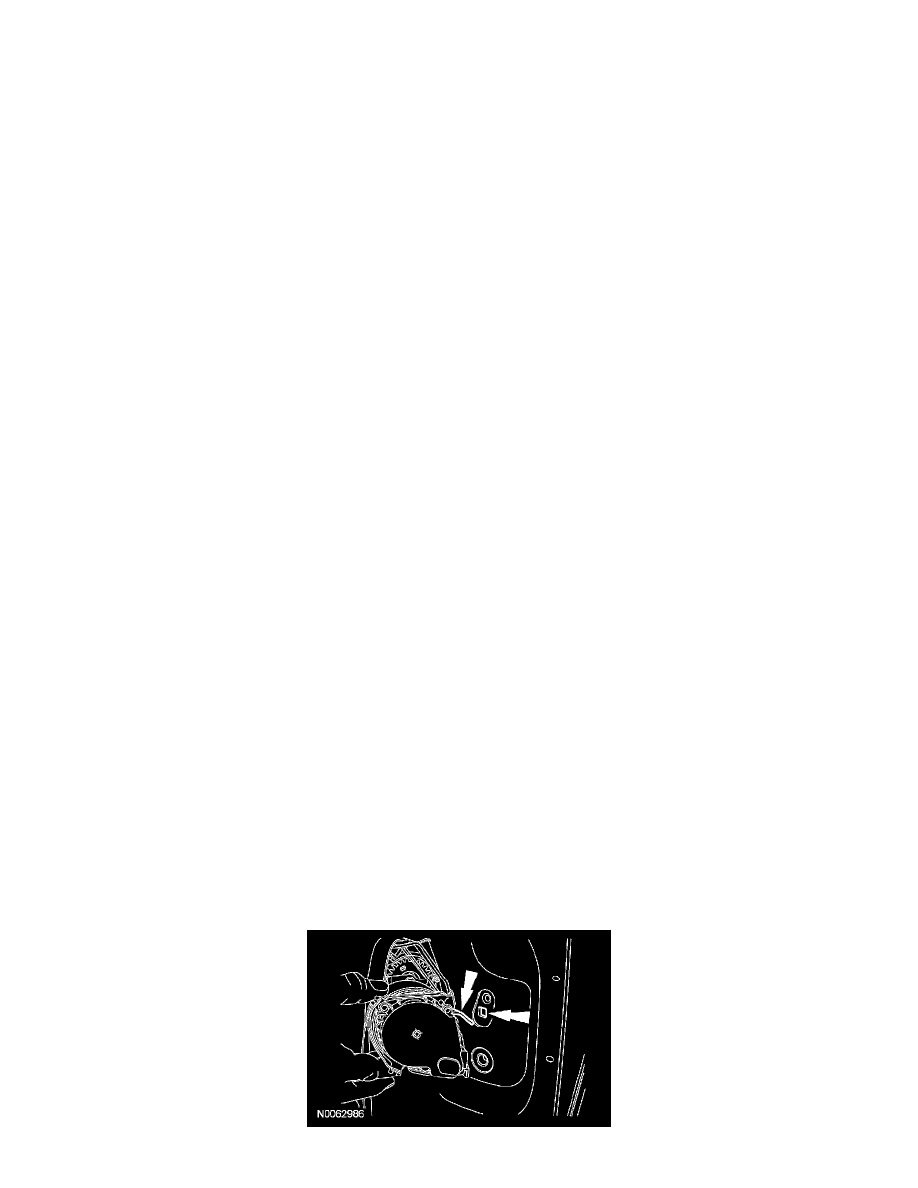
3. NOTE: Inspect the D-ring cover for damage. If the cover is damaged or does not remain closed, install a new D-ring cover.
Separate the D-ring.
1
Release the tab at the bottom of the D-ring cover and open.
2
Remove the D-ring bolt.
-
To install, tighten to 40 Nm (30 lb-ft).
-
When installing, make sure the bushing between the D-ring and safety belt height adjuster is in place before installing the bolt.
3
Separate the D-ring from the safety belt should height adjuster.
4. Separate the rear door weatherstrip from around the rear door upper and lower trim panels.
5. Remove the rear door upper trim panel.
-
Pull outward to release the rear door upper trim panel clips.
6. Open the safety belt retractor and pretensioner anchor cover.
7. Remove the safety belt retractor and pretensioner anchor bolt and separate the anchor from the door.
-
To install, tighten to 40 Nm (30 lb-ft).
8. Lift up and remove the safety belt finish trim panel.
-
Route the safety belt through the safety belt finish trim panel opening.
9. Remove the rear door lower trim panel screws.
10. CAUTION: Do not pull directly outward on the rear door lower trim panel, as damage will occur.
Pull straight up to remove the rear door lower trim panel.
-
Route the safety belt through the lower rear door trim panel opening.
11. Disconnect the safety belt retractor and pretensioner electrical connector and remove the bolt.
-
To install, tighten to 40 Nm (30 lb-ft).
12. Slide the safety belt retractor and pretensioner up, tip the tab at the top out of the door and remove the safety belt retractor and pretensioner.