F 350 4WD Super Duty V8-6.4L DSL Turbo (2008)

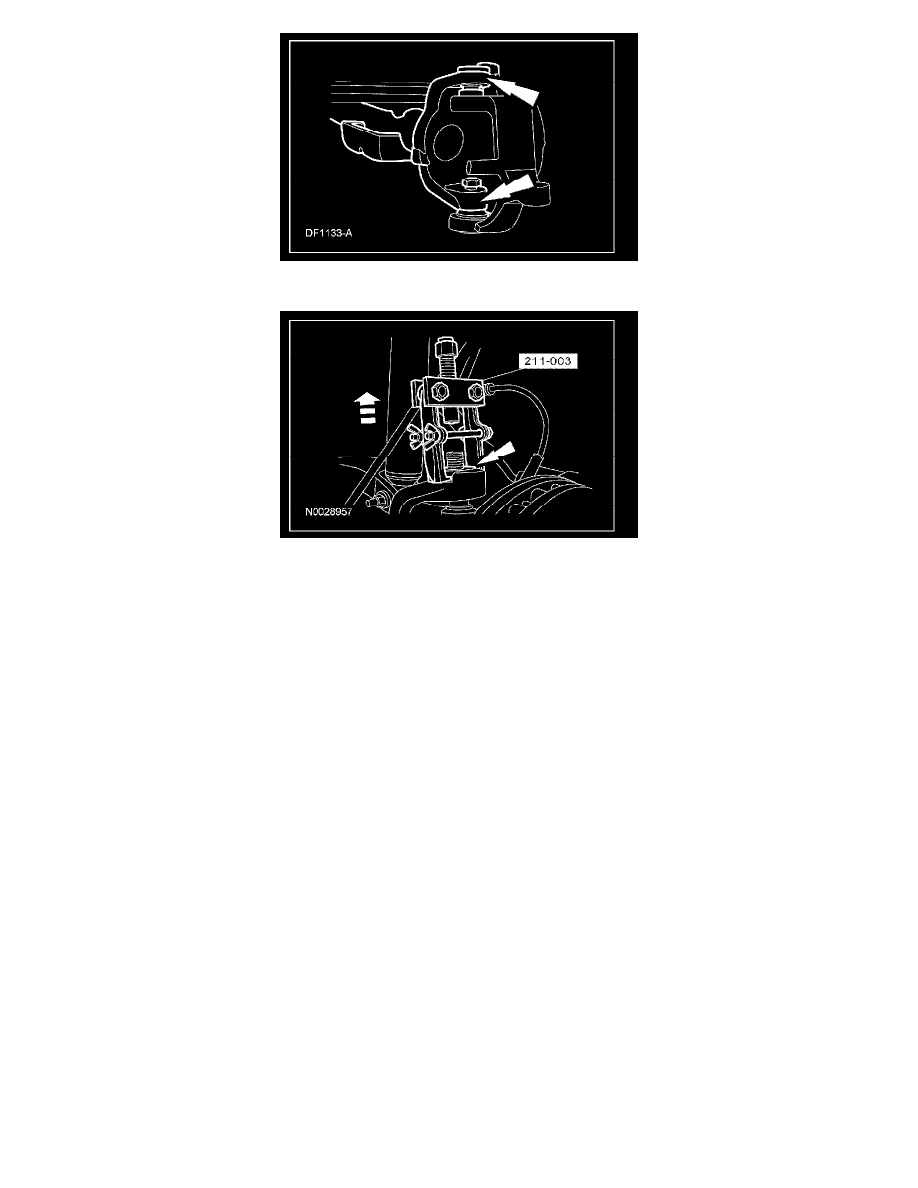
11. Using the special tool, remove the camber adjuster.
12. Remove the lower ball joint nut and the wheel knuckle.
13. Clean and inspect the wheel knuckle bore. If the wheel knuckle is cracked, a new one must be installed.
Installation
1. CAUTION: The axle bores and adjustment sleeve contact areas should be clean, allowing for the adjustment sleeve to be correctly drawn
in and the ball joint to correctly seat into place. If not clean, damage to the ball joint, adjustment sleeve or axle bores can occur.
Thoroughly clean the axle bore and adjustment sleeve contact areas.
2. Install the camber adjustment sleeve.
3. Position the wheel knuckle onto the axle and install the nut onto the upper ball joint. Do not tighten the nut at this time.
4. Apply Threadlock(R) and sealer to the threads of the lower ball joint and install the nut onto the lower ball joint. Do not tighten the nut at this
time.
5. Tighten the lower ball joint nut to 59 Nm (44 ft. lbs.).
6. NOTE: Do not loosen the nut to install the cotter pin.
Tighten the upper ball joint nut to 94 Nm (69 ft. lbs.) and install the cotter pin.
^
If necessary, tighten the nut until the cotter pin can be installed.
7. Tighten the lower ball joint nut to 204 Nm (150 ft. lbs.).
8. Connect the tie-rod end to the wheel knuckle and install the nut and a new cotter pin.
^
Tighten to 115 Nm (85 ft. lbs.). If necessary, tighten the nut until the cotter pin can be installed.
9. Install the new main seal onto the axle shaft.
1. Position the main seal onto the axle shaft.
2. Using the special tools, seat the main seal onto the axle shaft.
