
F 450 2WD Super Duty V8-6.0L DSL Turbo VIN P (2006)
part of lesser quality or substitute design. Torque values must be used as specified during reassembly to make sure of correct retention of these parts.
1. Remove the wheel bearing and hub assembly.
2. Remove and discard the tie-rod end cotter pin and nut.
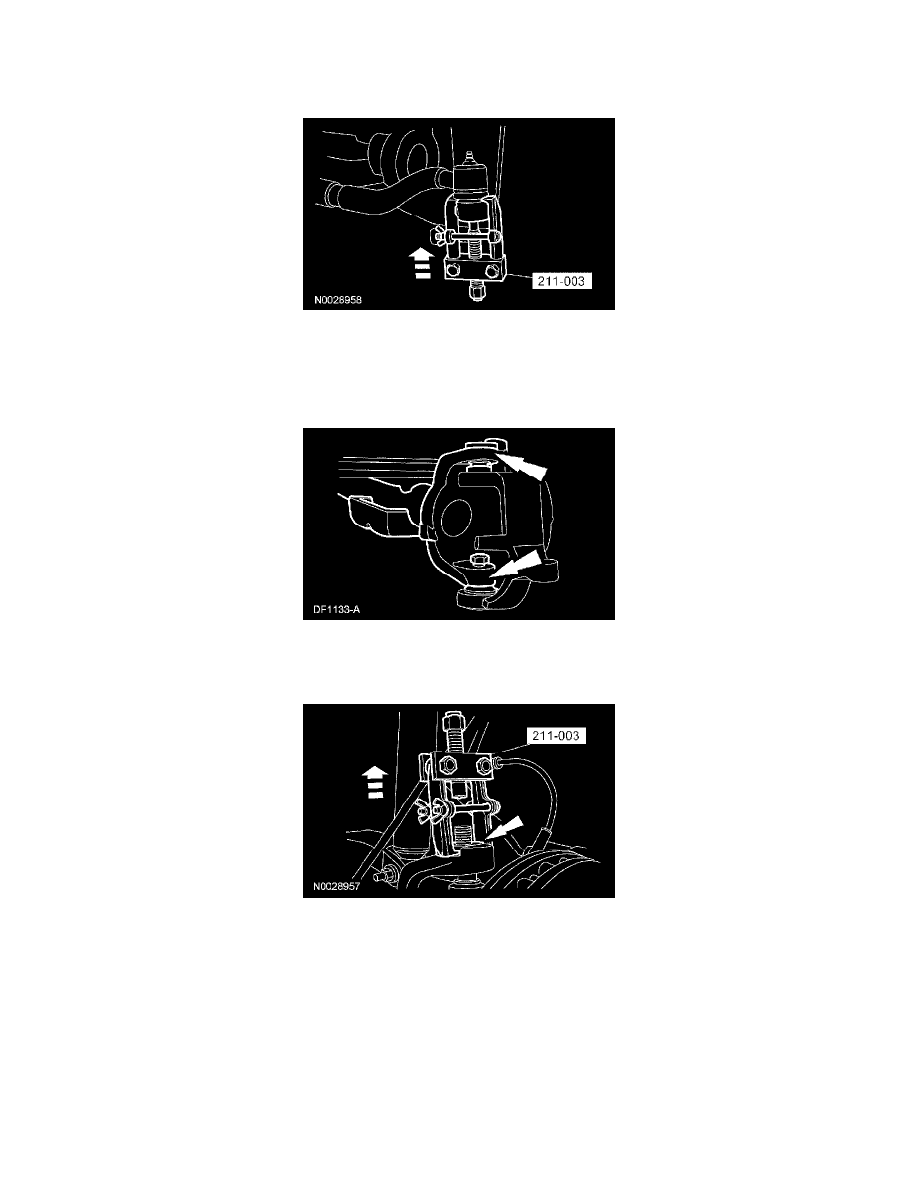
3. Using the special tool, disconnect the tie-rod end.
4. Remove the upper ball joint cotter pin and nut.
^
Discard the cotter pin.
5. Loosen, but do not remove, the lower ball joint nut.
6. CAUTION: To prevent damage to the ball joint seal and the ball joint socket, do not use a pickle fork-type remover to loosen the ball joints.
Strike the lower and upper end of the axle to loosen the ball joints and the camber adjuster.
7. Using the special tool, remove the camber adjuster.
8. Remove the lower ball Joint nut and the front wheel spindle.
Installation
1. Install the camber adjuster sleeve.
2. Position the spindle onto the axle and install the nut onto the upper ball joint. Do not tighten the nut at this time.
3. Apply Threadlock and sealer to the threads of the lower ball joint and install the nut onto the lower ball joint. Do not tighten the nut at this time.
4. Tighten the lower ball joint nut to 59 Nm (44 ft. lbs.).
5. NOTE: Do not loosen the nut to install the cotter pin.
Tighten the upper ball joint nut to 94 Nm (69 ft. lbs.) and install the cotter pin.
^
If necessary, tighten the nut until the cotter pin can be installed.