F 450 2WD Super Duty V8-6.0L DSL Turbo VIN P (2006)

Removal and Installation
CAUTION: Suspension fasteners are critical parts because they affect performance of vital components and systems and their failure can result in
major service expense. They must be replaced with the same part number or an equivalent part if replacement is necessary. Do not use a replacement
part of lesser quality or substitute design. Torque values must be used as specified during reassembly to make sure of correct retention of these parts.
1. Using a suitable jack, equipped with safety chains, support the front axle.
2. Remove the track bar.
3. Remove the springs.
4. Remove the shock absorbers.
5. Remove the wheel knuckles.
6. Remove the cotter pin and the nut from the drag link to pitman arm.
^
Discard the cotter pin.
^
To install, tighten to 90 Nm (66 ft. lbs.).
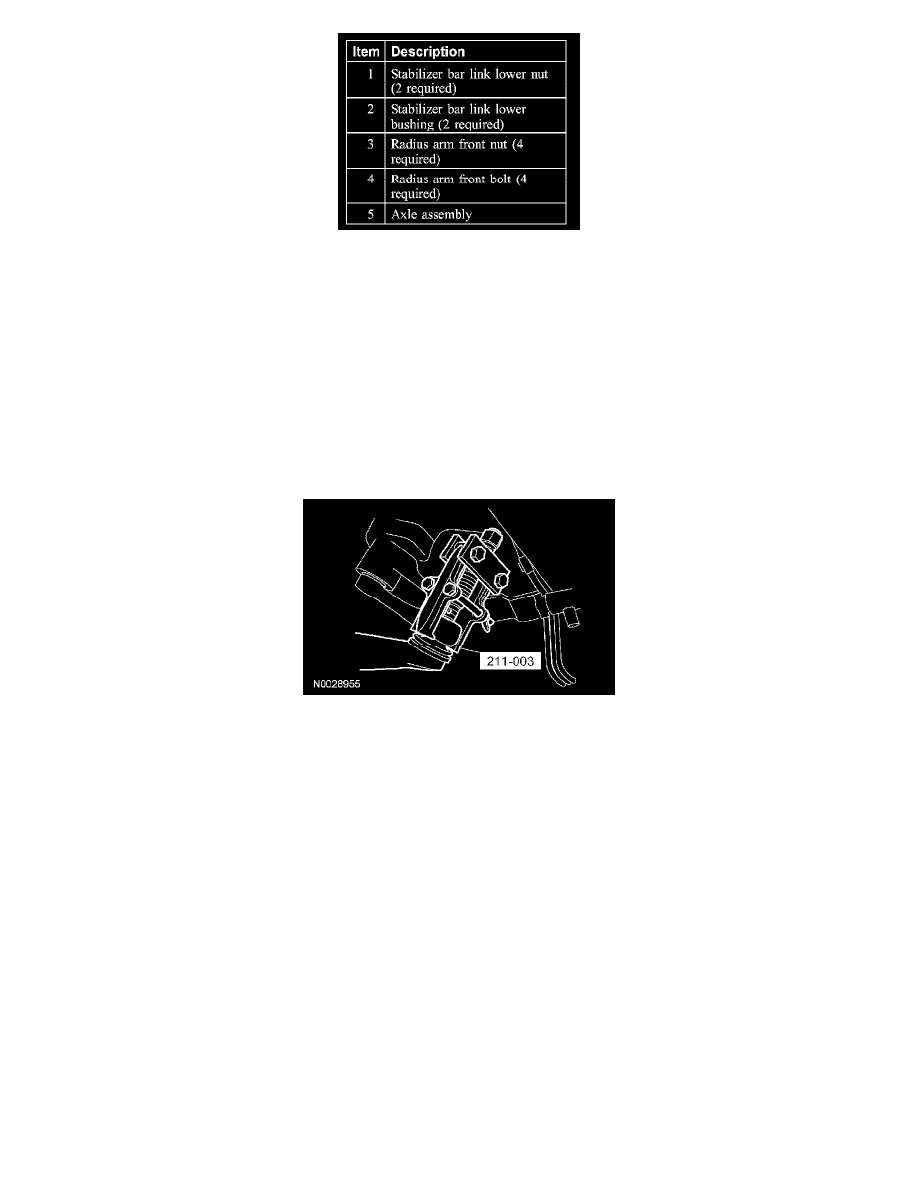
7. Using the special tool, separate the drag link from the sector shaft arm.
^
Secure the drag link to the tie rod using mechanic's wire.
8. Remove and discard the nut and bolt from the steering damper-to-axle mounting bracket.
^
Secure the steering damper to the tie rod using mechanic's wire.
^
To install, tighten to 90 Nm (66 ft. lbs.).
9. Remove the steering linkage assembly.
10. Remove the stabilizer bar link lower nuts and bushings.
^
Discard the nuts.
^
To install, tighten to 80 Nm (59 ft. lbs.).
11. CAUTION: Tighten the radius arm front nuts with the suspension at curb height.
Remove and discard the radius arm front nuts and bolts.
^
To install, tighten to 300 Nm (222 ft. lbs.).
12. Remove the axle assembly.
13. To install, reverse the removal procedure.
14. Check and, if necessary, align the front end.
