
F 450 2WD Super Duty V8-6.0L DSL Turbo VIN P (2006)
CAUTION: Suspension fasteners are critical components because they affect performance of vital components and systems and their failure can
result in major service expense. Install new components with the same component number or an equivalent component if installation is necessary. Do
not use an installation component of lesser quality or substitute design. Torque values must be used as specified during reassembly to make sure of
correct retention of these components.
1. With the vehicle in NEUTRAL, position it on a hoist.
2. Using a suitable jack, support the rear axle.
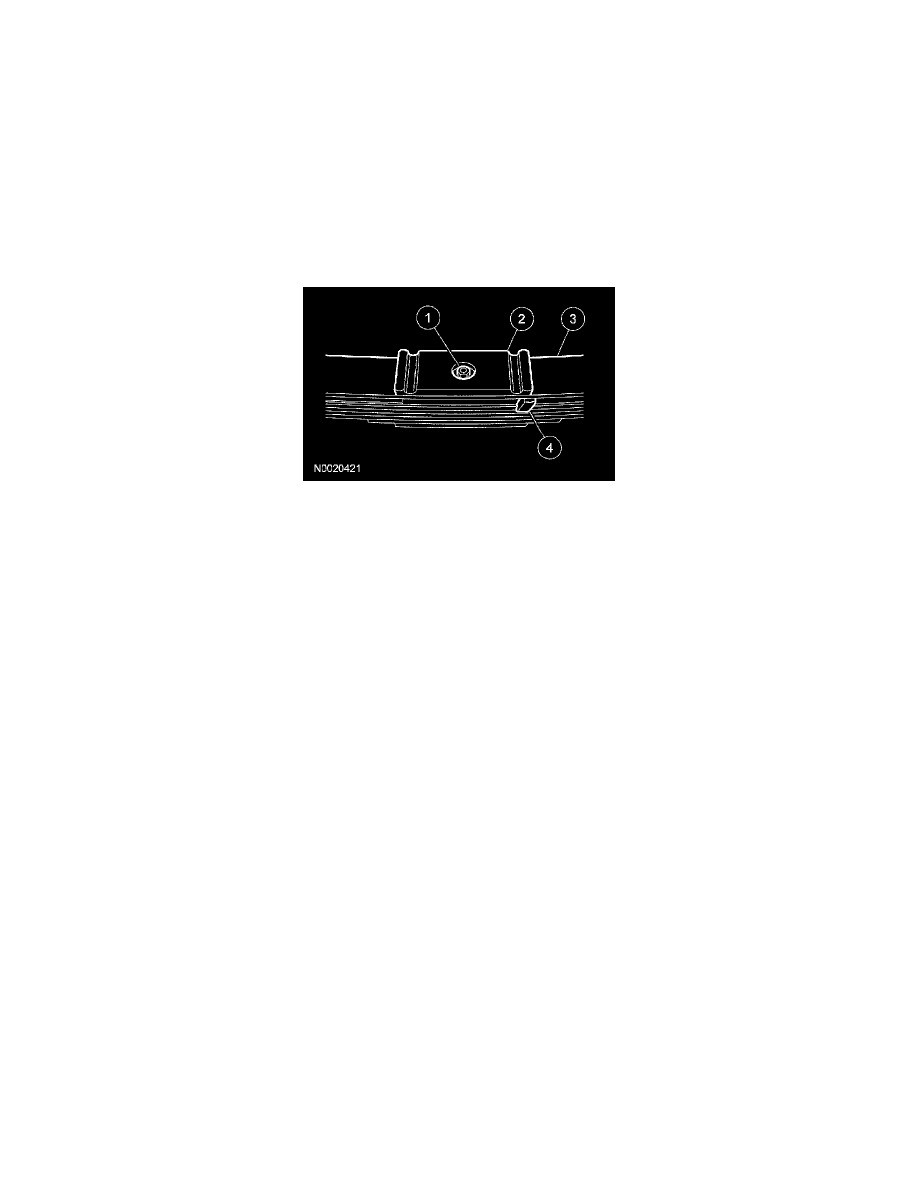
3. Remove and discard the U-bolt nuts, then remove the spring plate.
4. Remove and discard the U-bolts.
5. Remove and discard the spring-to-front bracket bolt and flag nut.
6. Remove and discard the shackle-to-rear bracket bolt and flag nut.
7. Remove the rear spring assembly.
8. Remove and discard the spring-to-shackle nut and bolt and remove the rear spring shackle.
9. If necessary, remove the auxiliary spring.
1
Remove the auxiliary spring nut.
2
Remove the upper spring plate.
3
Remove the auxiliary spring.
4
Remove the auxiliary spring spacer.
Installation
1. If removed, install the auxiliary spring.
1
Position the auxiliary spring spacer.
2
Position the auxiliary spring.
3
Position the upper spring plate.
4
Install the auxiliary spring nut and tighten to 80 Nm (59 ft. lbs.).
2. CAUTION: Final tightening of the spring-to-shackle nut must be done with the suspension at curb height.
Position the rear spring shackle onto the spring and install the spring-to-shackle nut and bolt until snug.
3. CAUTION: Final tightening of the shackle-to-rear bracket bolt must be done with the suspension at curb height.
Position the rear spring assembly and install the shackle-to-rear bracket bolt and flag nut until snug.
4. CAUTION: Final tightening of the spring-to-front bracket bolt must be done with the suspension at curb height.
Install the spring-to-front bracket bolt and flag nut until snug.
5. CAUTION: Final tightening of the U-bolt nuts must be done with the suspension at curb height.
Install the U-bolts, springs plate and U-bolt nuts. Align the U-bolts so they are as vertical as possible and tighten the nuts until snug.
6. With the suspension at curb height tighten the spring-to-shackle nut to 225 Nm (166 ft. lbs.).
7. With the suspension at curb height, tighten the shackle-to-rear bracket bolt to 225 Nm (166 ft. lbs.).
8. With the suspension at curb height, tighten the spring-to-front bracket bolt to 625 Nm (444 ft. lbs.).
9. With the suspension at curb height tighten the nuts evenly in a cross-type pattern in 4 stages.
^
Stage 1: Tighten to 100 Nm (74 ft. lbs.).
^
Stage 2: Tighten to 200 Nm (148 ft. lbs.).
^
Stage 3: Tighten to 300 Nm (222 ft. lbs.).
^
Stage 4: Tighten to 400 Nm (295 ft. lbs.).