
F 450 4WD Super Duty V10-6.8L VIN D (2004)
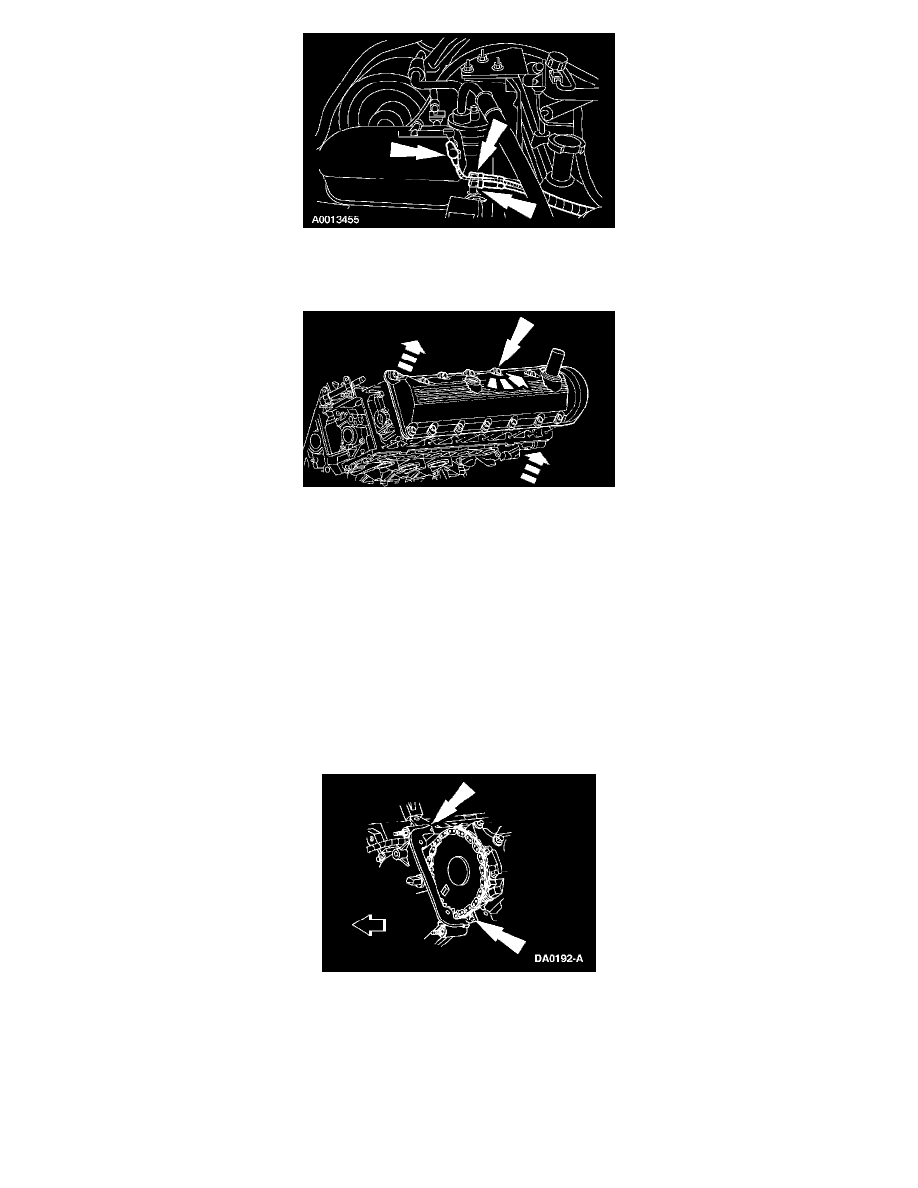
10. Disconnect the vapor management valve vacuum hose and vacuum canister vacuum harness and lift the fuel charging wiring off the valve cover
studs.
11. Using the special tool, raise the engine.
12. CAUTION: Do not use metal scrapers, wire brushes, power abrasive discs or other abrasive means to clean the sealing surfaces. These tools
cause scratches and gouges which make leak paths. Use a plastic scraping tool to remove all traces of old sealant.
NOTE: The bolts are part of the valve cover and cannot be removed.
Remove the RH valve cover.
^
Fully loosen the bolts and remove the valve cover.
^
Clean the valve cover mating surface of the cylinder head with silicone gasket remover and metal surface prep. Follow the directions on the
packaging.
^
Inspect the valve cover gasket. If the gasket is damaged, remove and discard the valve cover gasket. Clean the valve cover gasket groove with
soap and water or a suitable solvent.
Installation
1. If a new gasket is being installed, apply instant adhesive completely around the gasket groove in the valve cover. Install the new valve cover
gasket.
2. CAUTION: Do not use metal scrapers, wire brushes, power abrasive discs or other abrasive means to clean the sealing surfaces. These tools
cause scratches and gouges which make leak paths. Use a plastic scraping tool to remove all traces of old sealant.
NOTE: If the valve cover is not secured within four minutes, the sealant must be removed and the sealing area cleaned. To clean the sealing area,
use silicone gasket remover and metal surface prep. Follow the directions on the packaging. Failure to follow this procedure can cause future oil
leakage.
Apply a bead of silicone gasket and sealant in two places where the engine front cover meets the cylinder head.