F 450 4WD Super Duty V10-6.8L VIN D (2004)

Vehicles needing clockspring recentering
2. WARNING: Incorrect centralization may result in premature component failure. If in doubt when centralizing the clockspring, repeat
the centralizing procedure. Failure to follow this instruction may result in personal injury.
CAUTION: Make sure the road wheels are in the straight ahead position.
NOTE: If a clockspring has rotated out of center, follow through with this step.
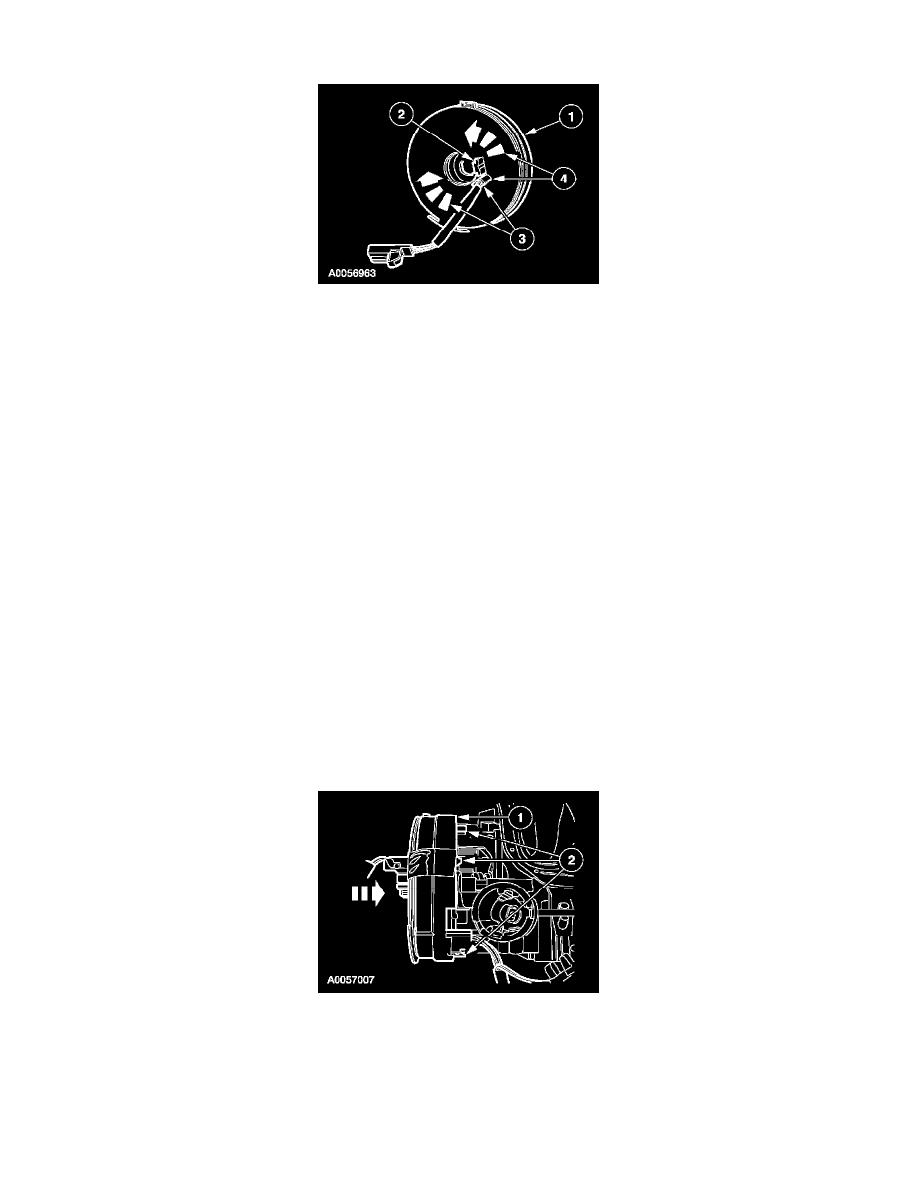
Centralize the clockspring.
1
Hold the clockspring outer housing stationary.
2
Push and release the anti-rotation tab.
3
CAUTION: Overturning will destroy the clockspring. The internal ribbon wire acts as the stop and can be broken from its internal
connection.
While holding the anti-rotation tab in the released position, turn the rotor clockwise, carefully feeling for the ribbon wire to run out of length
and a slight resistance is felt. Stop turning at this point.
4
While holding the anti-rotation tab in the released position, turn the clockspring counterclockwise approximately 2.25 turns. This is the center
point of the clockspring.
-
Do not allow the rotor to turn from this position.
Vehicle repairs reusing the same clockspring
3. NOTE: When the tape is removed, do not allow the clockspring to turn.
Remove the tape applied during clockspring removal.
All vehicles
4. NOTE: Slight turning of the clockspring rotor is allowable for alignment purposes to the steering column.
Install the clockspring.
1
With the flats of the clockspring aligned to the flats of the steering column, slide the clockspring onto the steering column.
2
Engage the retaining tabs.
