
F 450 4WD Super Duty V10-6.8L VIN D (2004)
29.
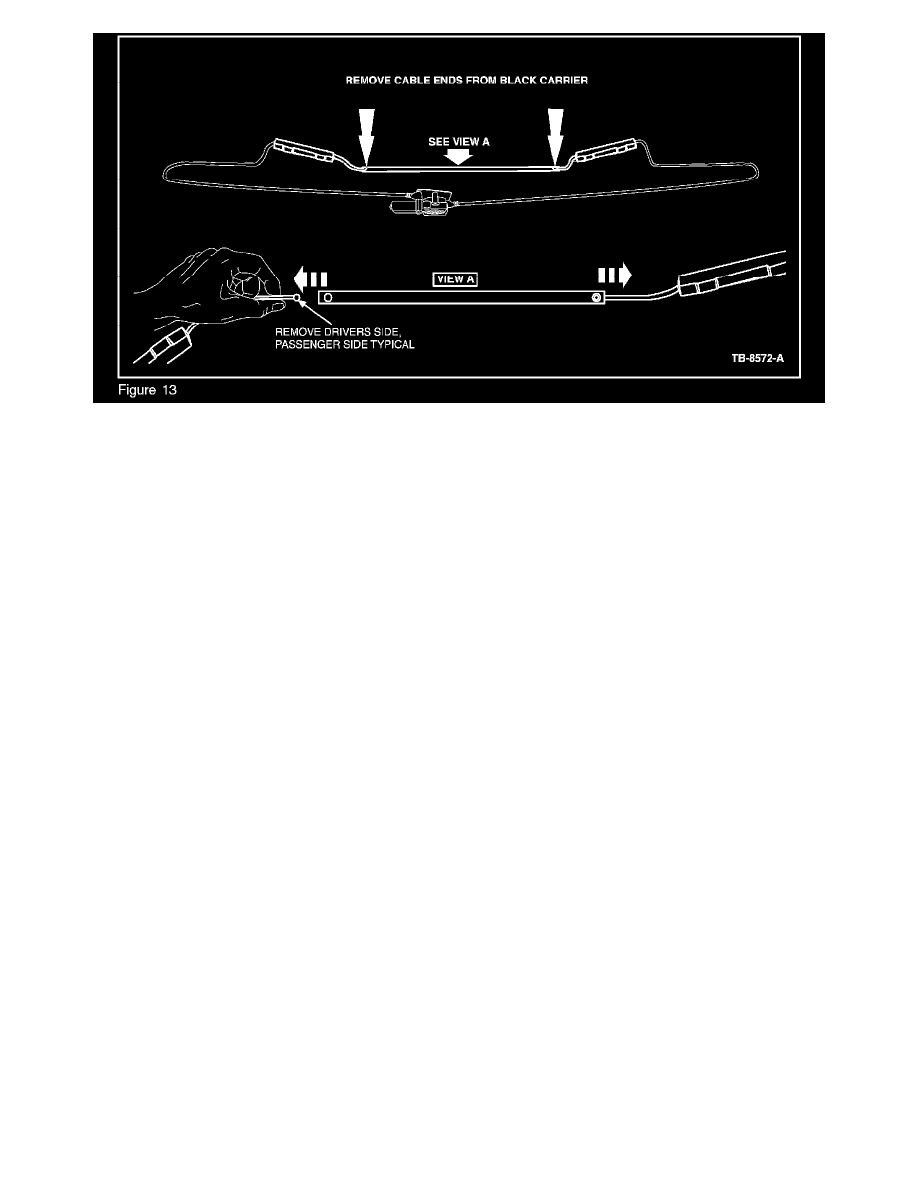
Attach cable ends to new center glass by inserting into end of black carrier and pushing downwards making sure the die cast end retains cable
properly (Figure 13).
30.
Slide new assembly into lower aluminum channel.
31.
Pull cables tight and snap into correct location (reverse of Step 25).
32.
Verify that assembly functions properly by cycling assembly.
33.
Obtain motor, cable, lower channel, and center glass assembly or use updated assembly from Step 32.
34.
Place motor, cable, lower channel, and center glass assembly on flat surface.
35.
Verify two (2) outside fixed glass panels have rubber weather-strip on the edge and push into lower channel.
36.
While pushing the window together the center glass should slide into the center of the plastic channel in the upper aluminum channel assembly.
37.
Align vertical divider post in lower channel and tap entire window assembly together using a mallet.
38.
Locate screws and reinstall them into the vertical divider post through the lower channel.
39.
Reinstall weather seals. (Figure 6)
40.
Cycle window to verify window functions properly (only windows which did not have urethane adhesive repair).
41.
Reinstall window into opening. (Refer to WSM, Section 501-11-26.)
42.
Attach motor bracket back on the vehicle. (Refer to WSM, Section 501-11-28.)
43.
Attach window cable clips back into the vehicle. (Refer to WSM, Section 501-11-28.)
44.
Connect motor wiring connector back to vehicle body harness.
45.
Cycle window again to verify window is functioning properly.