
F 450 4WD Super Duty V10-6.8L VIN D (2004)
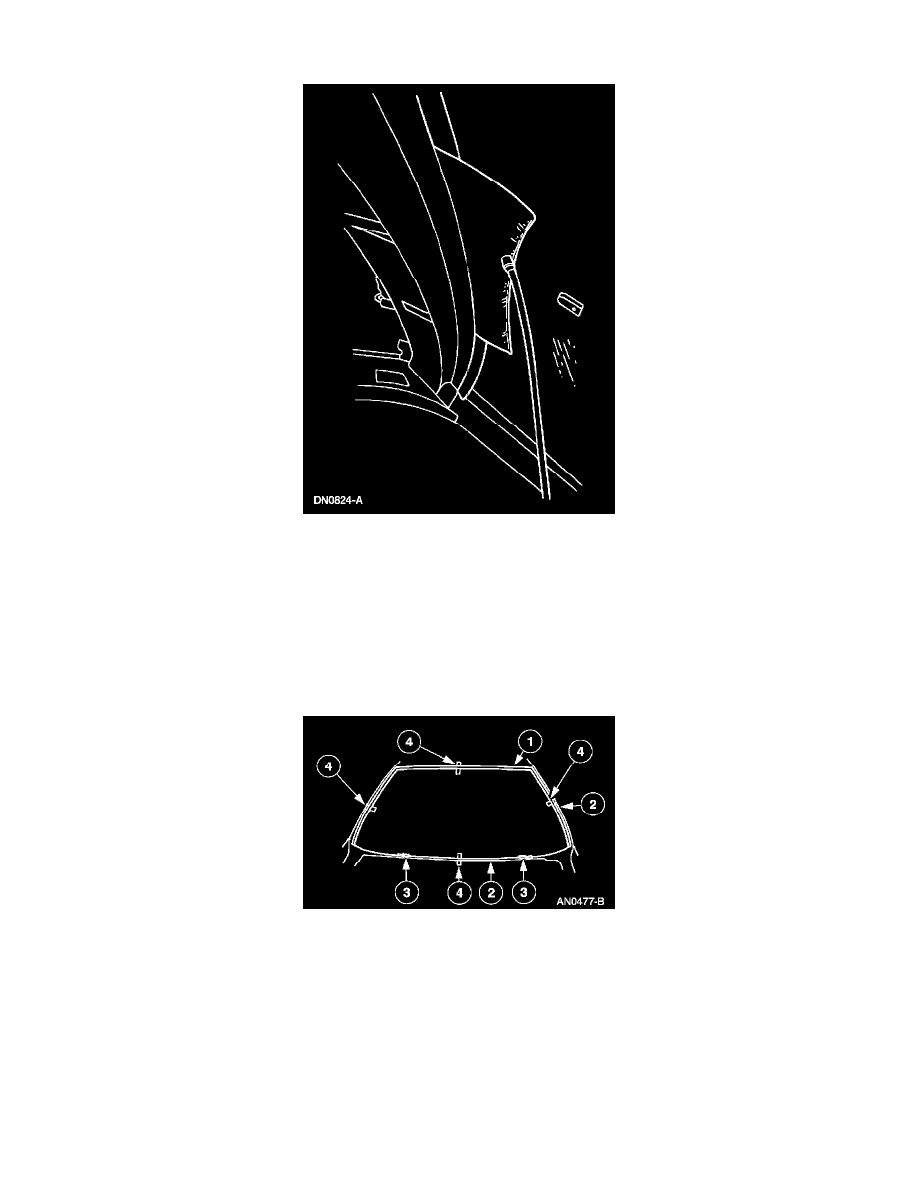
Insert the Interior Auto Glass Cut-Out Knife at the upper center of the windshield glass and work toward the bottom corners.
11. To aid the in cutting the urethane adhesive along the cowl, insert the Pumper tool at the top center of the windshield and inflate.
12. Insert the Interior Auto Glass Cut-Out Knife into the bottom of the urethane adhesive and cut from corner to corner.
13. WARNING: Removing the windshield glass requires more than one technician.
NOTE: If reinstalling the windshield glass, tape the windshield at the windshield stops to aid installation.
Carefully remove the windshield glass from the vehicle and place on a stable work surface.
INSTALLATION
1. Dry-fit the new windshield glass on the existing urethane bead on the pinchweld.
1
Position the windshield glass on the pinchweld.
2
Center the windshield glass in the opening.
3
Adjust the setting blocks as needed for best fit.
4
Using tape or non-permanent marker, make alignment marks (preferably at the setting blocks) on the windshield glass and the body.
2. After the dry-fit alignment, remove the windshield glass and moulding assemblies and place on a stable work surface.