
F 450 4WD Super Duty V10-6.8L VIN Z CNG (2003)
5. Install the brackets over the studs and loosely install the nuts.
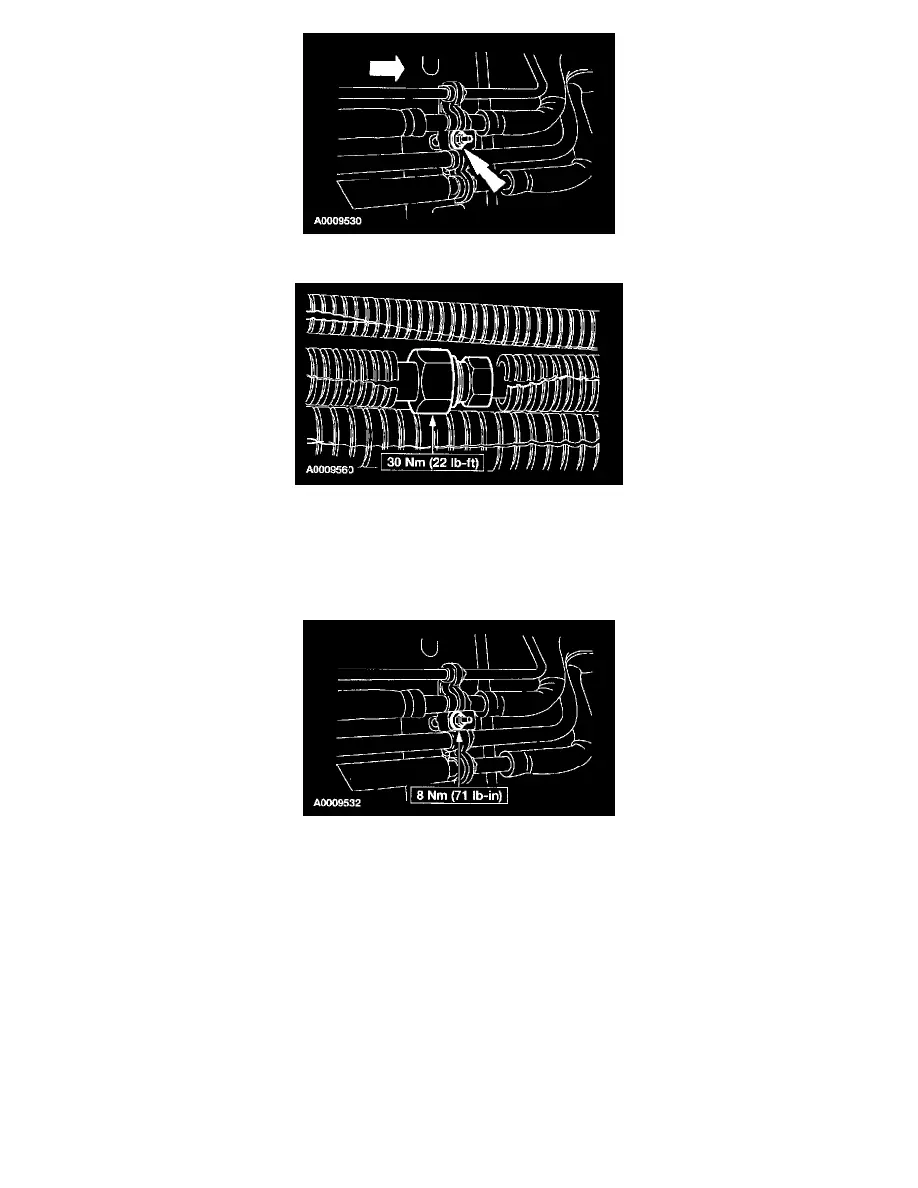
6. Connect the two auxiliary evaporator outlet lines.
CAUTION: Use a wrench on each side of the fitting to prevent damage to the A/C fitting.
NOTE: Lubricate the O-ring seals with PAG Refrigerant Compressor Oil (R-134a Systems) F7AZ-19589-DA (Motorcraft YN-12-C) or
equivalent meeting Ford specification WSH-M1C231-B.
7. Tighten the five bracket nuts.
CAUTION: Overtightening of the nut will cause the stud to break away from the floor pan.
8. Install the right-hand rear wheel.
9. Install the right-hand fender splash shield.
10. Evacuate, leak test and charge the A/C system. Refer to: Heating and Air Conditioning, Service and Repair, Evacuating and Charging, See:
Service and Repair/Evacuation and Charging