
F 450 4WD Super Duty V8-6.0L DSL Turbo VIN P (2003)
1. NOTE: Install the front driveshaft with the index marks aligned.
NOTE: An extension must be used to tighten the driveshaft to transfer case bolts. Extensions change the calibration of the torque wrench. Use the
torque wrench manual to calculate the correct settings.
NOTE: Install new bolts and retainers.
To install, reverse the removal procedure.
Driveshaft-Rear, One-Piece, 4X4
Driveshaft-Rear, One-Piece, 4x4
Removal
All vehicles
1. With vehicle in NEUTRAL, position on a hoist. Raise and support the vehicle.
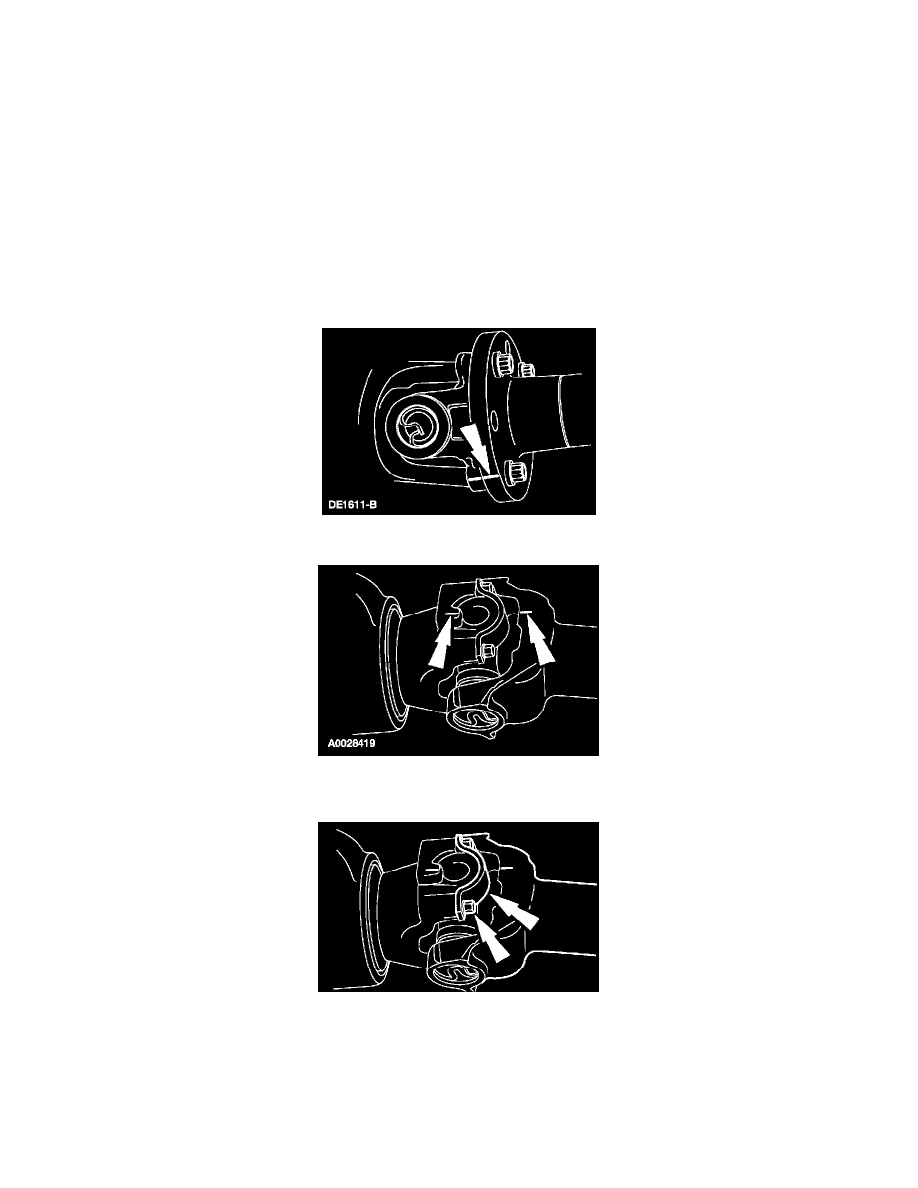
2. Index-mark the driveshaft yoke and the transfer case flange.
Vehicles with split pin yoke
3. Index-mark the driveshaft and the rear axle pinion flange.
4. Remove and discard the four bolts and the two U-joint retainers.