
F 450 4WD Super Duty V8-6.4L DSL Turbo (2008)
Fuel/Water Separator: Removal and Replacement
Removal and Installation
FUEL CONDITIONING MODULE
Removal and Installation
WARNING: When handling fuel, always observe fuel handling precautions and be prepared in the event of fuel spillage. Spilled fuel may be
ignited by hot vehicle components or other ignition sources. Failure to follow these instructions may result in serious personal injury.
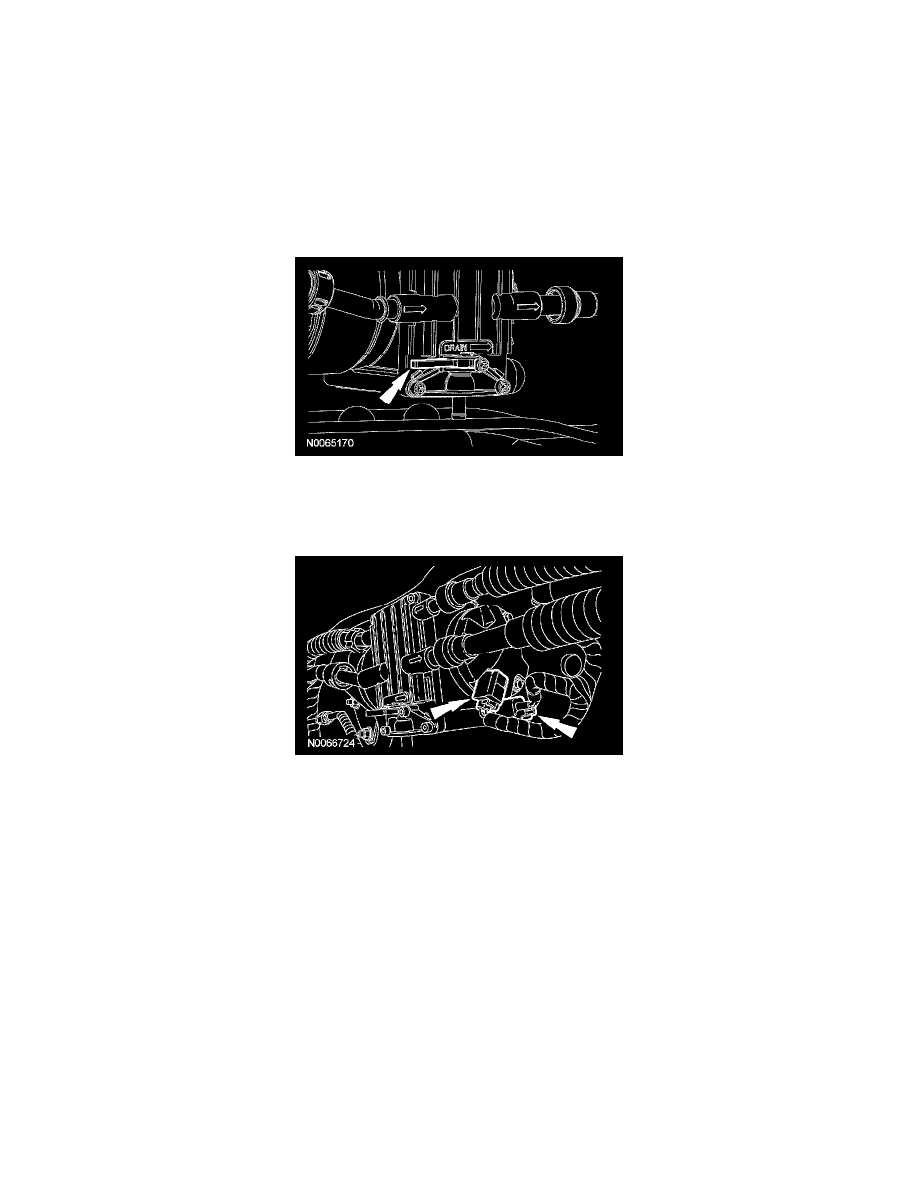
1. Release the fuel system pressure.
2. NOTE: Once the fuel conditioning module is drained and the fuel system service is completed, make sure the fuel/water separator drain valve is
completely closed to prevent air from entering into the fuel system.
Open the fuel/water separator drain valve and drain the fuel into a suitable container.
3. Disconnect the fuel pump and the water in fuel sensor electrical connectors.
4. Disconnect the fuel tank-to-fuel conditioning module fuel supply tube and fuel conditioning module-to-fuel tank fuel return tube quick connect
coupling.
5. Disconnect the fuel tank-to-fuel conditioning module-to-engine fuel supply tube and engine-to-fuel conditioning module fuel return tube spring
lock coupling.
6. Remove the mounting nuts and the fuel conditioning module.
-
To install, tighten to 20 Nm (177 lb-in).
7. CAUTION: The fuel conditioning module that is used with the 6.4L diesel engine has a brown cover. Installing a fuel conditioning
module with a black cover may result in damage to the high-pressure fuel system.
To install, reverse the removal procedure.
Disassembly and Assembly
FUEL CONDITIONING MODULE