
F 450 4WD Super Duty V8-6.4L DSL Turbo (2008)
Part 2
Removal
NOTE: Original production actuators can be equipped with either a press-fit spline actuator rod or a slip-fit spline actuator rod. All replacement
actuators are equipped with a slip-fit spline actuator rod.
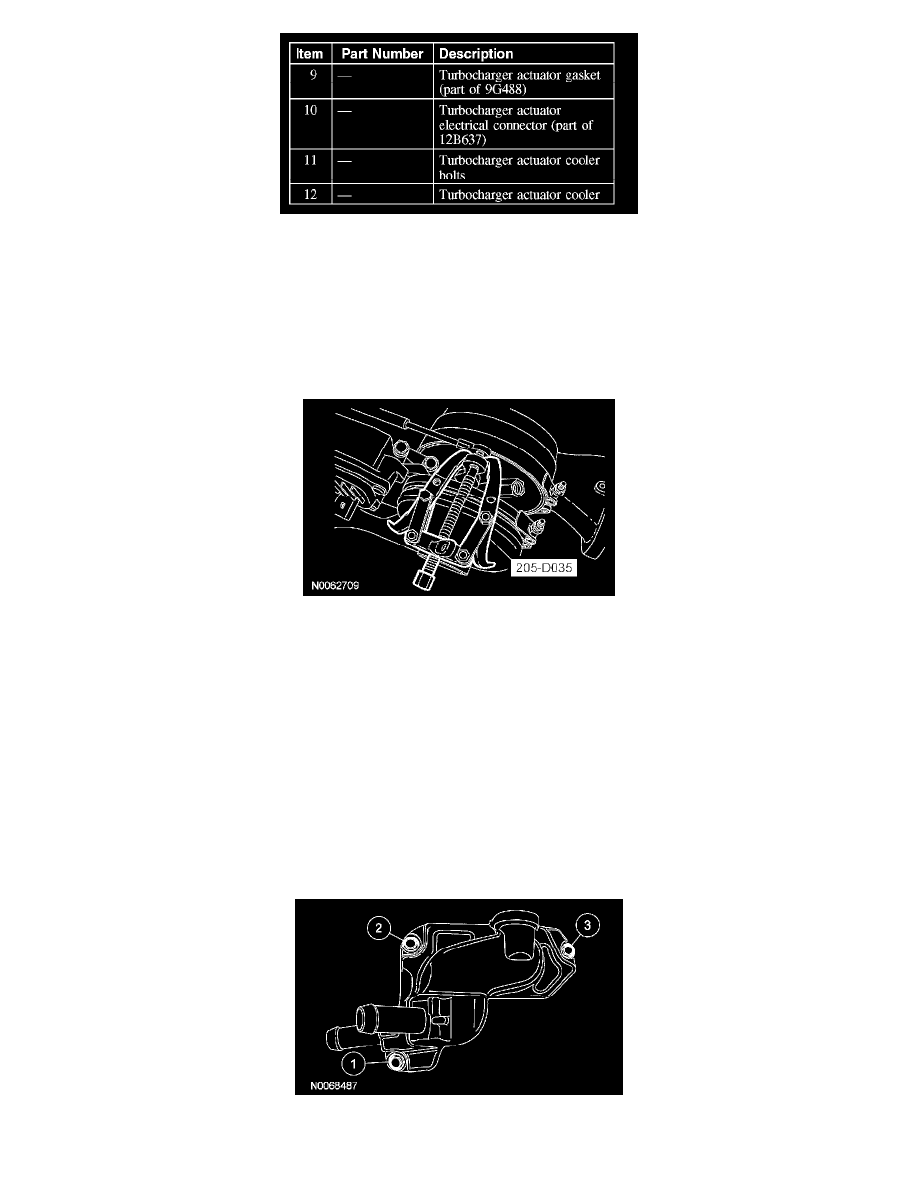
Actuators equipped with a press-fit spline
1. Remove the turbocharger actuator rod E-clip.
2. Using the special tool, detach the turbocharger actuator rod from the turbocharger.
Actuators equipped with a slip-fit spline
3. Remove the nut and detach the actuator rod from the turbocharger.
All actuators
4. Loosen the turbocharger actuator bolts enough to raise the turbocharger actuator and cooler assembly to access the cooler top rear bolt.
5. Remove the bolts and position the turbocharger actuator cooler aside.
6. Disconnect the turbocharger actuator electrical connector.
7. Remove the bolts, the turbocharger actuator and the gasket. Discard the gasket.
Installation
All actuators
1. Position a new gasket and the turbocharger actuator. Loosely install the bolts.
2. Connect the turbocharger actuator electrical connector.
3. Position the turbocharger actuator cooler and install the bolts. Tighten the bolts in the sequence shown in 2 stages.
-
Stage 1: Finger tighten the bolts.