
F 450 4WD Super Duty V8-7.3L DSL Turbo VIN F (2001)
18. CAUTION: Do not hold the steering wheel in this position for more than 10 seconds at a time. Excessive heat buildup can damage
components.
Turn the steering wheel in the original direction (end of timing mark toward adjusting screw), until axle stop contact is made.
19. Hold the steering wheel in this position (with 30 pounds rim pull) for 10 seconds, then release. Repeat this hold and release process as many
times as necessary while completing Step 21.
20. With the steering wheel held at full lock position, loosen the jam nut and hold it in place with a wrench.
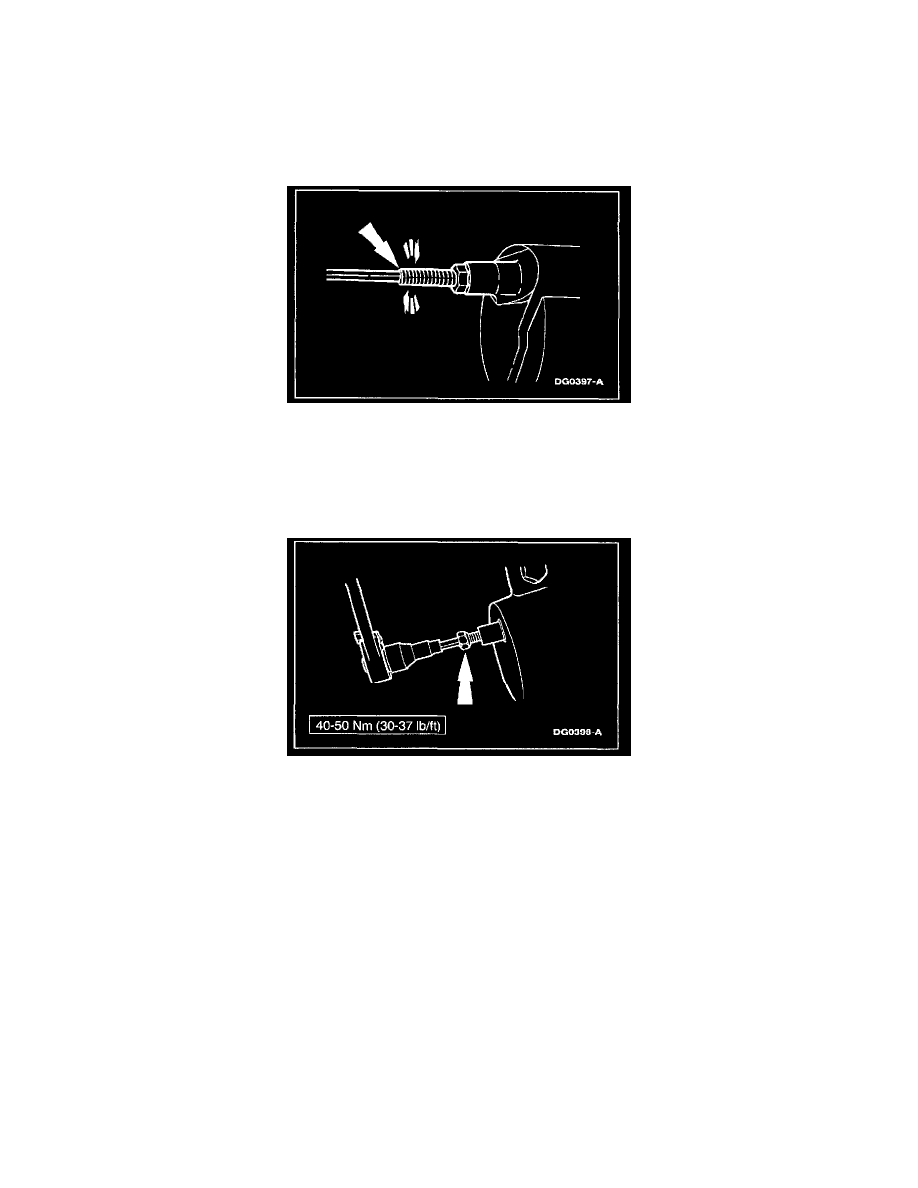
21. NOTE: Do not attempt to turn further.
NOTE: Pause the turning of the adjusting screw each time the driver releases the steering wheel. Continue turning only while the wheel is
held at full turn.
Turn the adjusting screw in (clockwise) using finger pressure only (do not use a ratchet) until the Allen wrench comes to a stop.
22. Back off the adjusting screw 1-1/2 turns and tighten the sealing nut. Tighten the sealing nut to specification.
23. Check the reservoir and fill if required.
24. WARNING: The length of the adjusting screw beyond the nut must be no more than 1-1/16 inch for correct thread engagement.
NOTE: The length of the adjusting screw beyond the sealing nut may be different for each vehicle.
Set the main TAS gear using the procedures described above. Leave the adjusting screws on the rotary cylinders in place as described above
after the puppets on the main gear have been reset.
25. Lower the vehicle.